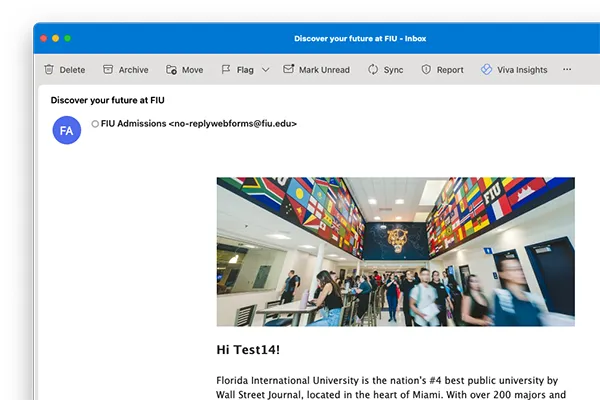
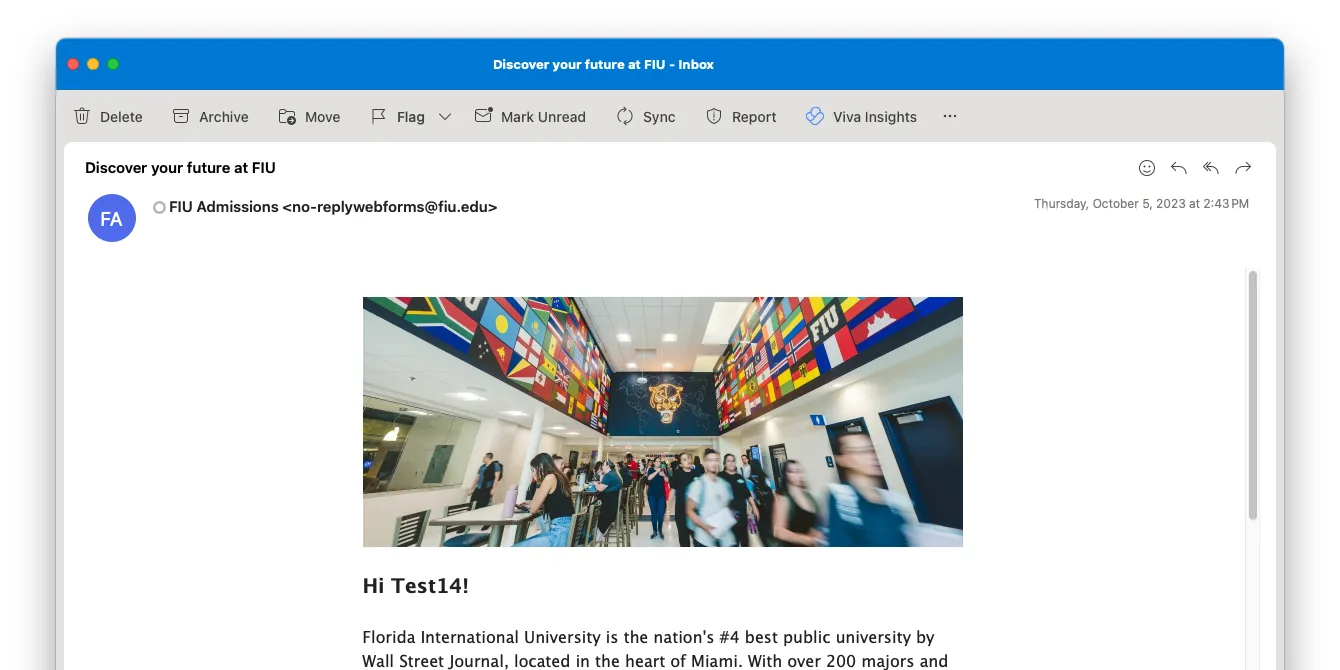
When creating a form in FIU Webforms, you have the option of enabling auto-replies or confirmation emails with all the information being submitted to be sent to users who have provided their emails in your form.
This is helpful for providing your users with a receipt of the information they inputted, should they need to provide that receipt in the future. In addition, you can make fully custom emails with your own HTML if you wish to provide different information than webforms generates.
Setting up user auto-replies
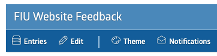
When browsing webforms, clicking your form should reveal a button labeled "Notifications."
Clicking that button will take you to the notification page where you will see 3 different options. Select the red "Send Confirmation Email to User " option.
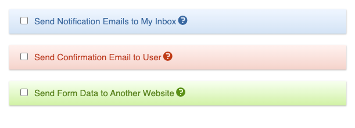
Initially, you will only be able to see a single option where you can select one of the email fields you used in your form. When the form is submitted, this option makes it so the user is sent an email with their responses to the email entered in that field.
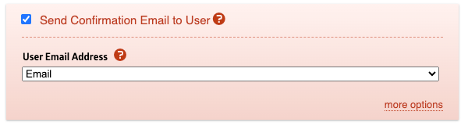
In the bottom right of the red section, you will see "more options," which will allow you to add custom information and options to the reply emails.

- You can add certain emails to be Bcc’d in all of these replies.
- You can choose the name the email is being sent from (MachForm by default, or you can set a custom name).
- You can change the reply-to email if you want to receive replies.
- We highly recommend against changing the From Email to avoid issues with email delivery. If this is a problem, please contact us so we can discuss a workaround.
- Lastly, you can change the Email Subject and Email Content. By default, these fields use the form name and the entered data.
Custom Email Content
The Email Content section by default only has “{entry data}” which puts all the information the user put in the form as the contents of the email. If you wanted to return a custom email instead, this box does allow custom HTML to be used inside of it. This is something more advanced, so we advise you to only do this if you have a sure understanding on how setting up HTML for emails work.