Creating a new form is very simple and straightforward with Webforms. This guide will show you how to create a form in just a few minutes.
Creating your Form
1. Login to the Webforms Admin Panel
To access your Webforms account, simply visit webforms.fiu.edu and log in using your FIU username and password. If you're seeking a more powerful solution for creating surveys and multi-step forms, consider exploring Qualtrics, an alternative form builder that offers enhanced functionalities. It's important to note that forms.fiu.edu also provides a similar service to Webforms. However, this service is currently being decommissioned.
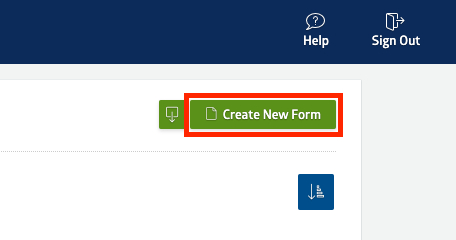
2. Click the “Create New Form” button
Once logged in, you will see the Form Manager page. On the top right corner of the page, there is a green button labeled “Create New Form.” Click this button.
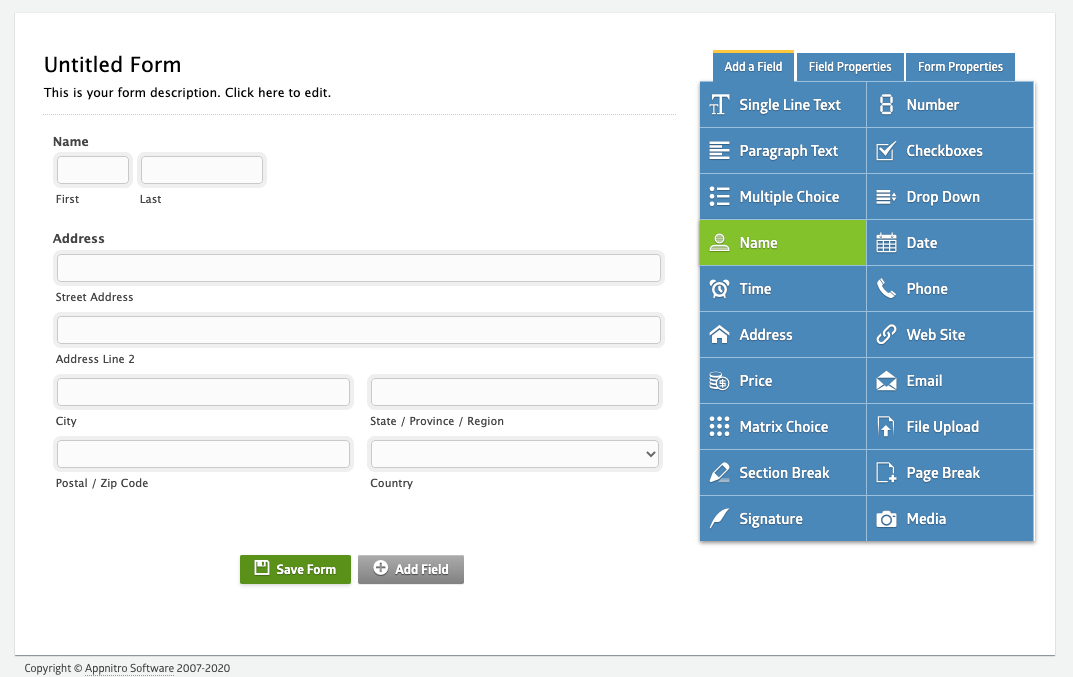
3. Add the Fields
Click on the field buttons on the right side of the form builder or drag the button into the preview pane. This will add the field into the form. When creating a form, it's recommended to give it a unique name to make it easier to find later. This will save you time when searching for specific forms within the platform.
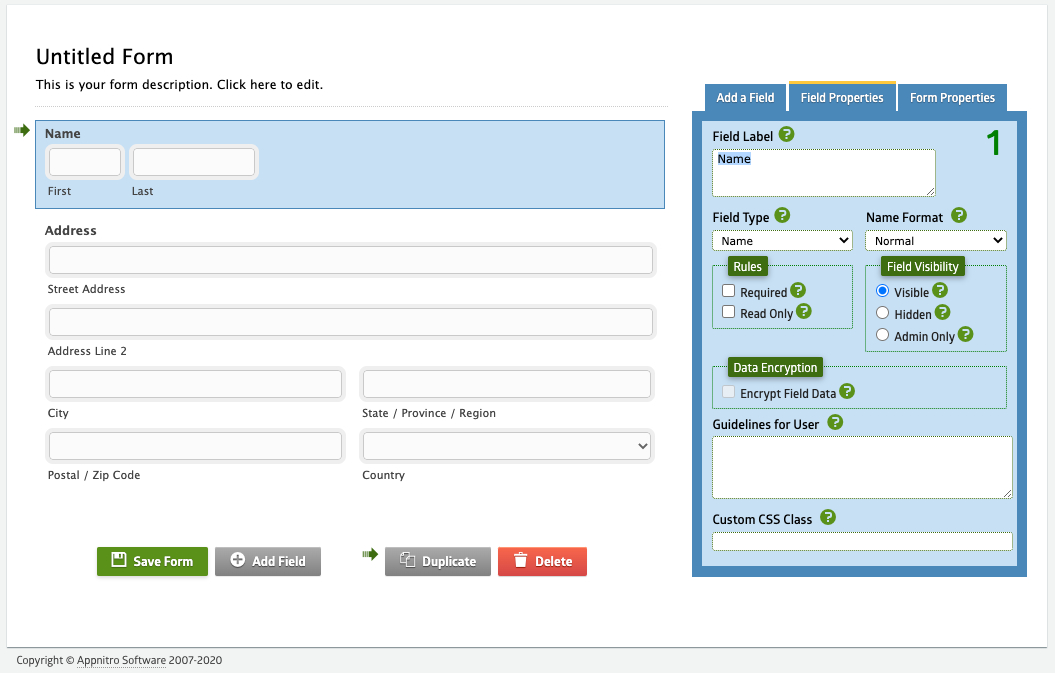
4. Change the Labels
Once you have added all the fields you need, you can click the field on the preview pane to change its properties. The properties tab will be displayed on the right section of the form builder. Change the label for each of your fields.
5. Save the form
If you are happy with the way everything looks, you can save the form by clicking the “Save Form” button on the bottom left corner.

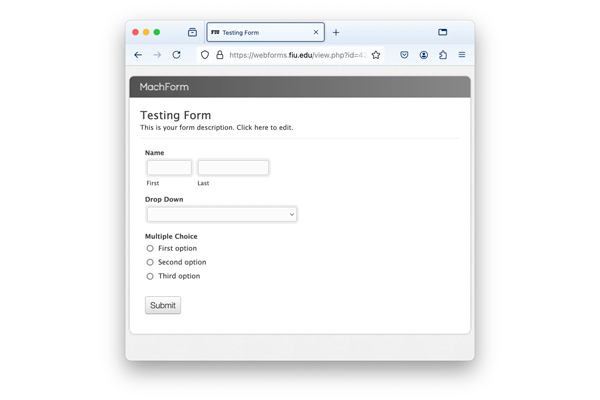
And that’s it! You have created a form! You will be redirected to the Form Manager page and your form will be listed there. Click on the “View” icon to see the final form result.

Choosing a Theme
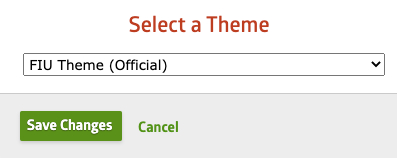
When it comes to design, you've got plenty of themes to choose from. To select a specific theme you want to use, click on the “Theme” icon. A little window will pop up, where you can pick your desired theme from the drop-down menu. We highly recommend using the FIU Theme (Official) because it's designed to make your web forms look in line with FIU's corporate branding.
![]()
Embedding your Form
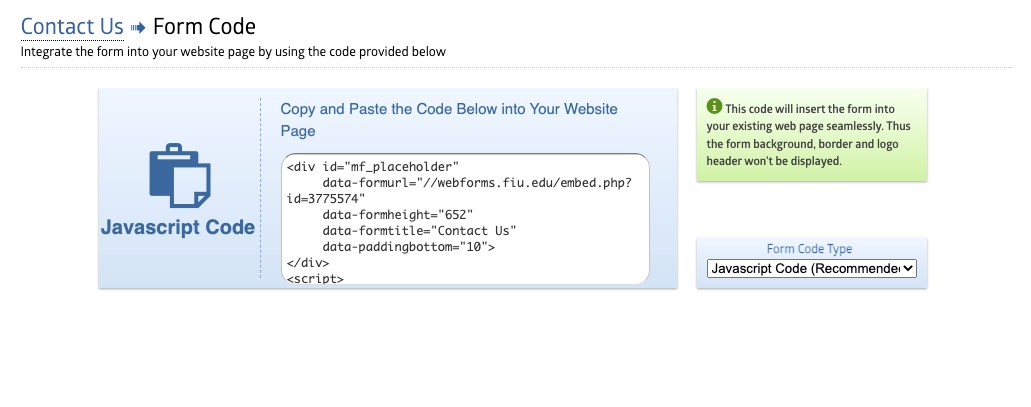
If instead of clicking “View”, you select “Code”, this will bring you to a page that will allow you to grab code to embed your form on your site.
The code manager displays multiple form codes that you can easily copy and paste into your web page. By changing the “Form Code Type” dropdown, different embed code options will be displayed to suit your needs.

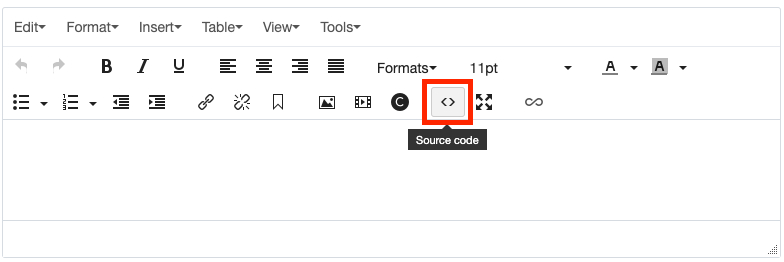
To embed your form into your website, open Cascade and edit the page where you want to place the form. In the new content block, click on the Source Code button located at the top of the WYSIWYG.
A window will open, with an empty space to input code. This is where you will place the Javascript code of your form. Go back to Webforms to copy the code and paste it in the Source Code window. It should look like the image below:
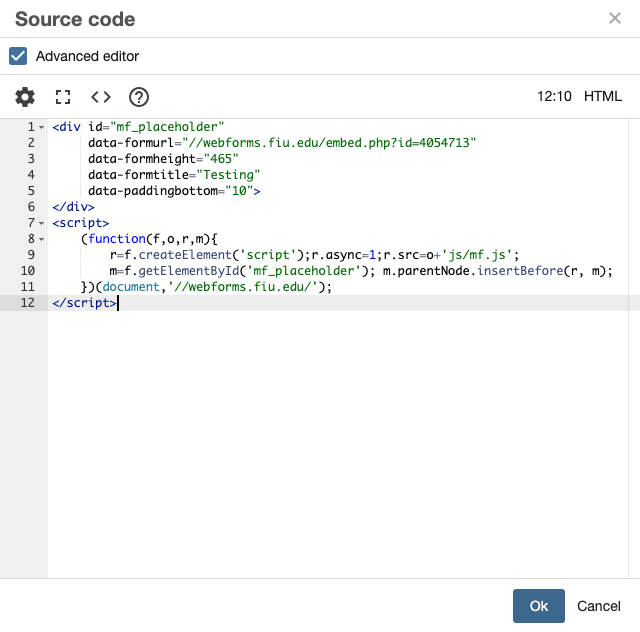
Click "Ok" and this small window will close. Don't worry when you don't see anything on the WYSIWYG, just click on the Preview Draft button and your webform will show.
There are 4 options for the “Form Code Type.” They are:
- Using The Javascript Code (Recommended)
- Using The Iframe Code (Alternative)
- Using the PHP Embed Code (Not used in Cascade)
- Using the PHP Form File (Not used in Cascade)
Editing a Live Form
When editing a live form, you have the flexibility to make edits and updates in real-time. Any changes you make to the form will be immediately reflected on the embedded version of the form as well. This allows you to refine and improve your form even after it has been shared or embedded on external sites.
If you require assistance or need to grant access to other users, you can reach out to digimaint@fiu.edu. By contacting DigiComm, you can request the necessary permissions or share access to the form with specific individuals as needed.
Entries and Notifications
Checking Entries
Once you've created and published your forms on webforms.fiu.edu, it's essential to manage the entries and stay updated on form submissions. Webforms provides convenient features for checking entries and receiving notifications.
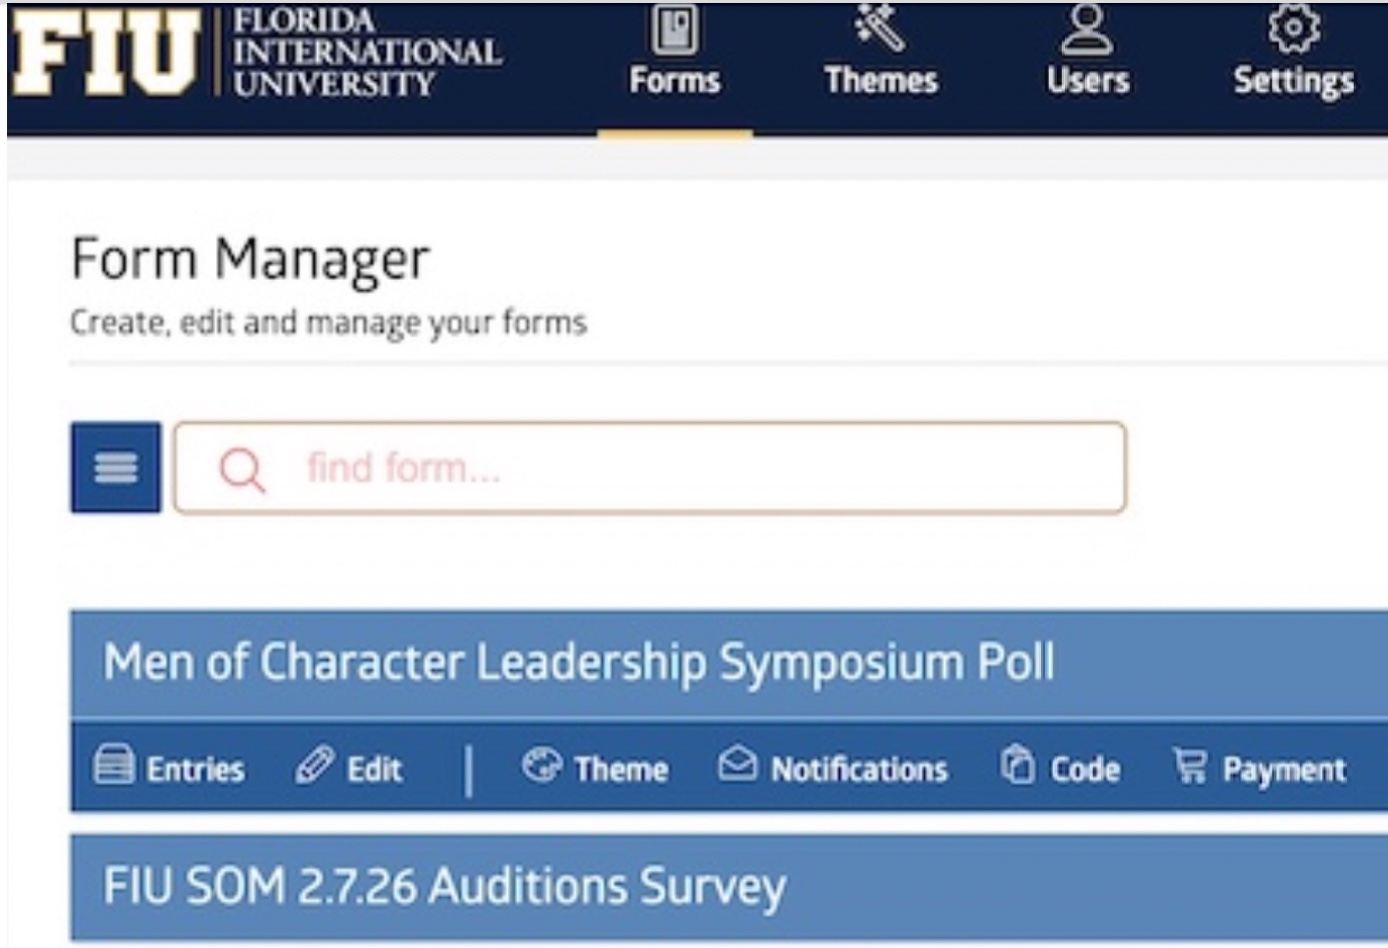
In order to check the form submissions, click the "Entries" icon. This will take you to a new window where you will be able to edit and manage the data. This overview allows you to gather and analyze the collected information conveniently. Click on each entry to see the complete information that was submitted.

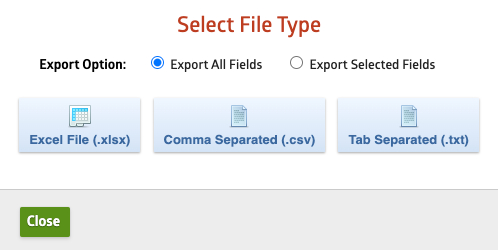
Webforms also offers the ability to export form entries, allowing you to save the data for further analysis or integration with other systems. By exporting entries, you can work with the data in various formats, such as CSV or Excel, which facilitates the data manipulation. Just click on the "Export" button and select the file type. You can choose to export all fields or just the selected fields.

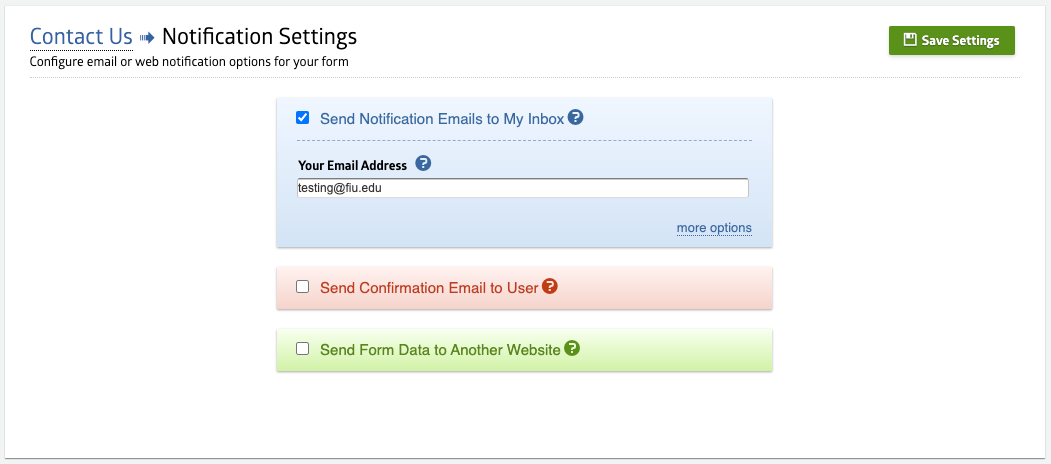
Receiving Notifications
Stay informed about new form submissions by setting up notifications to receive an instant alert whenever a new entry is submitted. You can configure notifications to be sent via email to specified recipients, including yourself and other users. Just click on the "Notifications" icon and select the settings that are most ideal for your form. You can send a notification directly to your email, send a confirmation email to the user, and/or send form data to another website.