Images can be powerful visual assets to a webpage. Using images is a great way to add color and help tell a story on your site. It’s important for images to be high quality and be relevant to what is being spoken about on the page. Read more to learn how to choose images, edit them and place them within Cascade.
Choosing Images
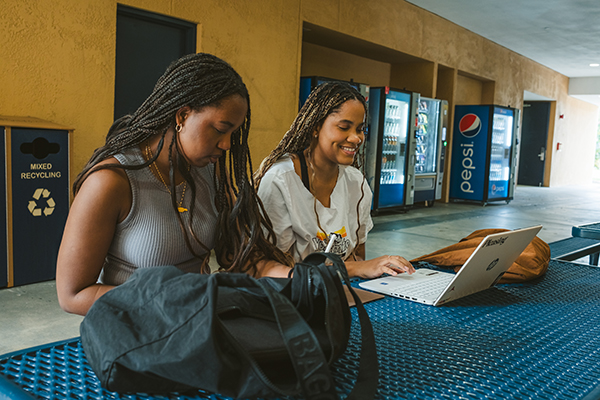
Images can be a great asset to your website. Search over 88,000 images on FIU's Flickr or images in this FIU Stock collection, which are free to use without permission.
While searching for images keep in mind these ideas in mind:
- Portraits - with simple backgrounds
- Dynamic - engaging and in the moment
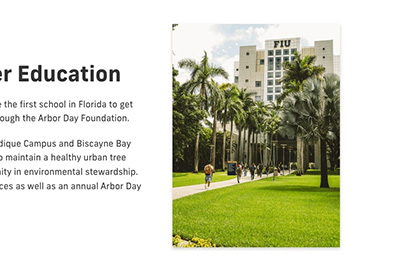
- Friendly and student oriented
- Thriving - campus shots that show a sense of community
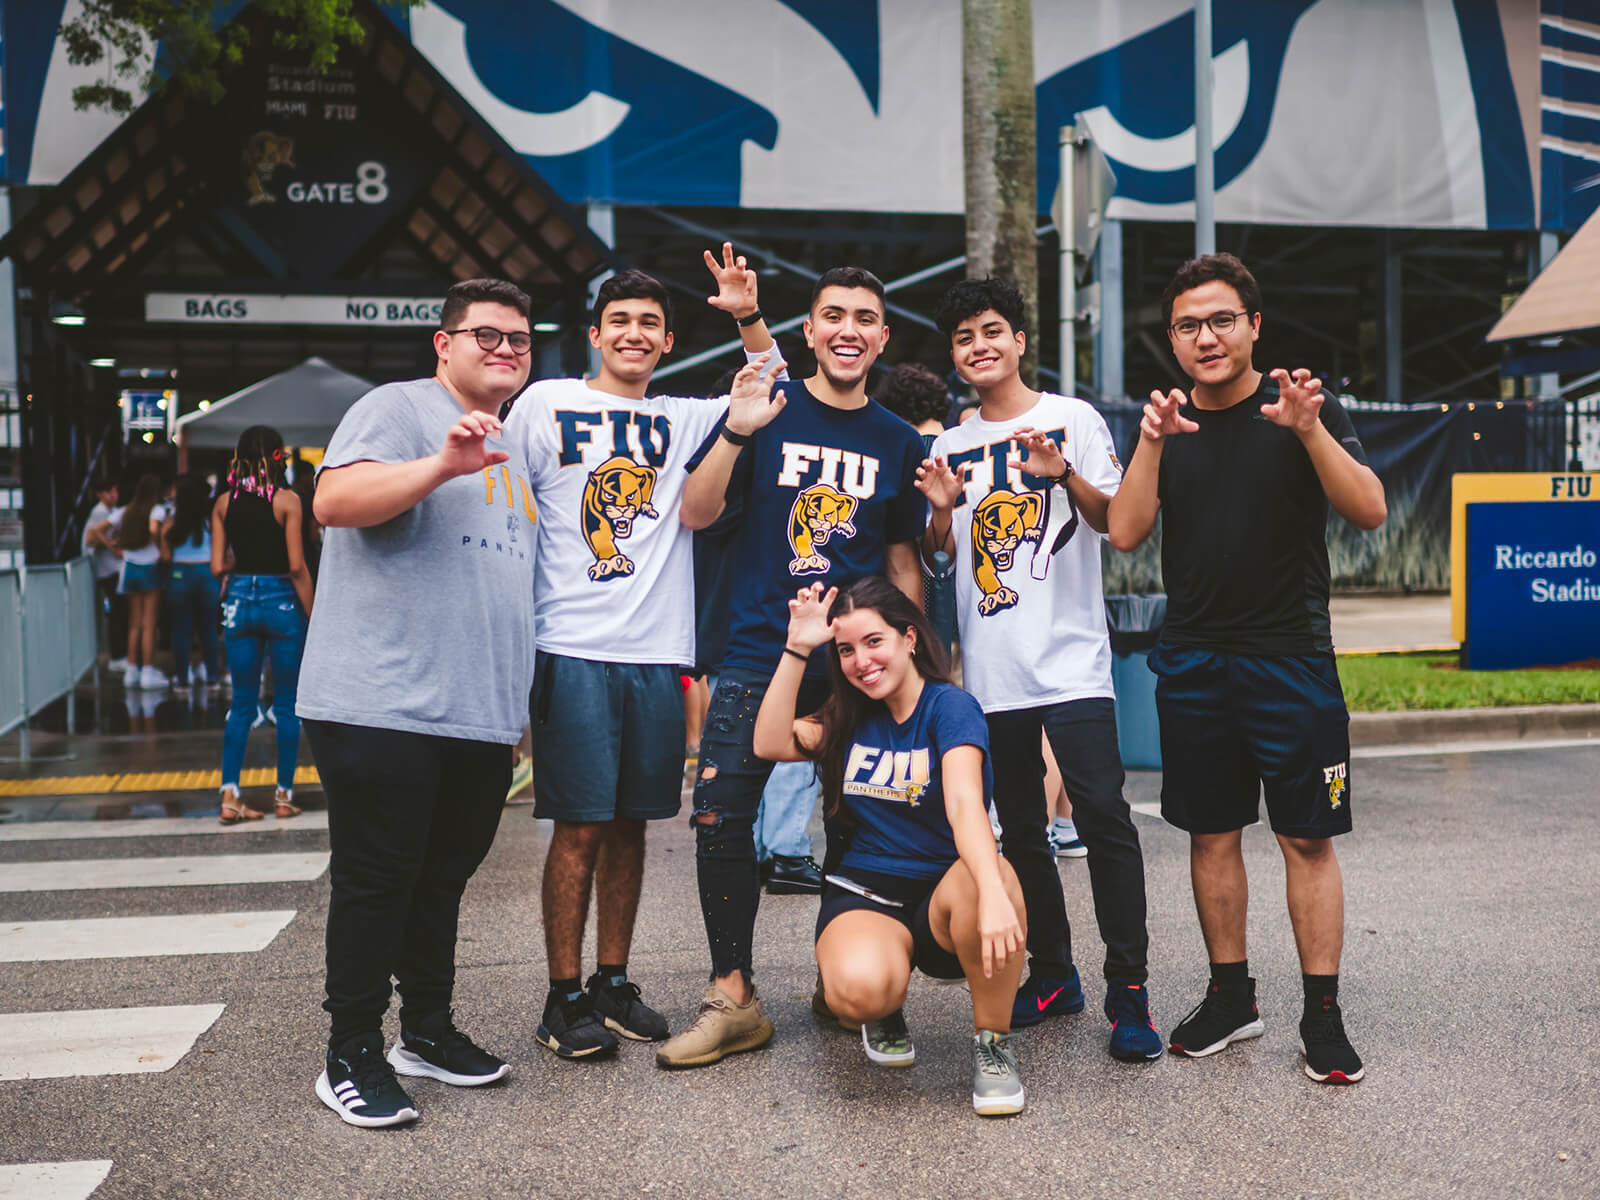
Sample Images
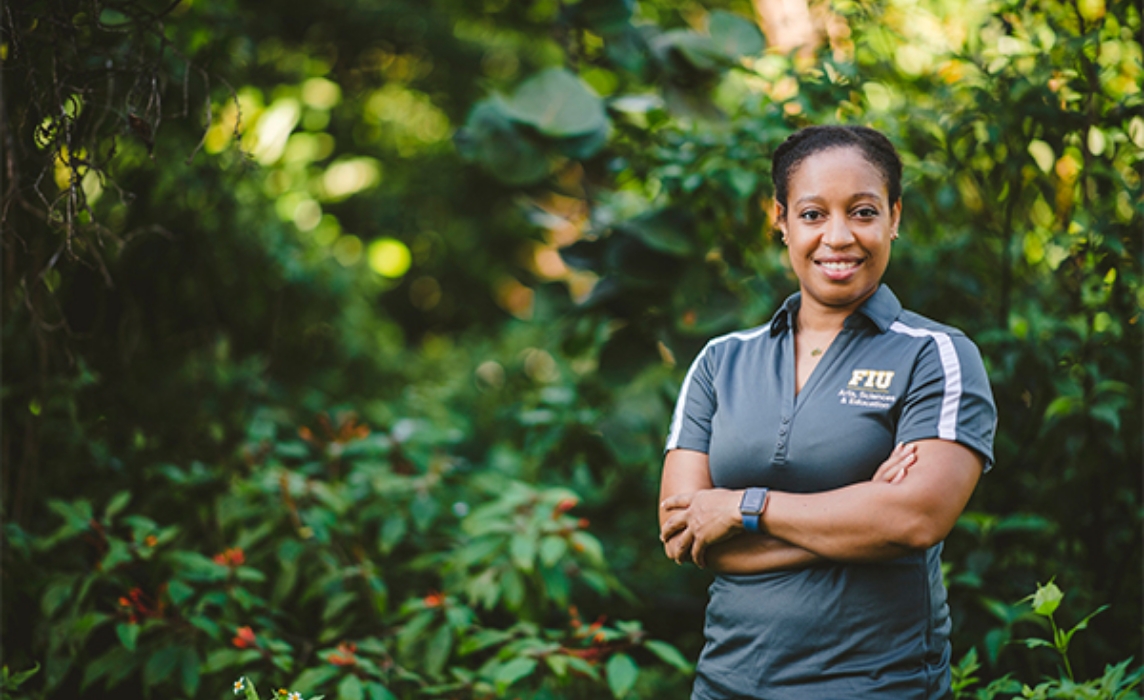
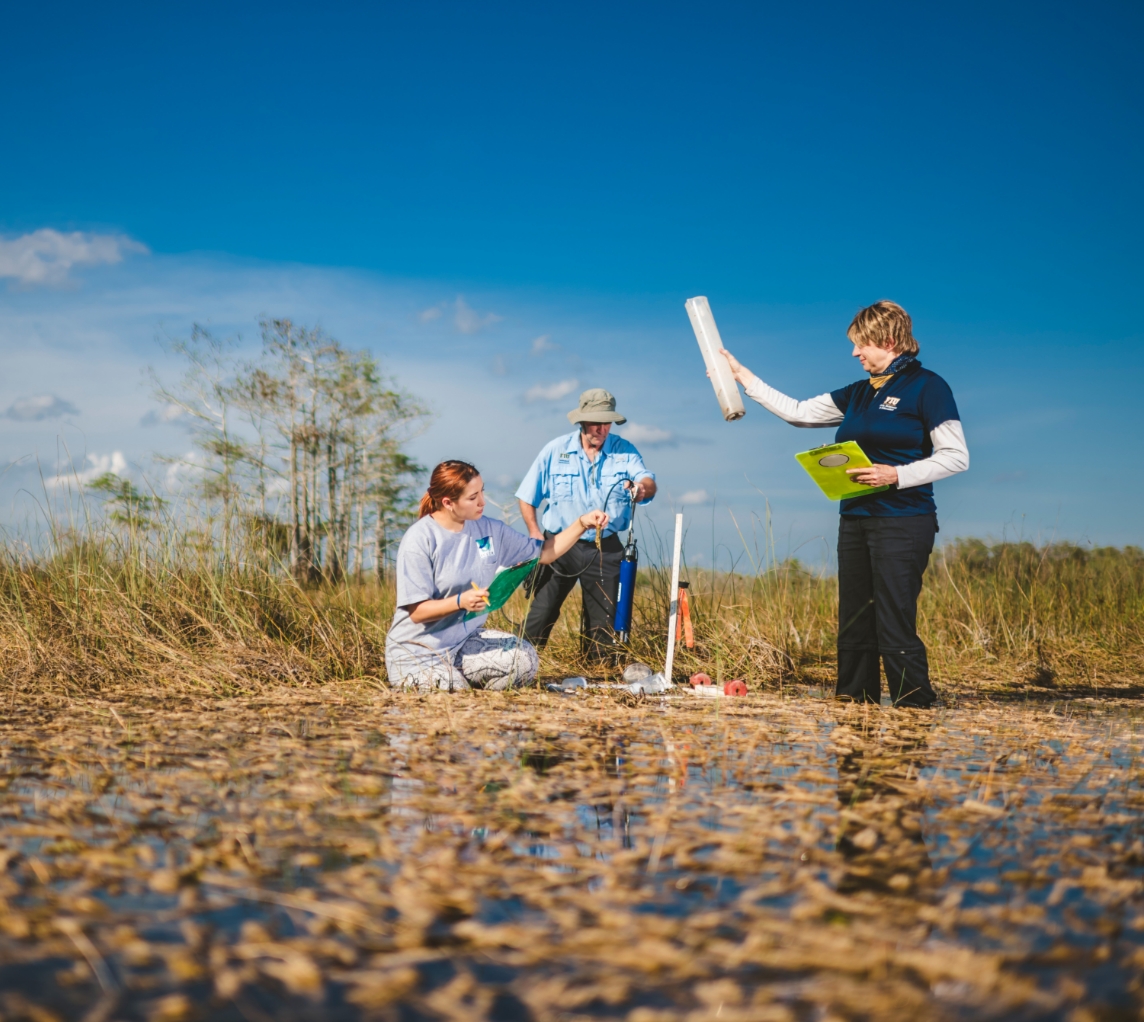
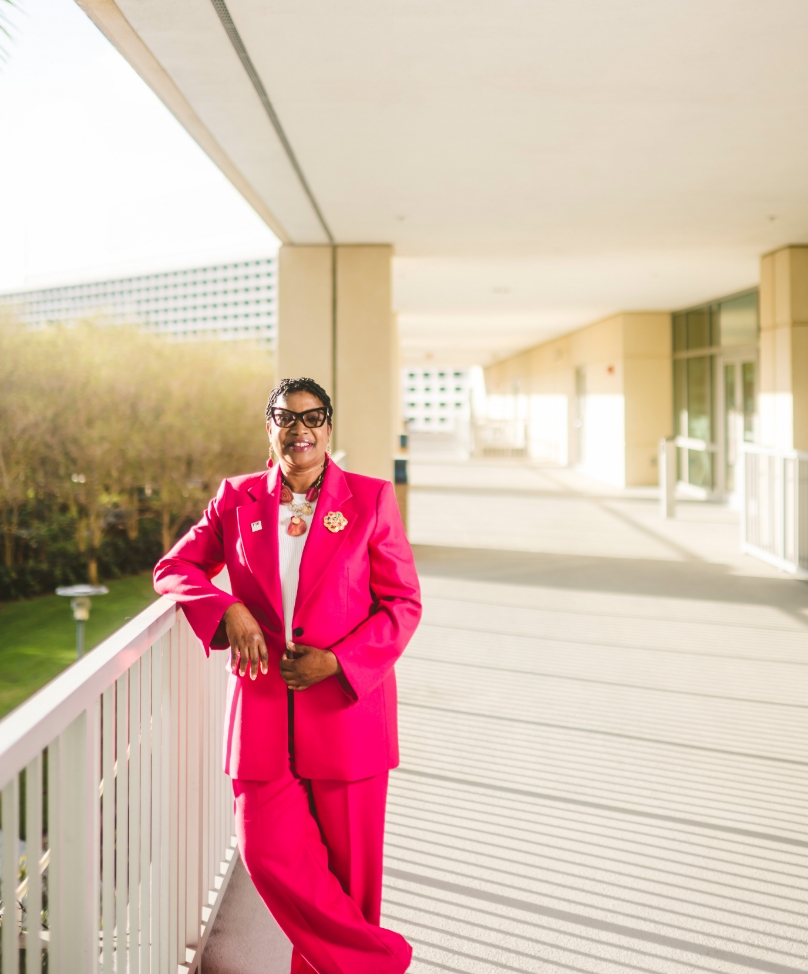

Image Use
Banner images
Size: All homepage banner images must be 1600x550-pixel resolution and all subpages should be 1600x450-pixel resolution.


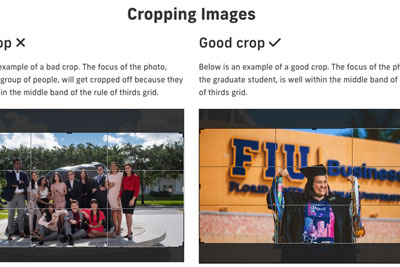
Subject & Composition: Use the rule of thirds to ensure the intended subject of your photo is also the focus of your photo. Position the subject in the middle band to ensure they don’t get cut off when you place the image on the page in Cascade.
Standard images on pages
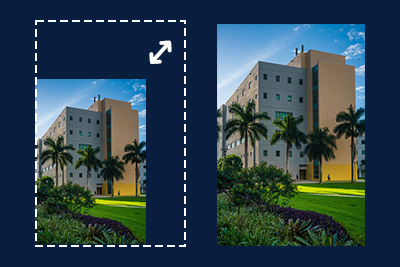
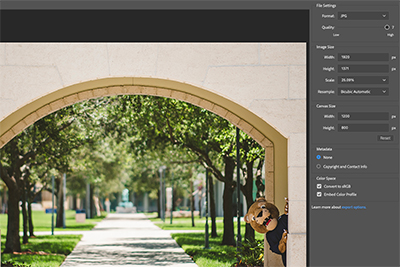
Size: For horizontal orientation, images on pages should be 800x600; high resolution 1600x1200. For vertical orientation, images on pages should be 500x500; high resolution 1000x1000
Example of 800x600 image
Example of 500x500 image

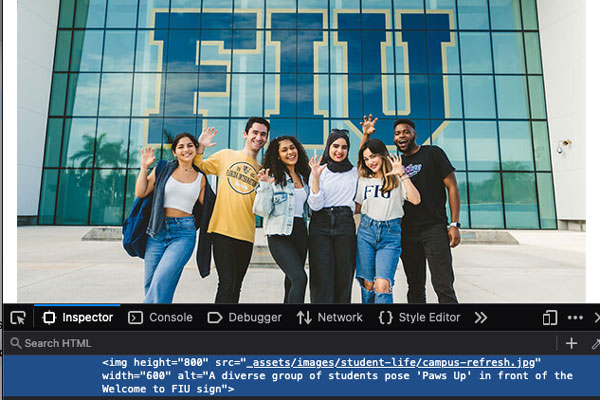
Purpose: Images on pages can have text if it’s relevant to what’s on the page. If so, you must add alternative text (or alt text) to the Image Description. This is to maintain accessibility standards.
Preferred image sizes by module
All images should be <999 KB. This ensures that your photo is high quality and doesn’t take a while to load on the page.
Module | High resolution sizes |
|---|---|
Author image | 400x400 |
Banner | Homepages: 3200x1100 |
Calls to action | 1600x1200 |
Carousel | 1600x1200 |
Content grid | 1600x1200 |
Full width content + media | 1600x1200 |
Gallery | 1600x1200 |
Large cards | 2400x1600 |
Multimedia background | Tall: 3200x1400 |
Overlapping content + media | Horizontal: 1600x1200 |
Profile images | 1000x1000 |
Quote with an image | 600x600 |
Thumbnail grid | Horizontal: 1600x1200 |
Social Share | 1200x630 |
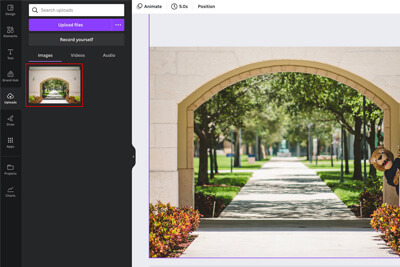
Uploading Images to Cascade
To learn how to upload images to Cascade, read the Cascade guide.
For more information, visit the Cascade training page.
Recent Posts About Images
Using CSS classes to style images on your website

Keep it real: best practices for photos and videos on your university website
What is alt text, and why do I need to add it to my images?
Using the Photo Focus field for Page Banners
Resizing Images for Alignment
4 questions every prospective student is asking
Optimizing Images for the Web

How to resize images in Canva
How to resize images using FIU’s Canva Enterprise membership