
As website editors, we’ve all been there—the backend of Cascade starts to get a little untidy. Images, documents, videos and other files pile up without much organization. Before you know it, files are scattered all over the place.
It’s easy to forget where you’ve stored things, and soon you’re left searching through a clutter of files, making it harder to find what you need. Having a clean and well-organized file structure makes it easier for your team to find exactly what they are looking for, when they need it.
Storing assets in Cascade
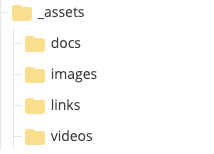
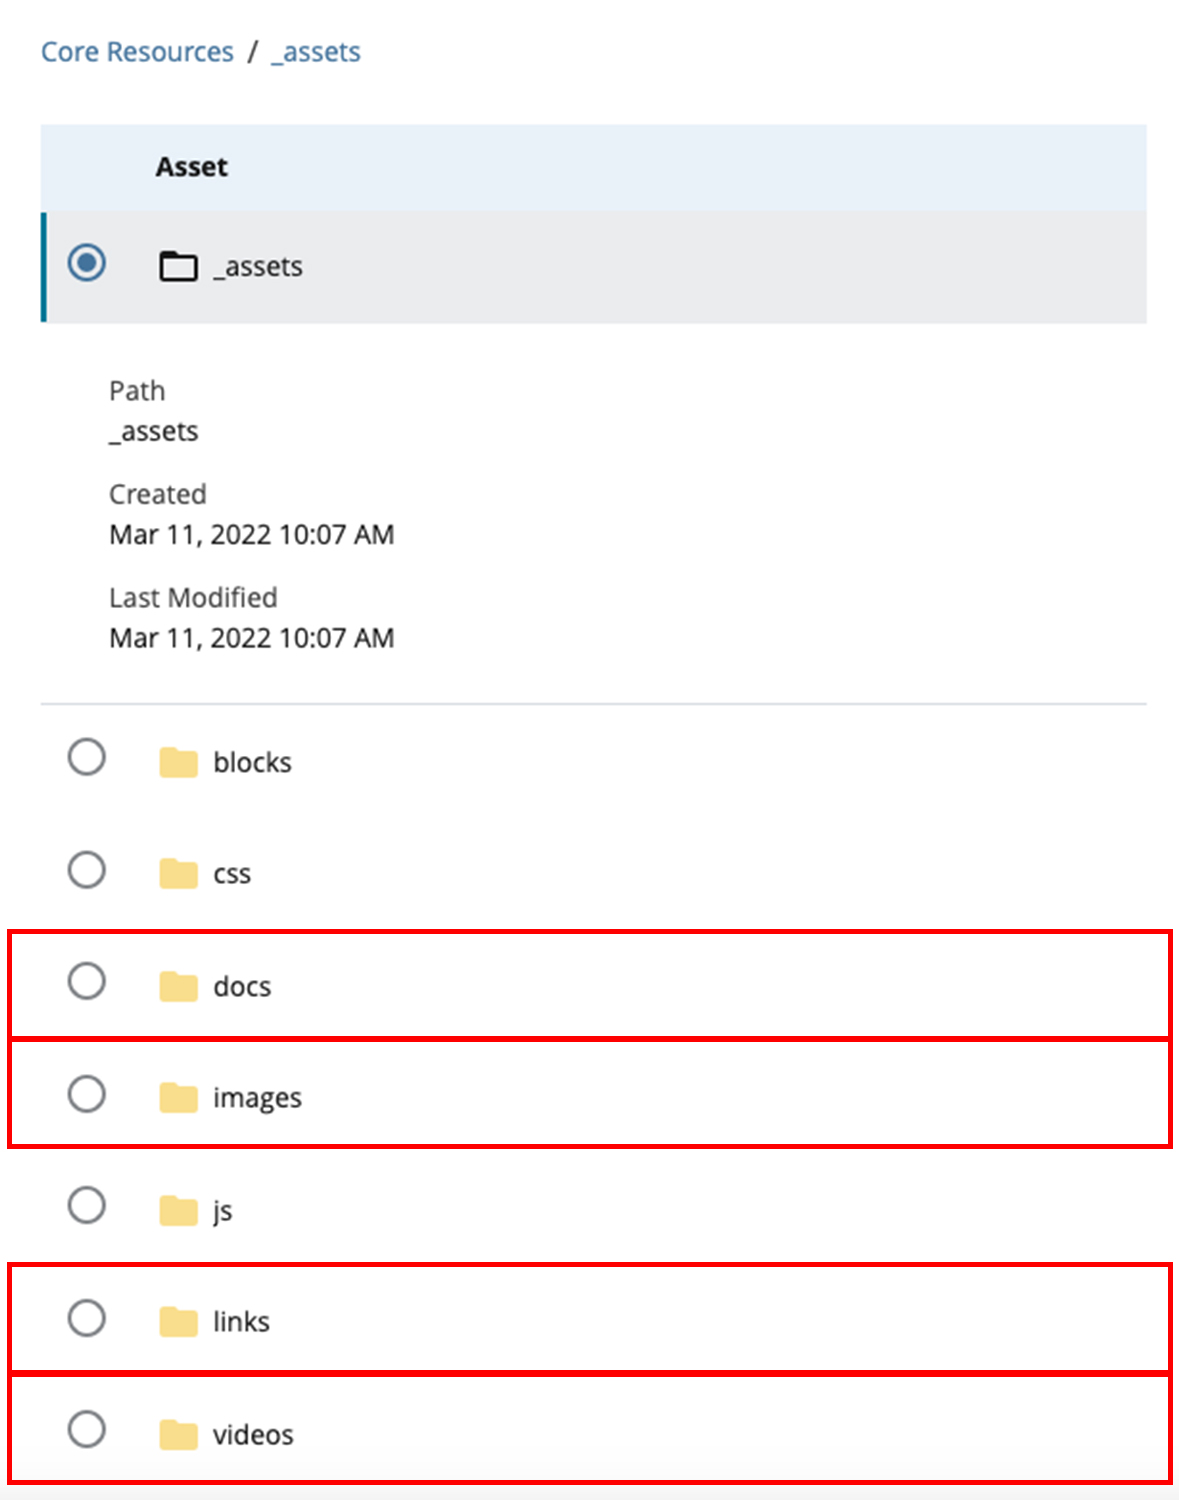
At the root level of your website setup in Cascade, you’ll see an _assets folder right at the top. It’s there by default, created when your site was first built. In this folder, you’ll find separate folders for documents, images, links and videos. By keeping your assets separate from your page files, you make it easier to locate assets and reduce the chance of misplacing something important.
Uploading new assets and keeping them organized
When uploading new media assets, like images or documents, be sure to select the appropriate folder within the _assets folder. This step ensures your assets stay organized and are easy to locate, rather than being accidentally uploaded to the root level or misplaced in the wrong folder.
Using the _assets folder at the page level for better organization
If you have a large website, you can create a similar _assets folder within sub-folders. This way, you can keep assets close to their relevant pages, keeping things streamlined and easy to manage across the site.
For example, the College of Medicine has a lot of program pages, and they created a similar _assets folder structure within each program (Figure 1). Meanwhile, the College of Public Health & Social Work keeps their _assets folder at the root level of their Programs folder (Figure 2).
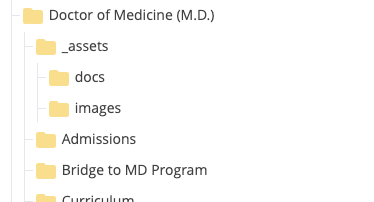
Figure 1: Within each program.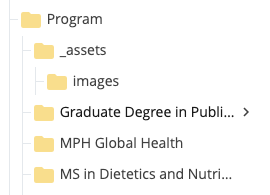
Figure 2: At the Programs folder level.
Creating an _assets folder
If you’d like to setup an _assets folder structure on your website, here’s a simple guide to get you started:
1. Select Add Content on the top of the page, then click Make a Folder
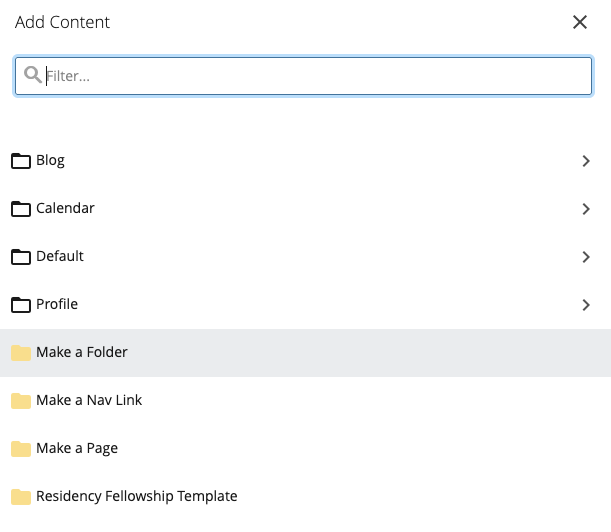
2. In the Display Name text field, enter _assets. We use the underscore in the folder name, so it appears at the top of the folder structure. Make sure to:
- Select Exclude from sitemap
- Select Hide from navigation
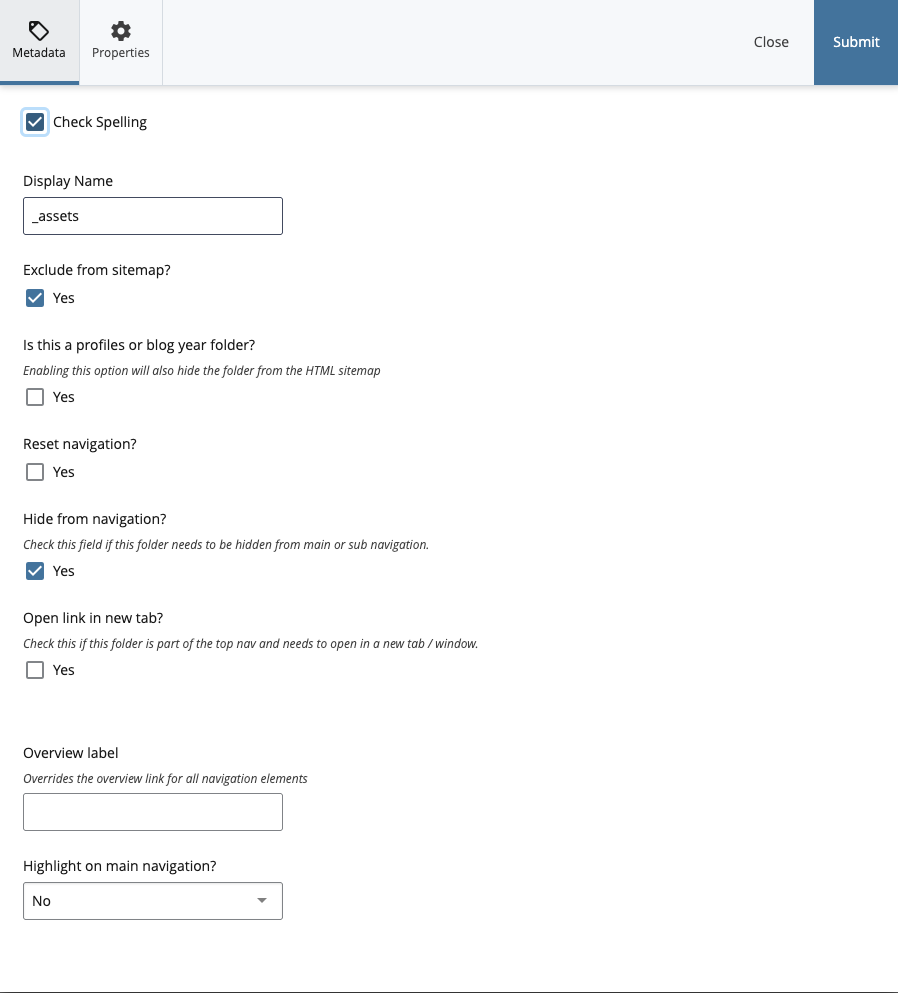
3. Hit the submit button when you’re ready to create the _assets folder.
Note: To keep your assets organized, you’ll need to repeat these steps to create subfolders for images, documents, videos, and links within the _assets folder.
Wrapping up
By cleaning up your assets and organizing your files in Cascade, you’re making your life as a website editor much easier. You’ll be able to quickly find the images, documents and videos you need, without wading through a sea of clutter.
So, organize your files, take a little time to set up an assets folder where needed, and you’re good to go.