
Video banners are an excellent way to highlight your college or department and make your page feel active and engaging. We've written best practices for video banners before, but we wanted to walk you through the whole process, one step at a time.
Before you start
Let's quickly go over the rules and recommendations for creating a video banner before we dive into the process.
A video banner should:
- Less than 10 MB in size
- Be no longer than 20 seconds
- Have no text in the video for accessibility purposes
- Have no sound
- Have a 16:9 aspect ratio
If you’re having trouble keeping your video under 10 MB, try making it shorter, using smaller dimensions or using a lower resolution.
1. Make sure the page banner is enabled on your page
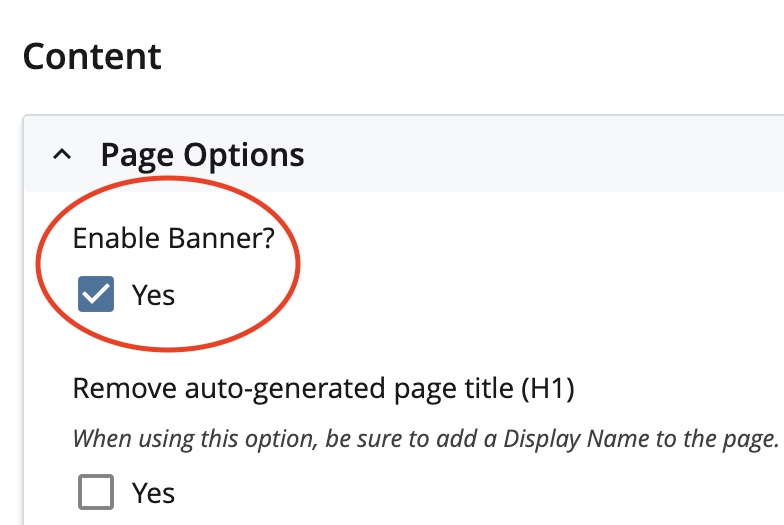
The first step is to make sure the page banner is enabled. Go to the top of the page's edit window and select Page Options, then click Yes under the Enable Banner? option.
2. Select and upload a video banner
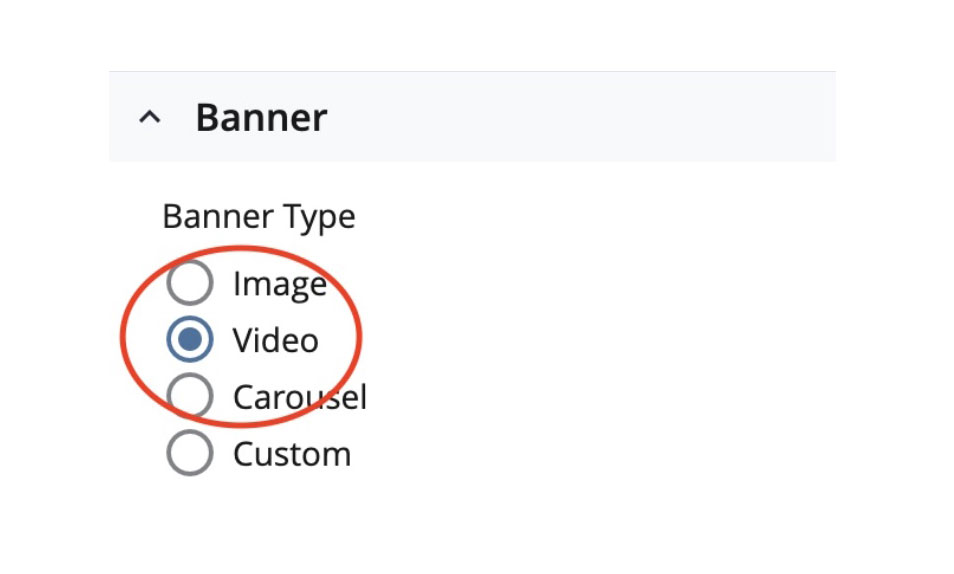
Go down to the Banner dropdown. Click it, then select Video from the Banner Type options.
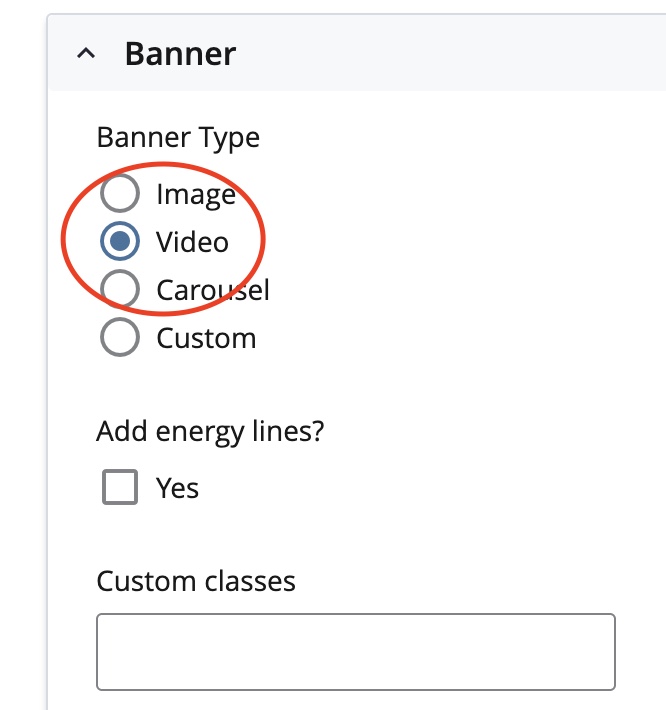
Now you can upload a video by clicking Choose, File, Page, or Link.

3. Add a media description
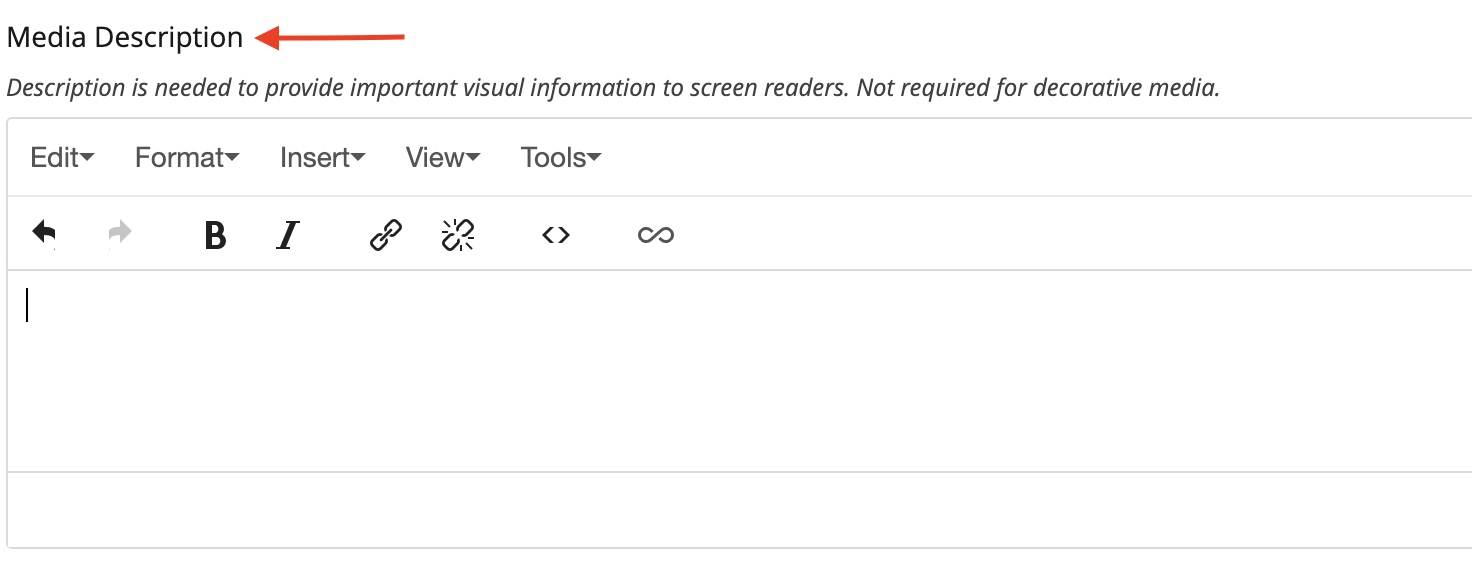
Once you have attached your video, you'll need to write a detailed description of it in the Media Description field.
This description is what screen readers will read aloud to users who can't see the video, so it's just as important as the video itself. Don't treat it as an afterthought.
Once you've written your media description, you're done! Click Submit to save your changes or Preview Draft to see how your video banner looks on the page.