
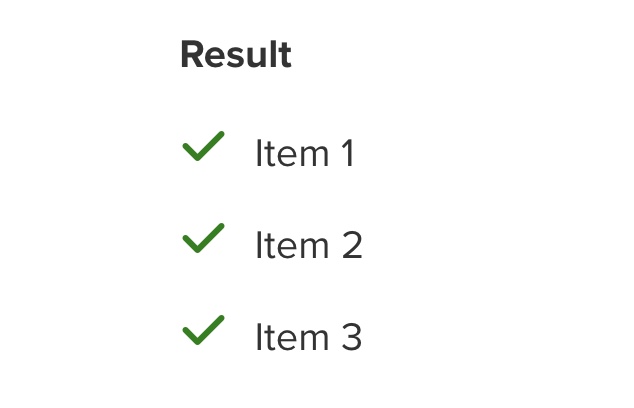
Want to add dynamic visuals to your page? Icon lists add visual flair to your content that immediately grabs the reader's attention. Icon lists can also add additional visual context to a list that enhance the effectiveness of your page.
Using these icons is as simple as creating an unordered list and adding a class. Currently, there are three available icons to use with your content: green-check-list, round-check-list, or xmark-list.
To create one of these icon lists, start by creating an unordered list (bullet list) in your editor. Once you've created the bulleted list, switch to the source view <> and add the class class="icon-list green-check-list" to the <ul>.
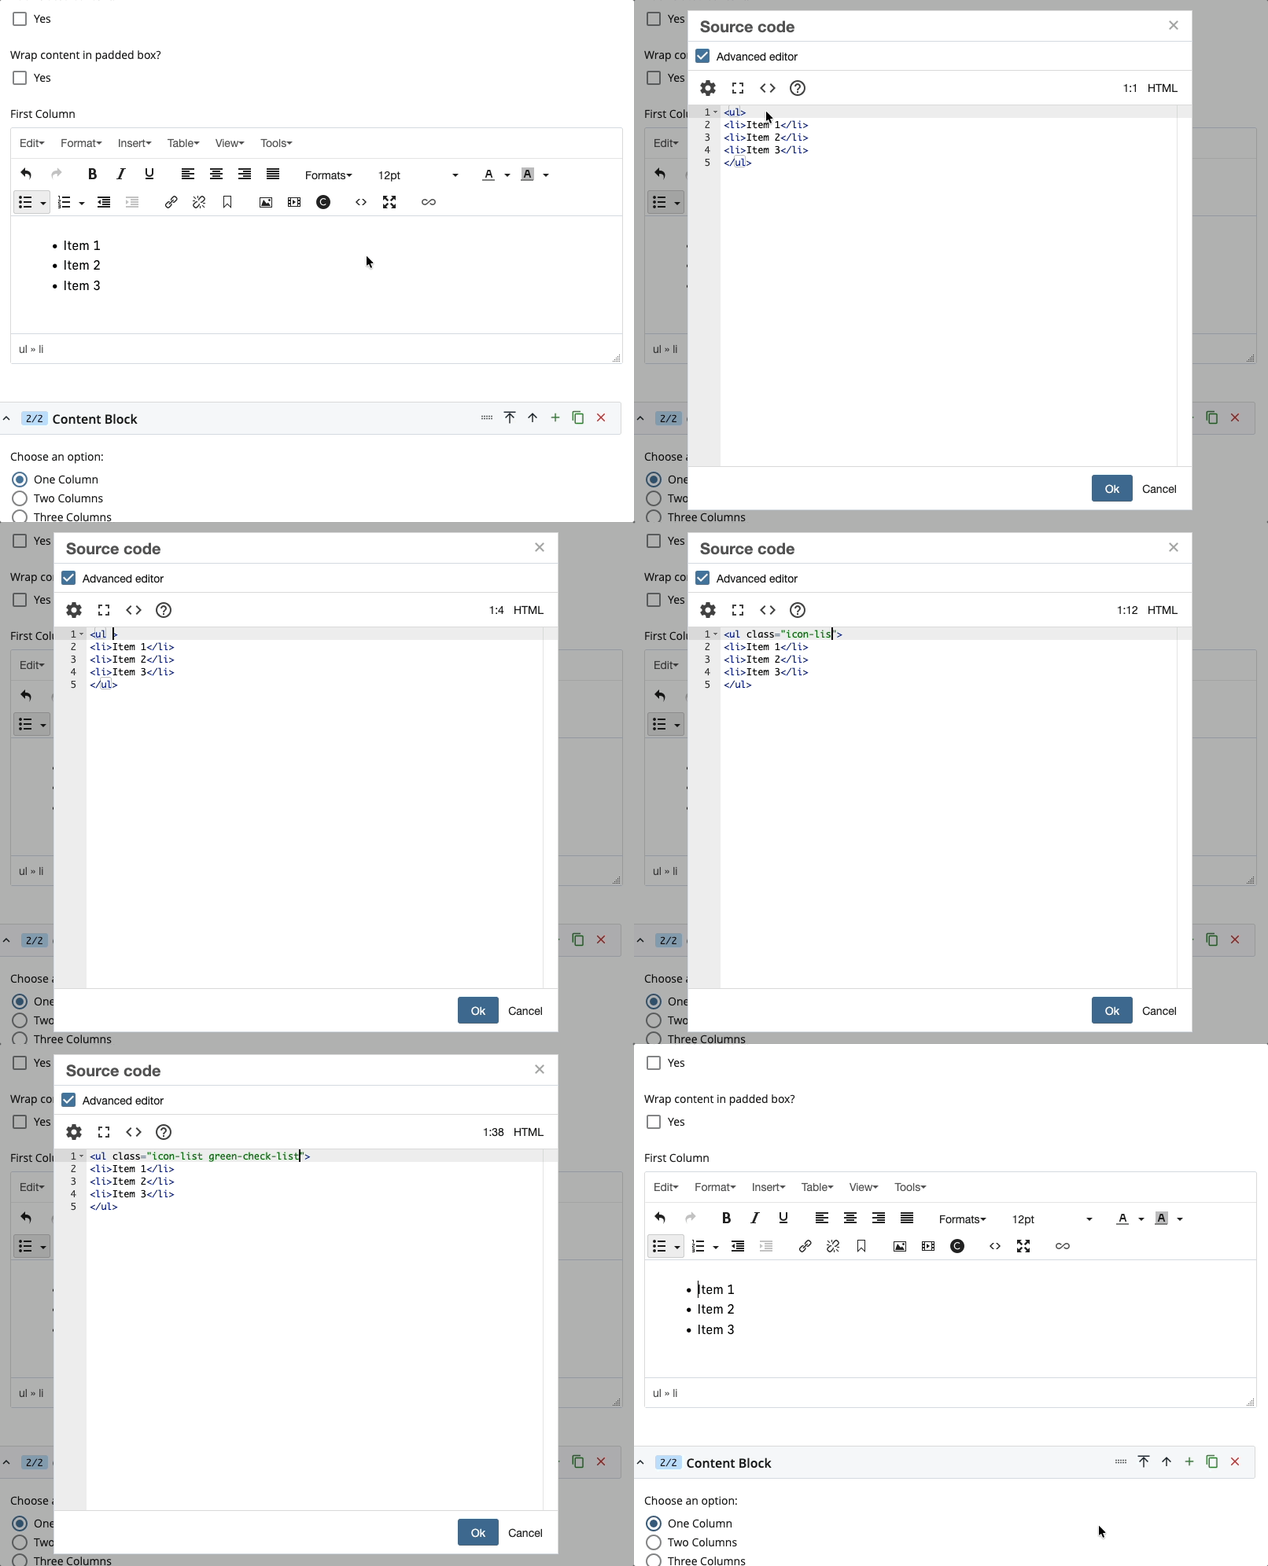
Notice how the list doesn't change in the editor. You'll see the result when you preview the page.
Let's take a look at some examples below.
Code for green check list
<ul class="icon-list green-check-list">

    <li>Item 1</li>

    <li>Item 2</li>

    <li>Item 3</li>

</ul>
Result
- Item 1
- Item 2
- Item 3
Code for round check list
<ul class="icon-list round-check-list">

    <li>Item 1</li>

    <li>Item 2</li>

    <li>Item 3</li>

</ul>
Result
- Item 1
- Item 2
- Item 3
Code for x-mark list
<ul class="icon-list xmark-list">

    <li>Item 1</li>

    <li>Item 2</li>

    <li>Item 3</li>

</ul>
Result
- Item 1
- Item 2
- Item 3
Note: We do not recommend using these classes with ordered lists <ol> (number list) as they can confuse the user into thinking the order doesn't matter.