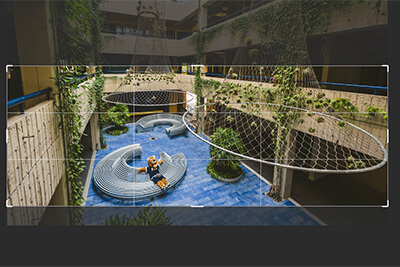
Before we get started, it's best to know which image you want to resize. Remember, you can download free-use FIU photos from FIU's Flickr account.
Once you’ve picked your photo, let’s open it in Photoshop.
Opening your image in Photoshop
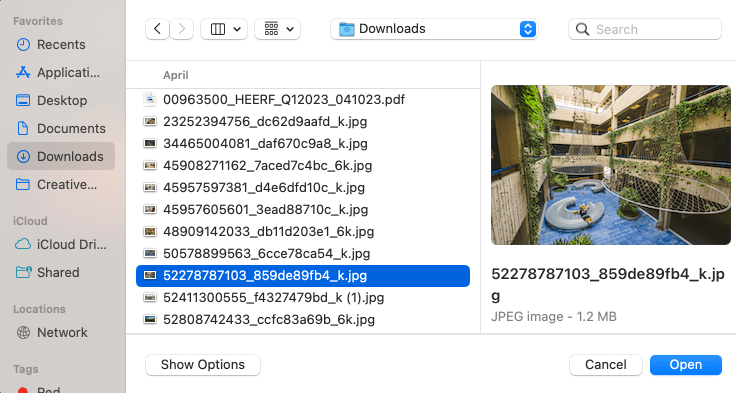
- In Photoshop, select the “File” menu and select “Open” to go to the File Open dialog.
- Locate the image you want to resize and select “Open.”
Your image should now be opened in Photoshop.
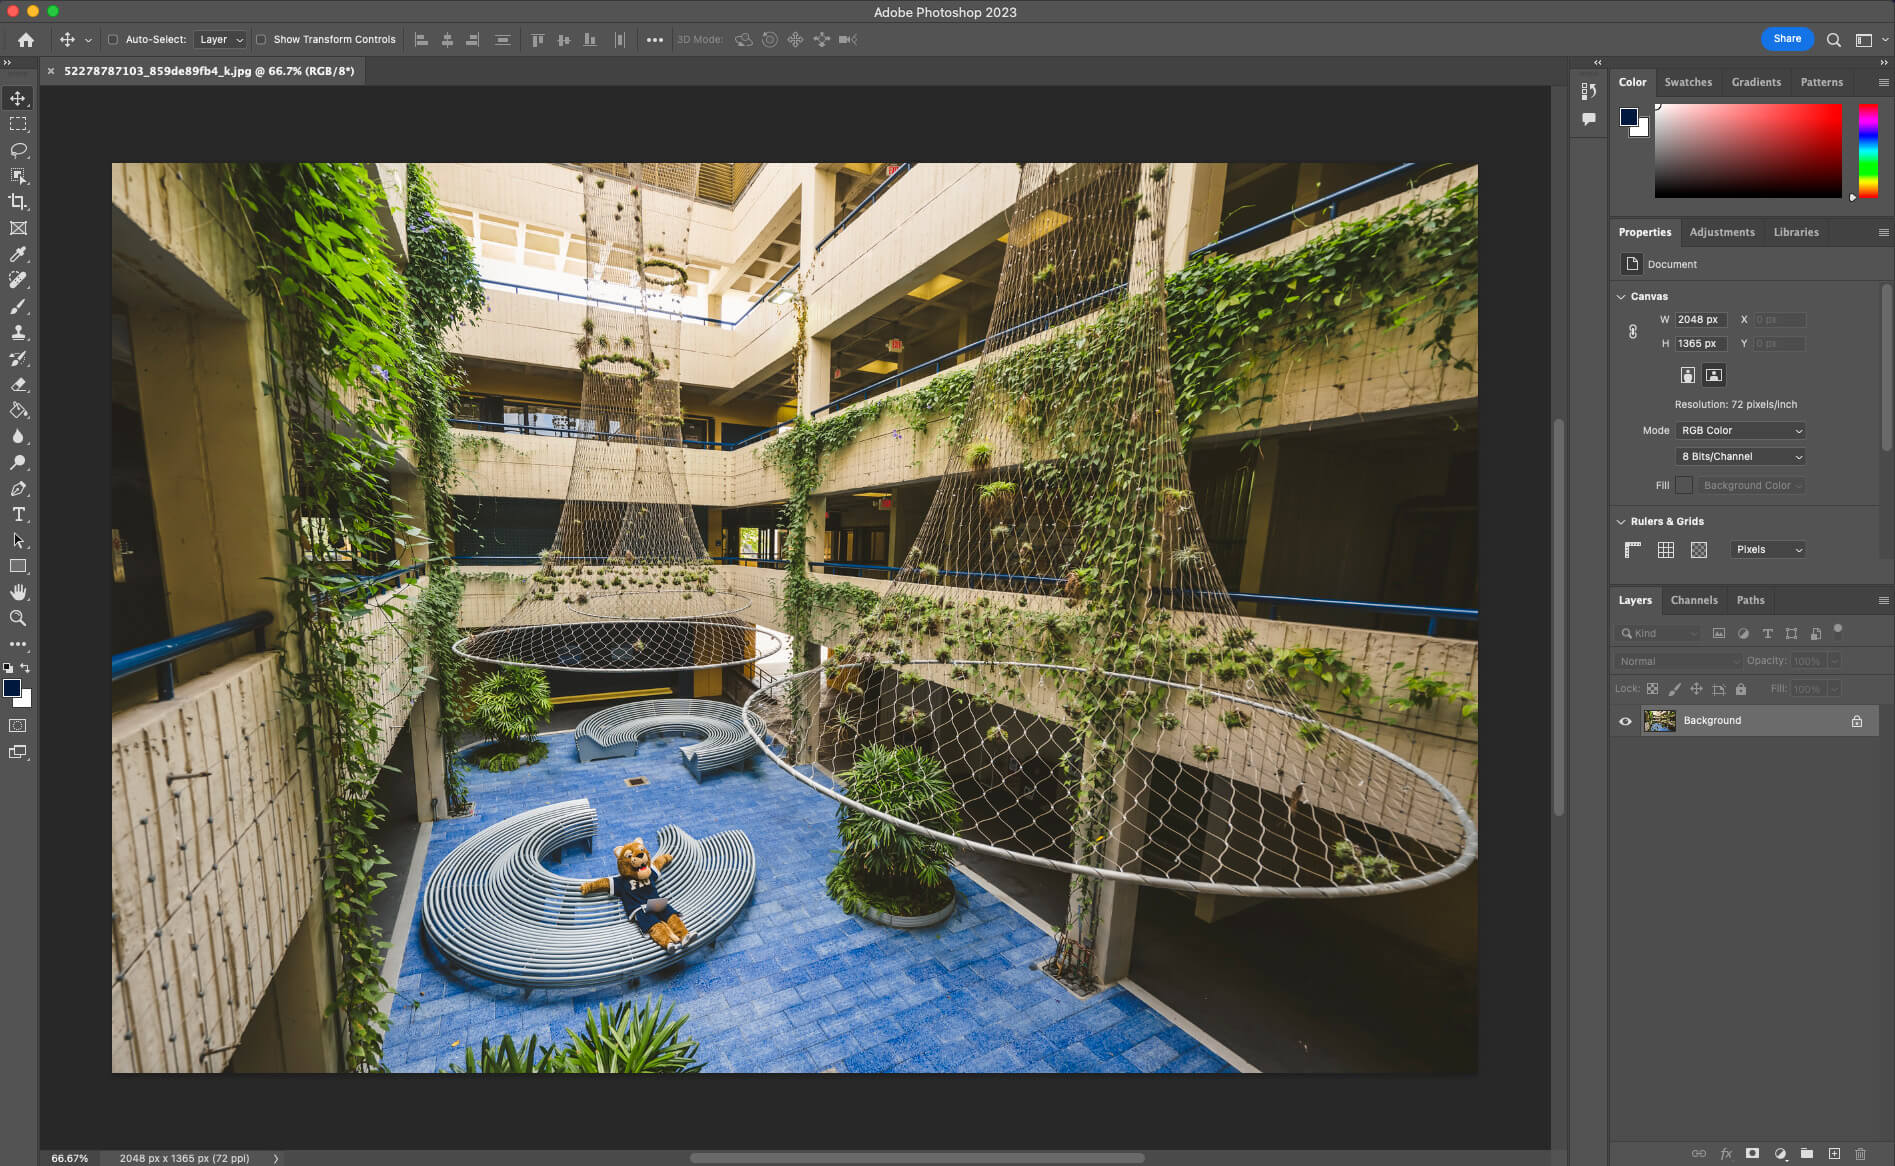
Cropping your image
Let’s get your image resized to the correct size for either a web banner or a standard thumbnail.

- Locate the Crop icon in the upper-left corner.
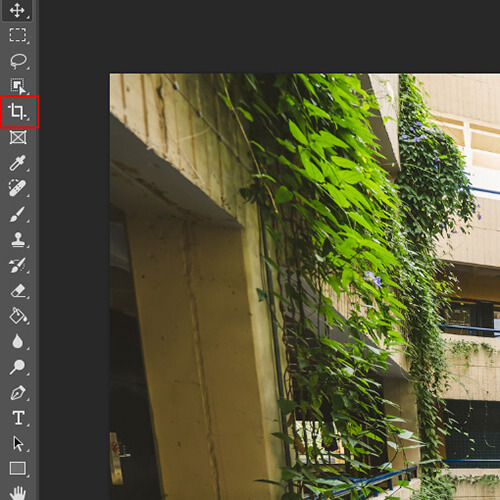
- Select W x H x Resolution in the dropdown so we can input the correct image dimensions.
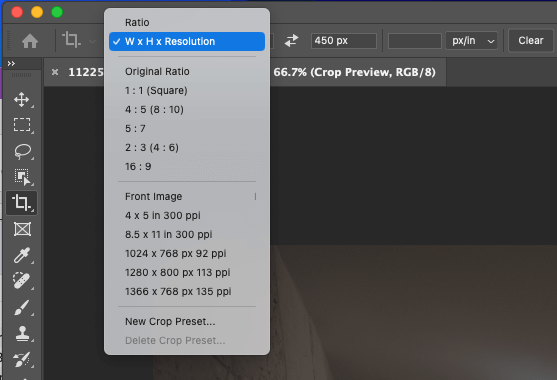
- Enter the dimensions needed for your photo.
- Width and height for the cropped image: refer to the Preferred image sizes by module table if you are unsure what size you need.
- Resolution for cropped image: 72
- Commit your crop changes.
![]()
- When you have finished positioning your image and are ready to crop, click on the checkmark (see image in step 3c).
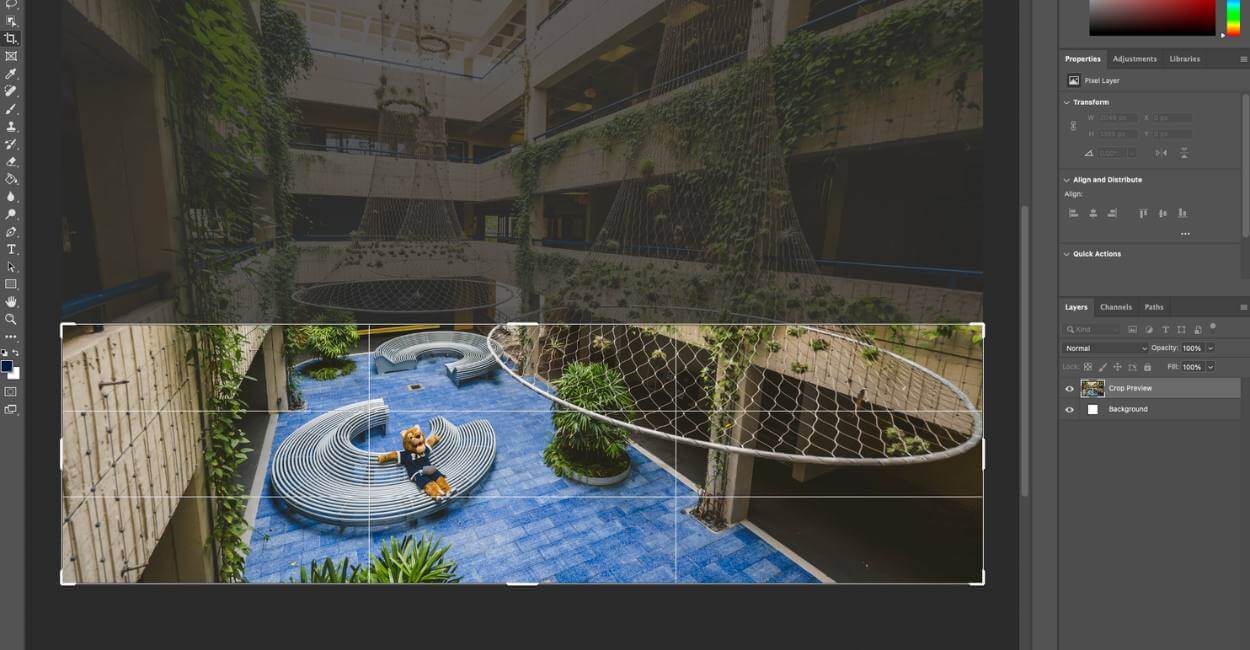
It’s recommended to have the focus of your photo falls within the middle band to ensure it doesn’t get cut off when it’s uploaded into Cascade.
Exporting and saving your image
Now that your image has been cropped, it’s time to export and save your photo.
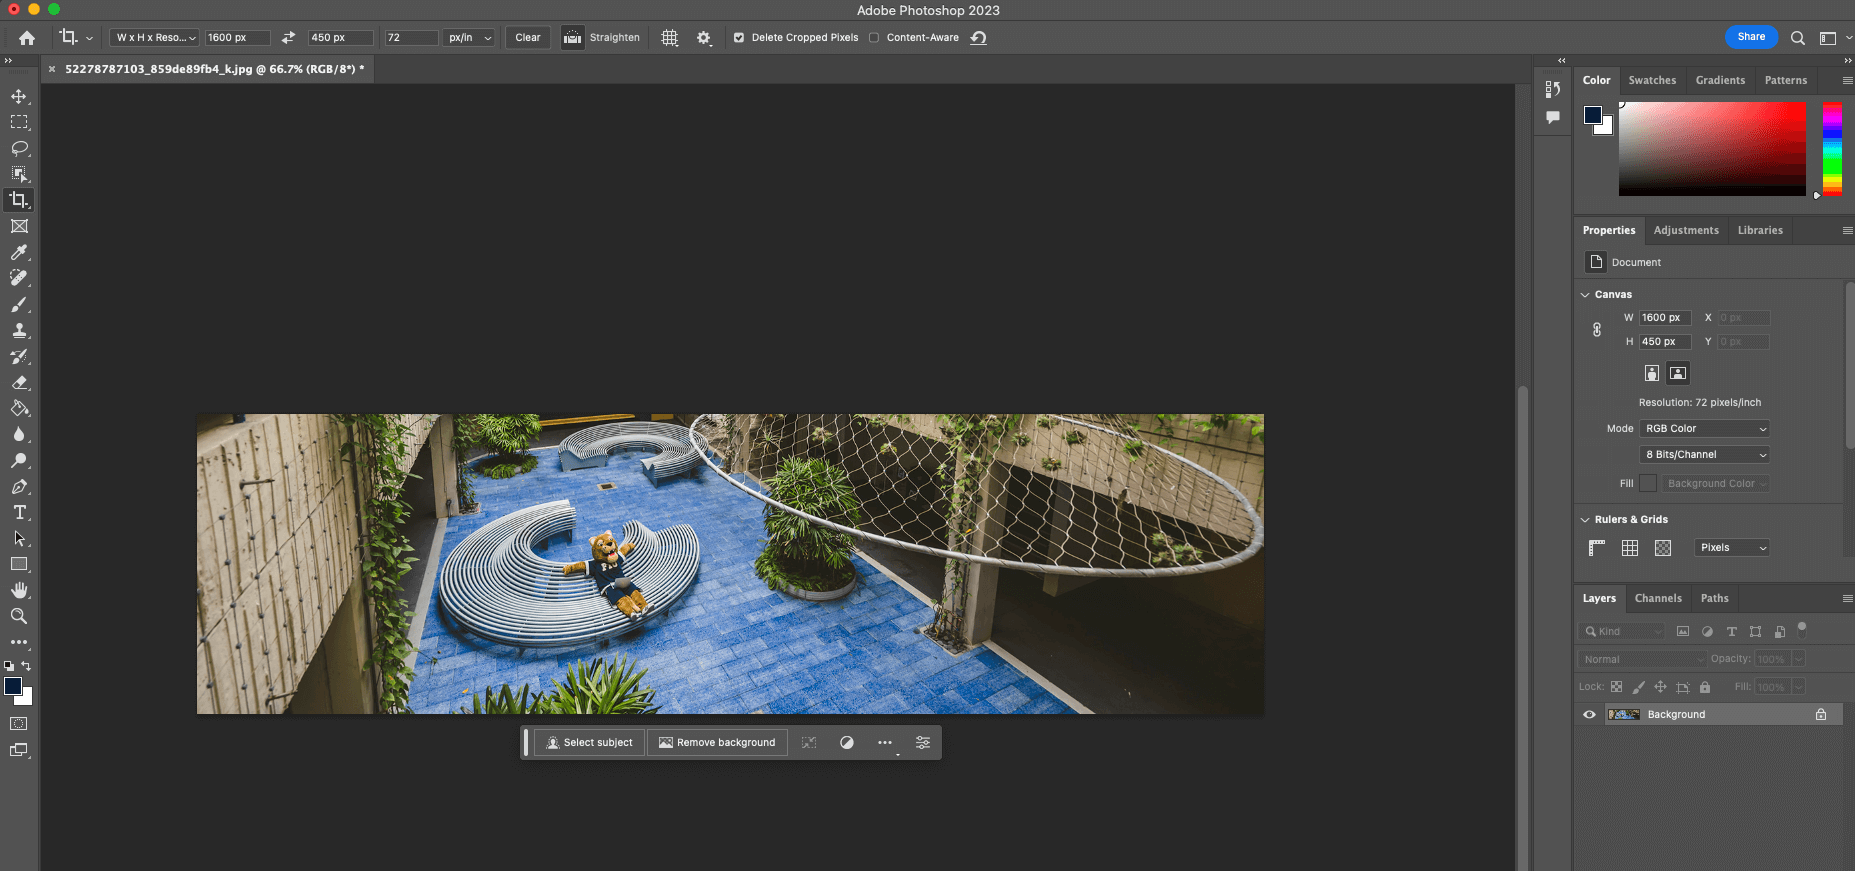
- Select the “File” menu then “Export” then “Export As.”
- Under “Image Size” input your desired dimensions.
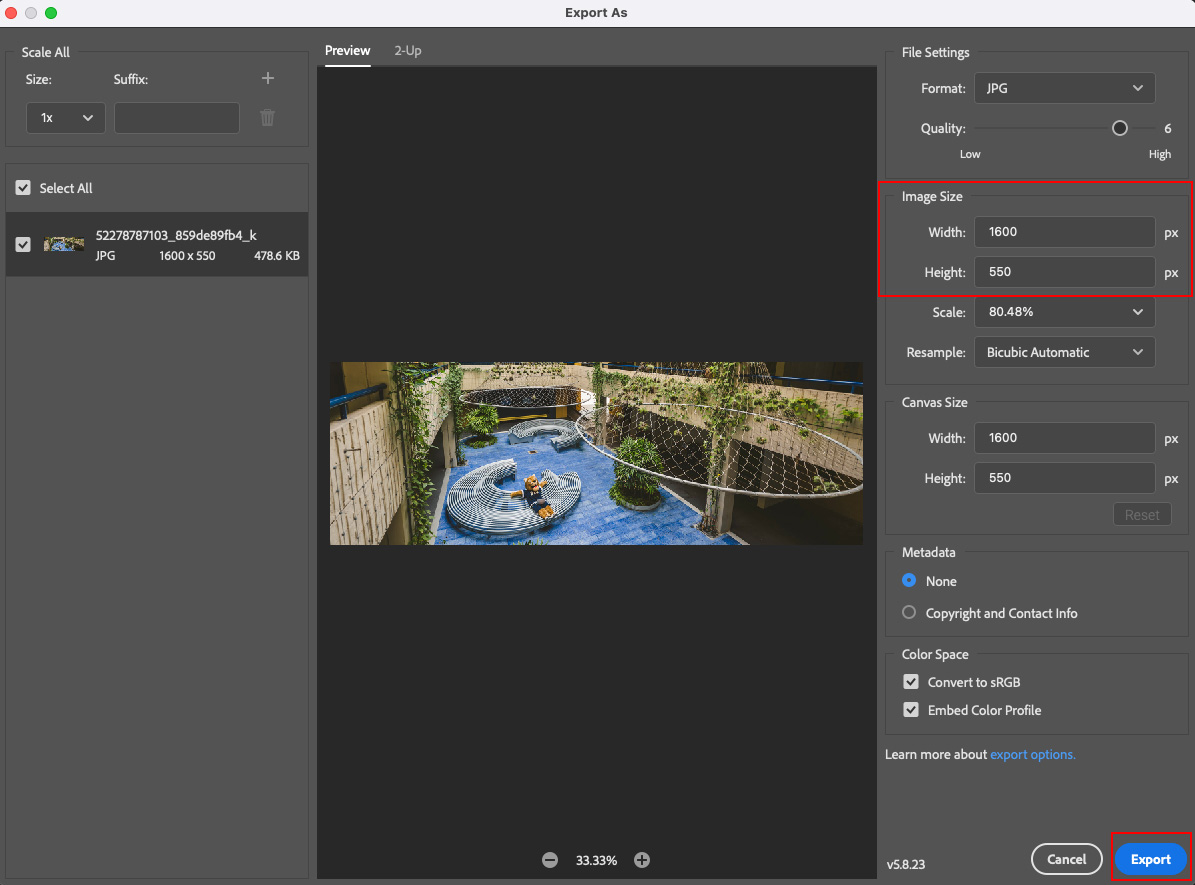
If your image is above 1MB you can reduce it by slightly lowering the quality of the image (No lower than 90%).
- Select the “Export” button when you are ready to save your image.
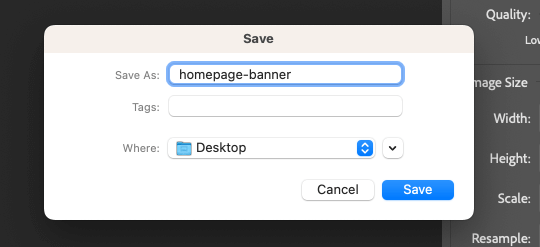
- Give your image an identifiable name and select where the image should be saved.
- Select “Save”.
Your image is ready to be uploaded to Cascade.

Don’t know how to upload your image to Cascade? Check out our quick Cascade Guide – Uploading Page Assets (Images, Document, Etc.).
