The Digital Communications team maintains a set of Canva templates in FIU’s Brand Hub for each module in the Core template and FIU News.
Locating the Brand templates in FIU’s Brand Hub
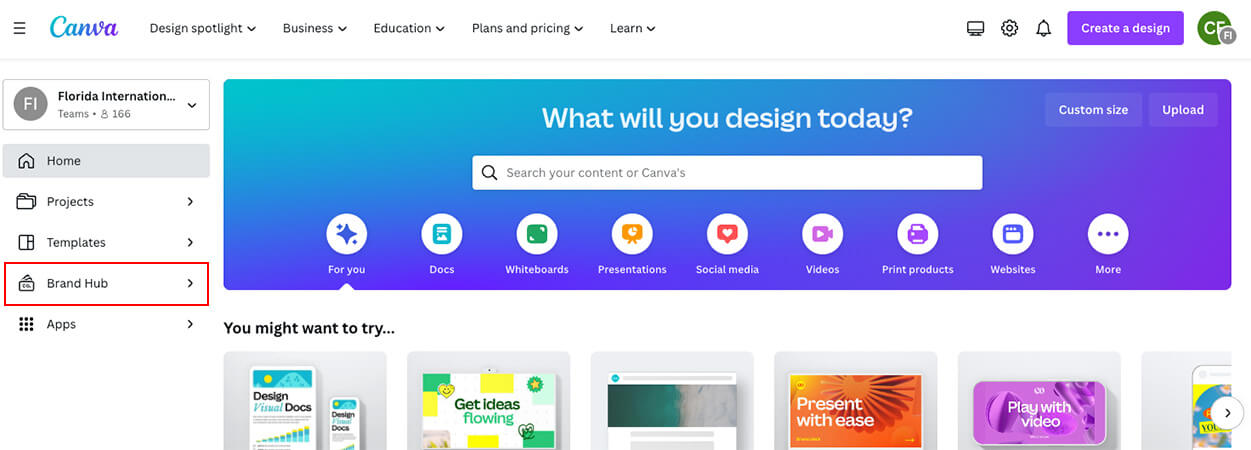
Once you are logged in to Canva with your FIU account, locate and select “Brand Hub” on the left side of the webpage.
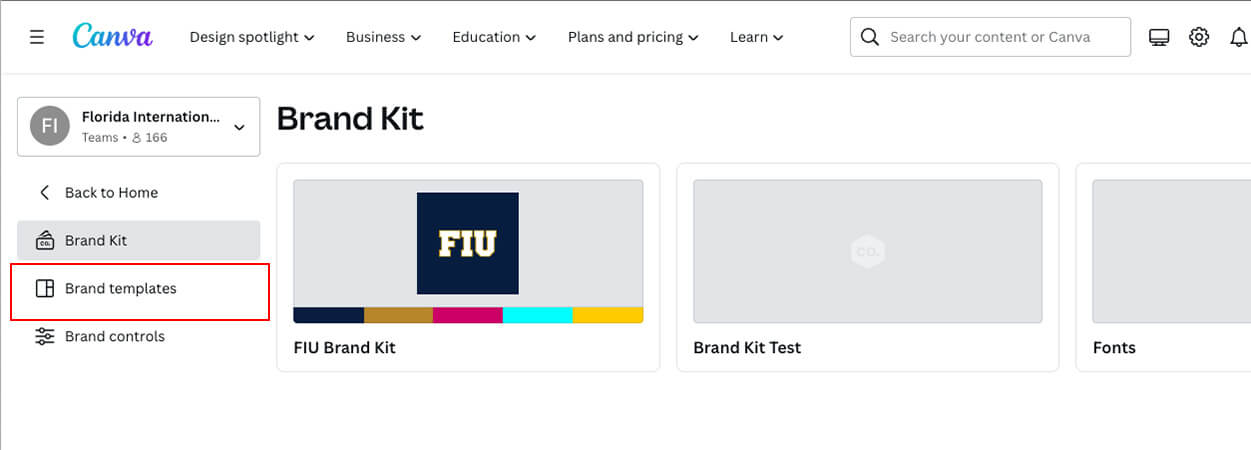
Now, let’s select “Brand templates” on the left side of the webpage.
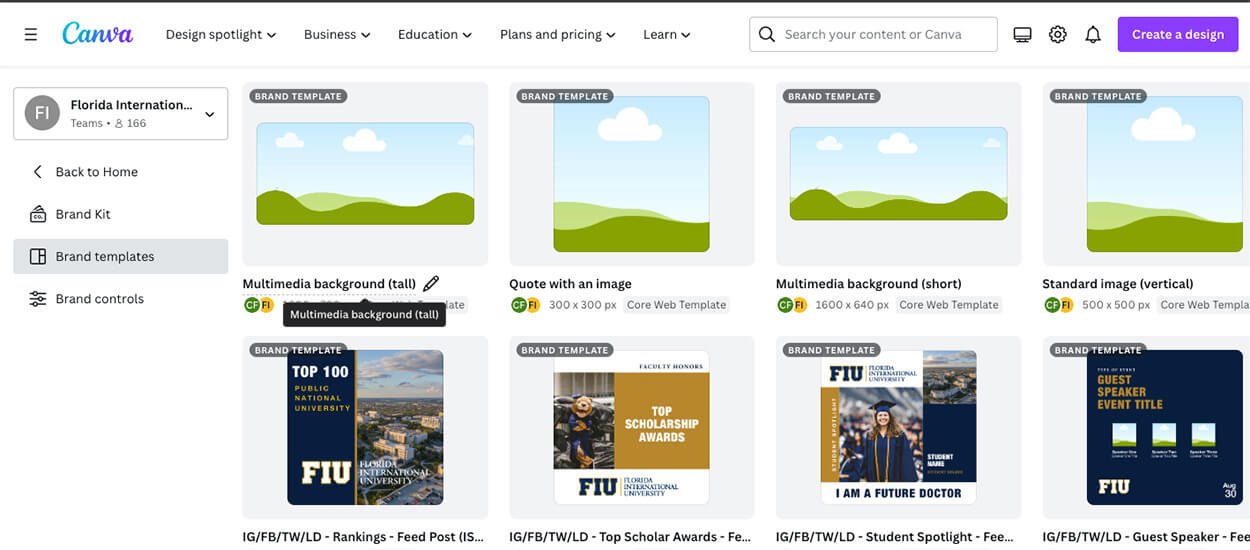
Once you have selected Brand templates, you should see all the templates available to you.
Navigating to the Core Web Template folder
- Select the “Folder” dropdown on the horizontal filter controls.
- Select “Web Assets” in the dropdown menu.
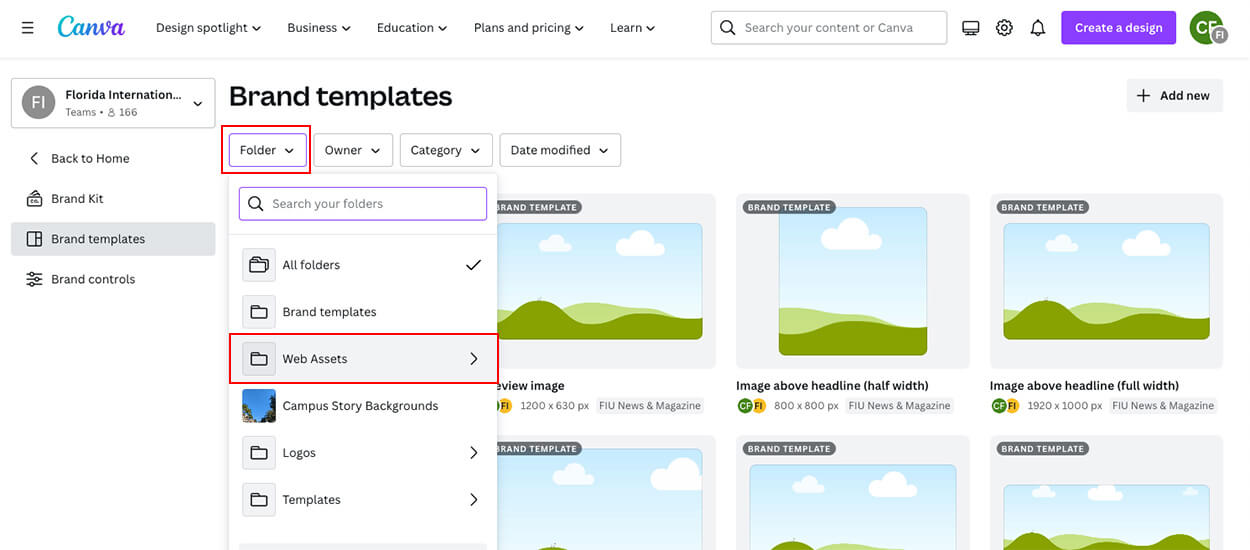
- Select “Core Web Template,” and select the “Choose ‘Core Web Template’” button to navigate to this folder. If you are looking to create assets for FIU News or FIU Magazine, select the appropriate folder.
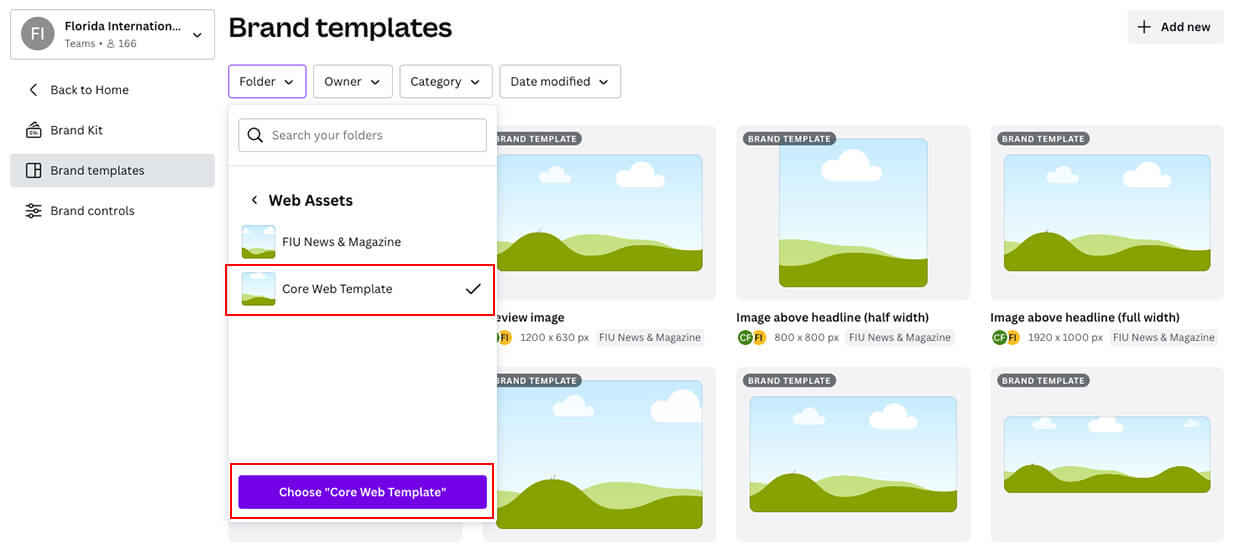
Now you will be able to see all the available web assets for the Core template. This includes templates for the blog feature.
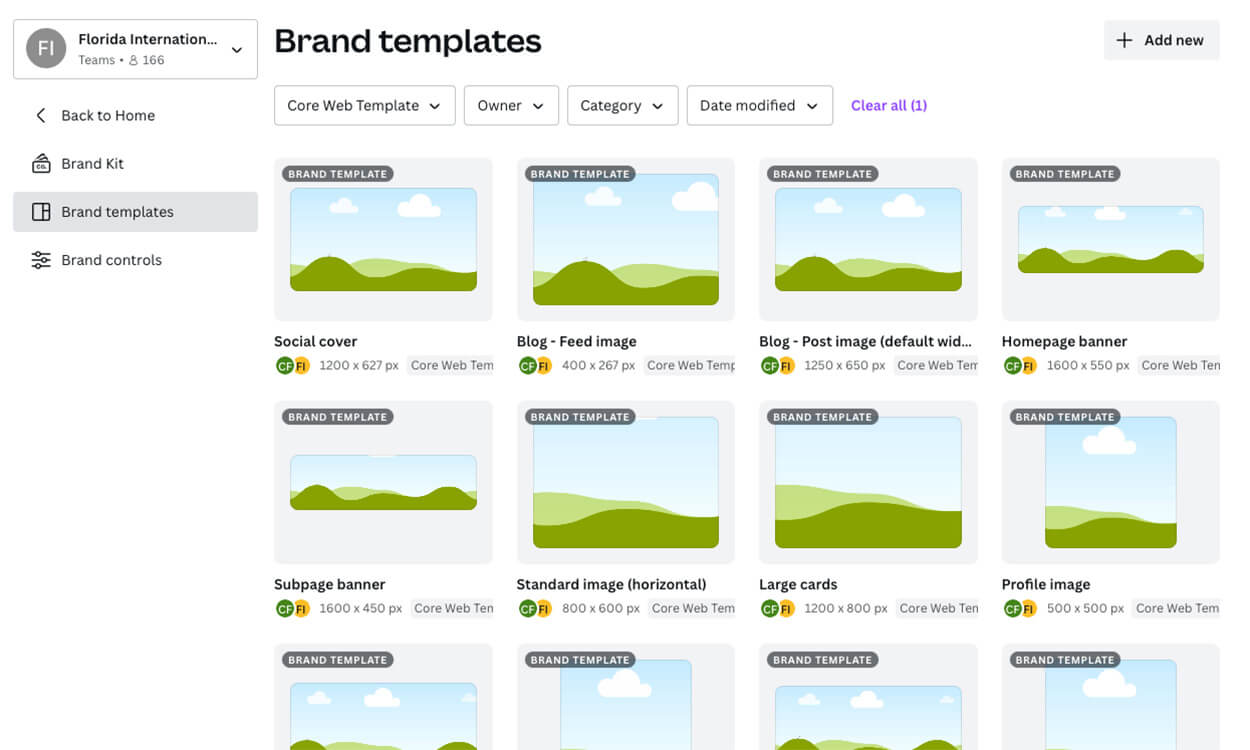
Getting started: Selecting a template
Before we get started, it’s best to know which photo you want to use. You can download free-use FIU photos from FIU’s Flickr account.
If you are unsure which image best fits the module you’ve chosen in the Core template, take a look at the preferred image sizes by module table on the Core Resources Hub.
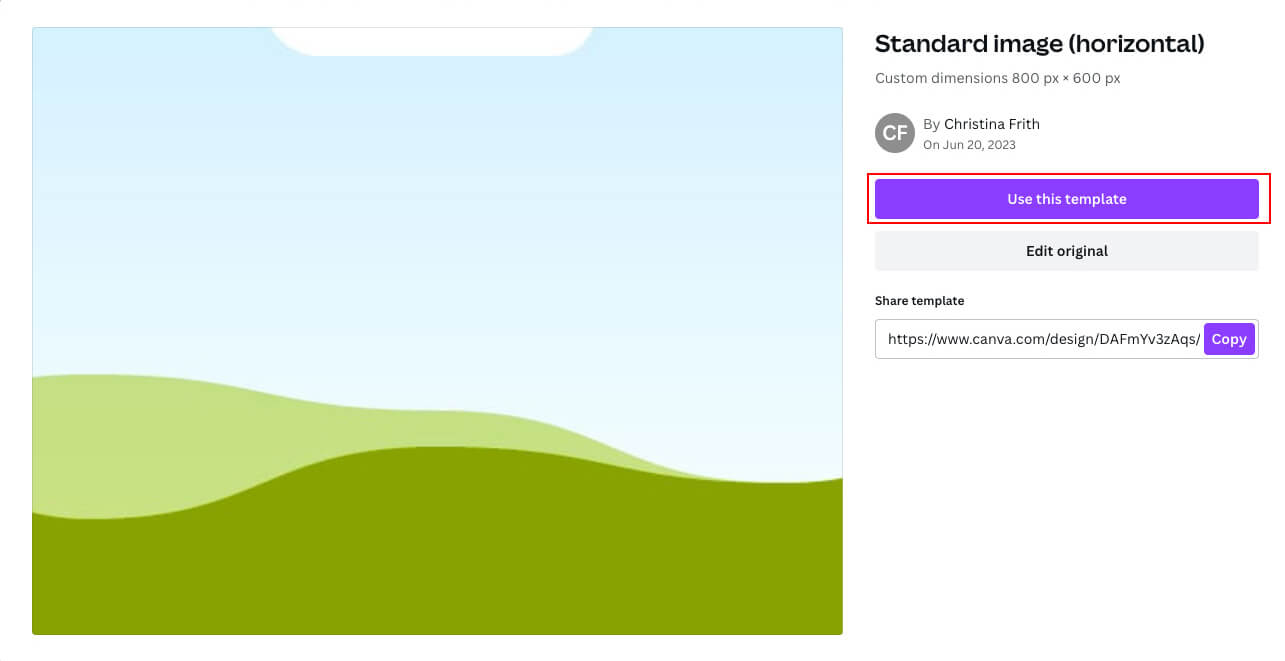
For this example, we will be selecting the Standard image (horizontal) template.
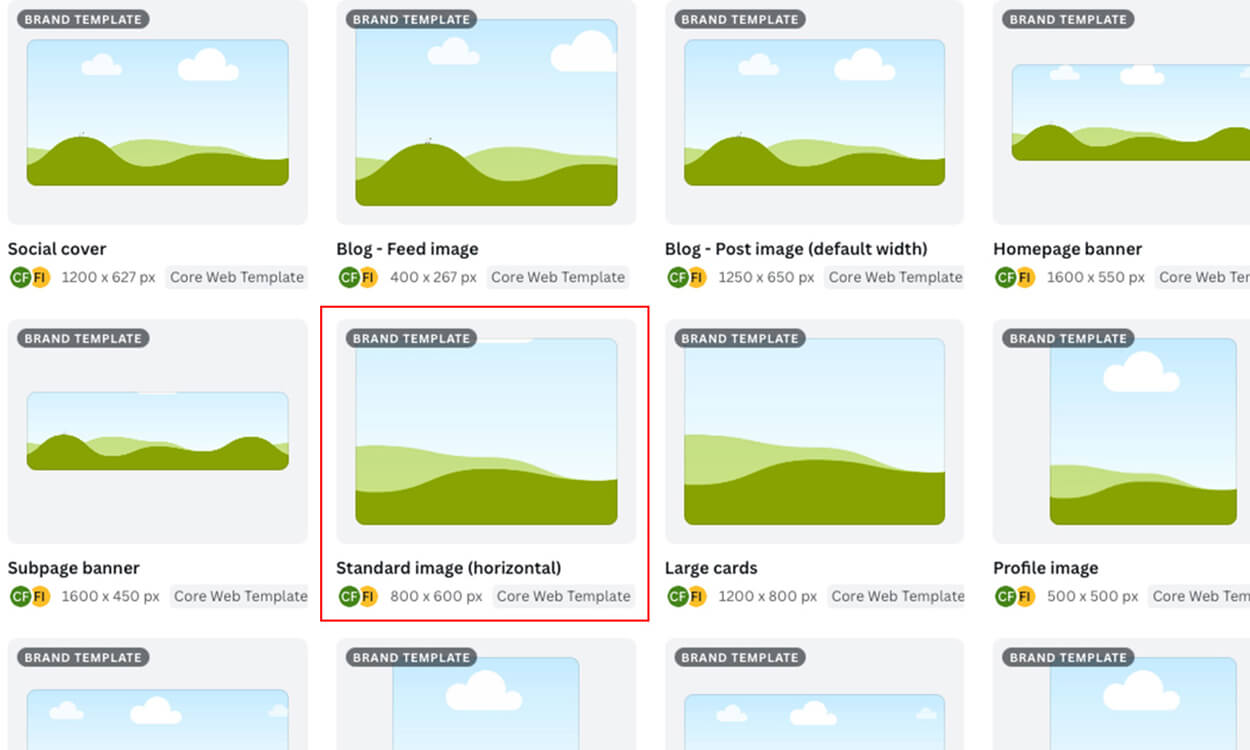
Select “Use this template” and a copy of this template will open for you to start editing.
Uploading to Canva
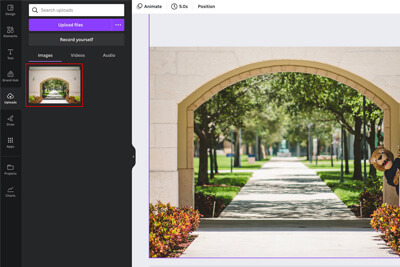
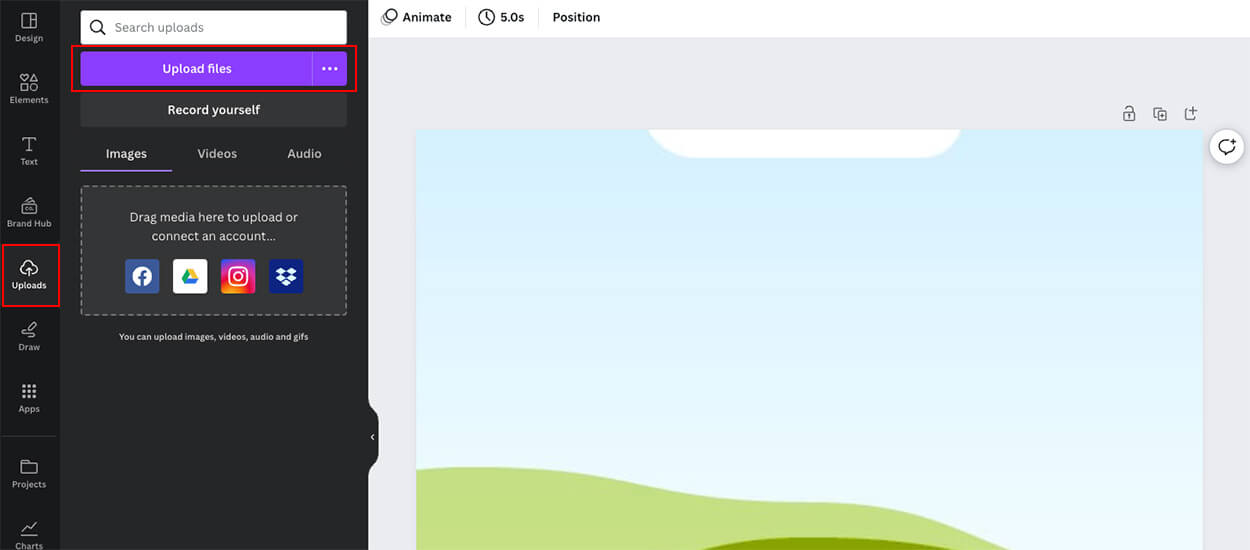
Select the “Uploads” tab on the left side of the screen. Then, select the button, “Upload files.” Choose the photo you want to upload.
Adding a photo to your artboard
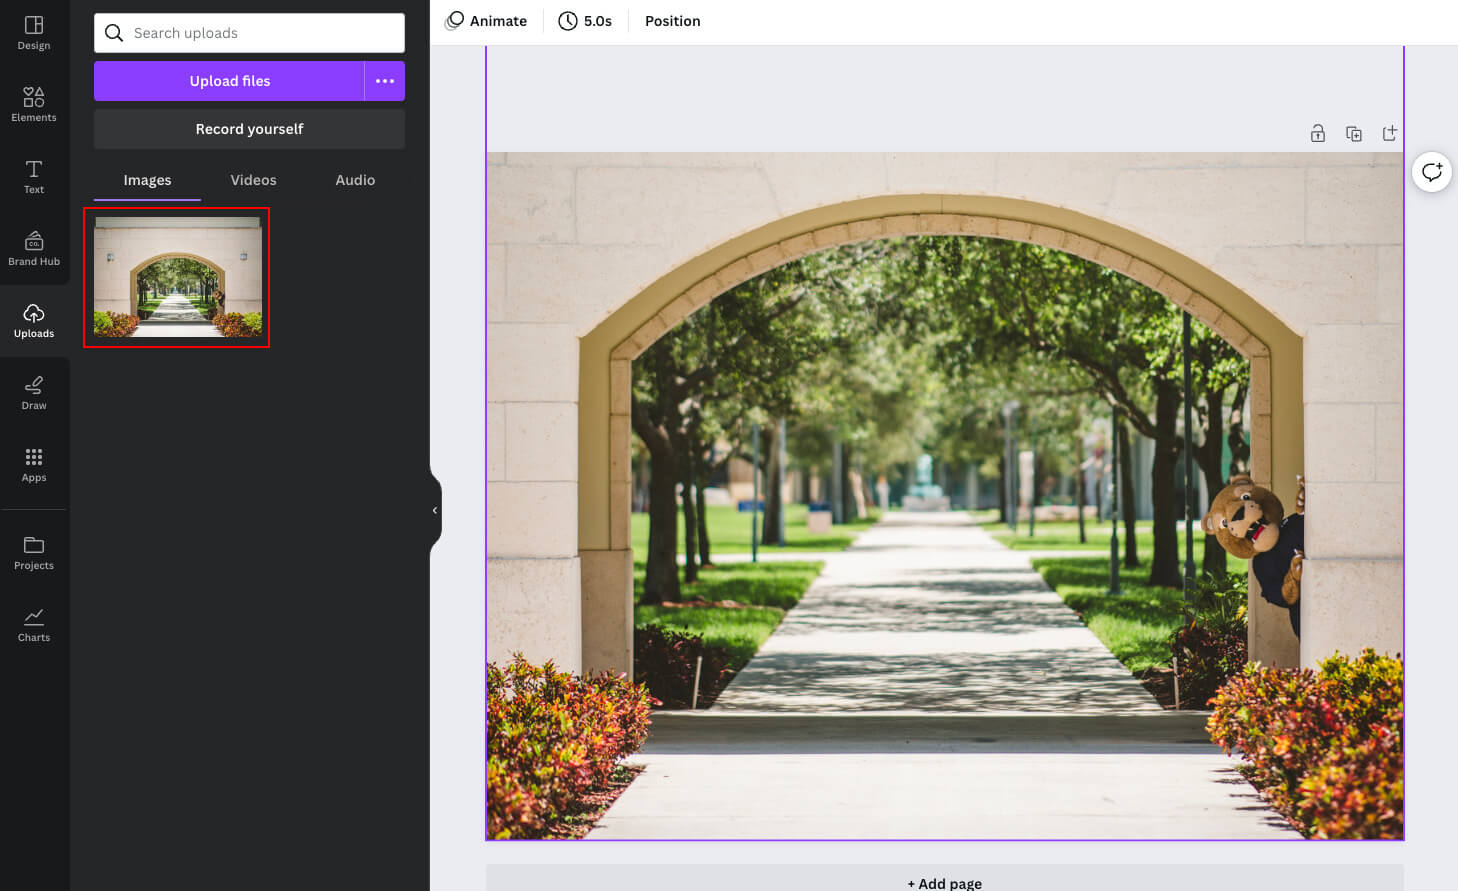
Select your photo from the media gallery and drag it onto the artboard on the right side of the screen. Adjust your photo to fit in the artboard.
Exporting your new web asset
Now that you’ve adjusted your image into the template, we are ready to export.
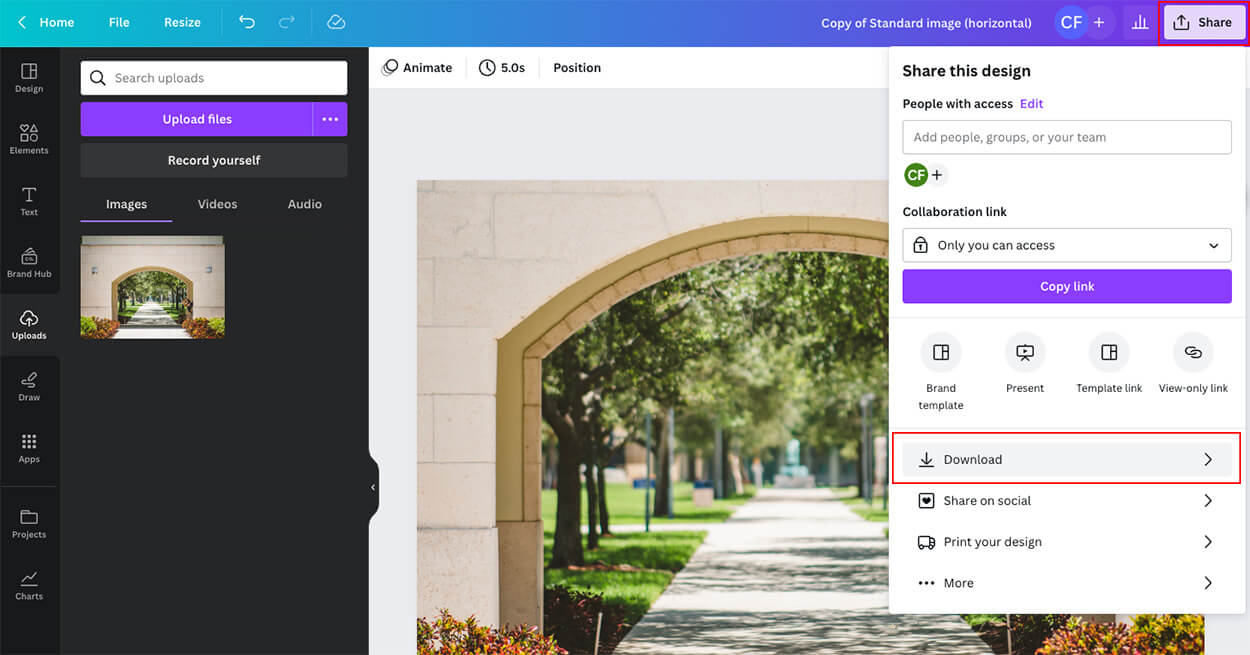
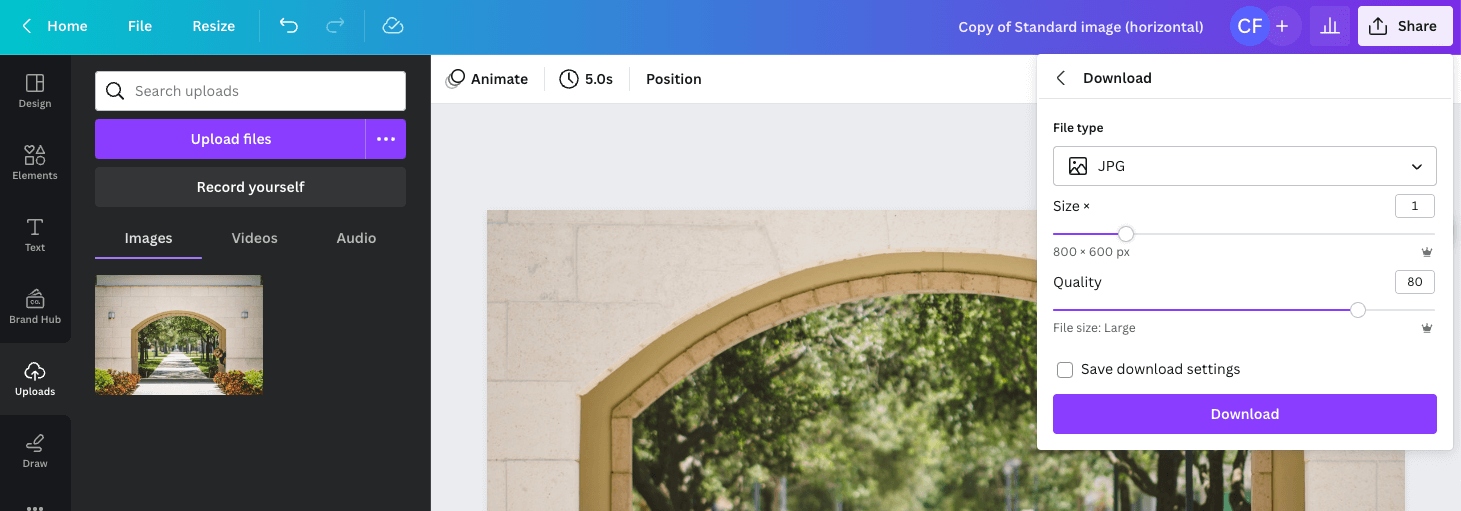
- Select “Share” in the top-right corner of the webpage and then select “Download”.
- Select the “JPG” in the File Type dropdown menu. Adjust the quality of the image if you need a smaller or larger file size. We generally recommend using a quality of 80 but remember to keep photos under 1 MB.
- Select “Download” when you are ready to export your image.
Your image is ready to be uploaded to Cascade.

Don’t know how to upload your image to Cascade? Check out our quick Cascade Guide – Uploading Page Assets (Images, Document, Etc.).
