The blog feature within Cascade has plenty of options that allow you to manage and create content in innovative ways. One option is to link a post directly to another website.
Let's say you see an article from another website covering a topic relevant to your own blog. Rather than recreate the post on your website, you can to send readers to the article directly. Here's how.
Linking Posts to Another Website
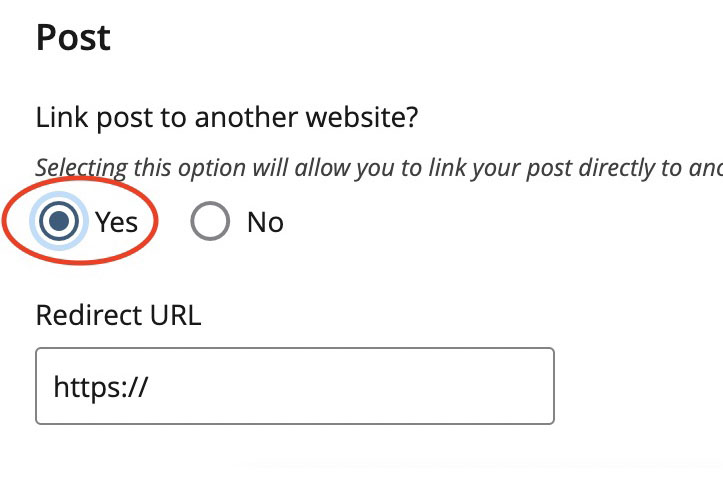
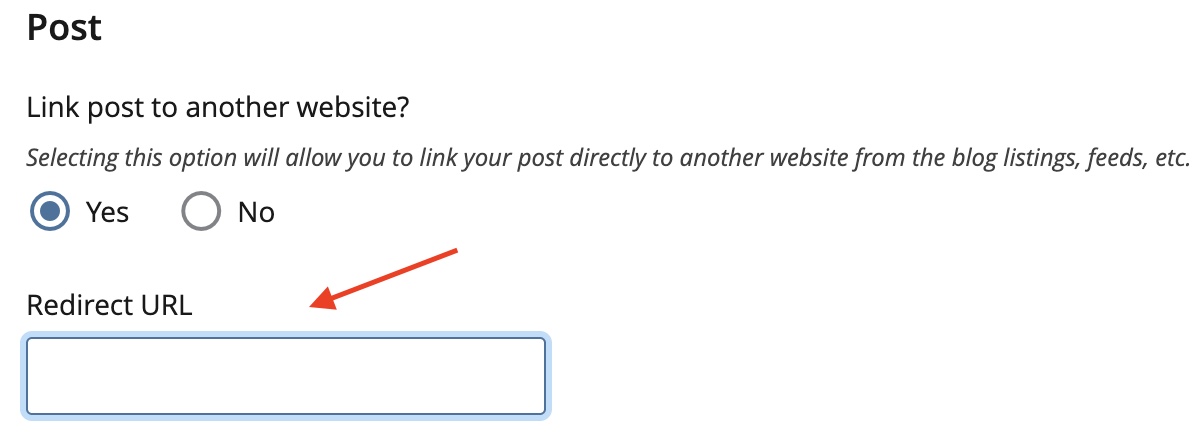
When creating a blog post, you'll notice a section in the editor labeled Post just below the Start Date. Under this section is a Yes or No field that determines whether the post links to another site.

By default, the field is set to No. Once you click Yes, scroll down, and you'll see that there are no longer any sections for Post Content. That's because the linked document or website will provide the content. To fully link the two, enter the URL of the post or document you're linking to into the box labeled Redirect URL that has now appeared directly beneath the Yes or No field.
Once you enter the URL, if you select Preview Draft, you'll see the page you were linking to within Cascade.
Publishing your new post
Even though you aren't providing any written content of your own, you still need to include a title and thumbnail image for your own blog's feed as well as a start date for the blog post to publish.
Once you've finished, submitted and reviewed your post, you're ready to publish. To publish your post, hit the Publish but button as you would when publishing a page.
Once the post has published, you'll need to republish your feed page and any other related pages.