Publishing a blog post in Cascade is as easy as creating or editing a page. There's just a different set of fields than you may be used to seeing.
Follow the instructions below to create and publish your first post.
1. Login to Cascade and find your website
You can log in to Cascade via https://cascade.fiu.edu/. If you're having trouble, check out our posts on getting access to your Cascade website and what to do if you can't log in to Cascade.
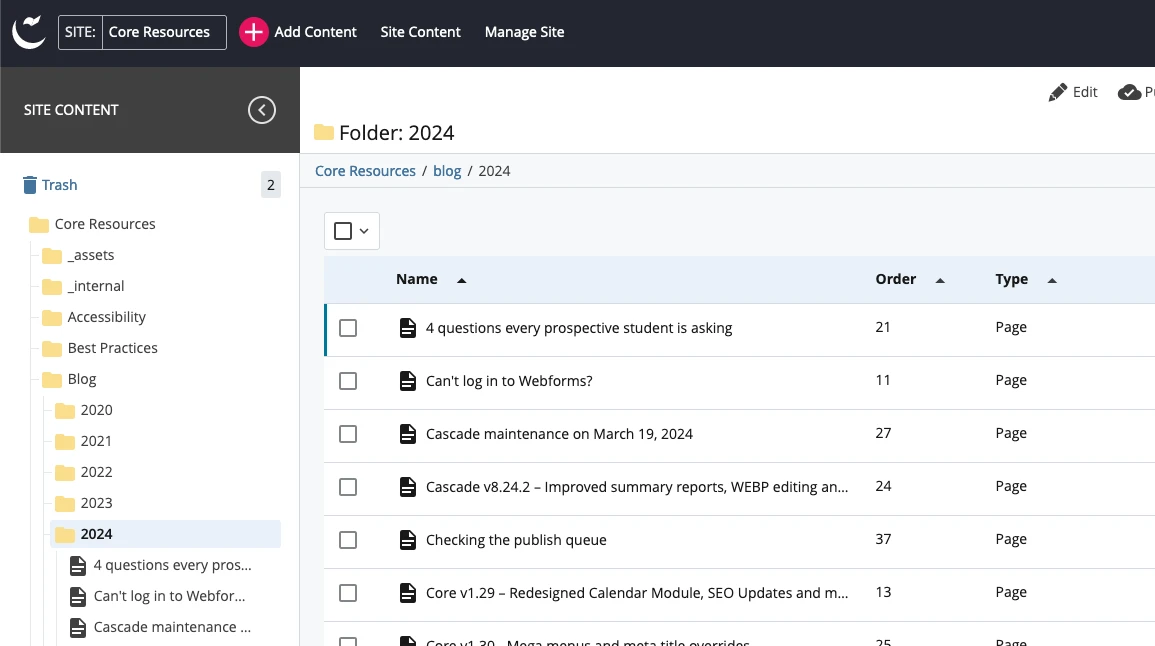
2. Navigate to your site's blog within Cascade and find your current year's folder
Technically, you can create a post from anywhere and select the folder, but we find we're less likely to accidentally publish in the wrong place if we start our post from the right folder.

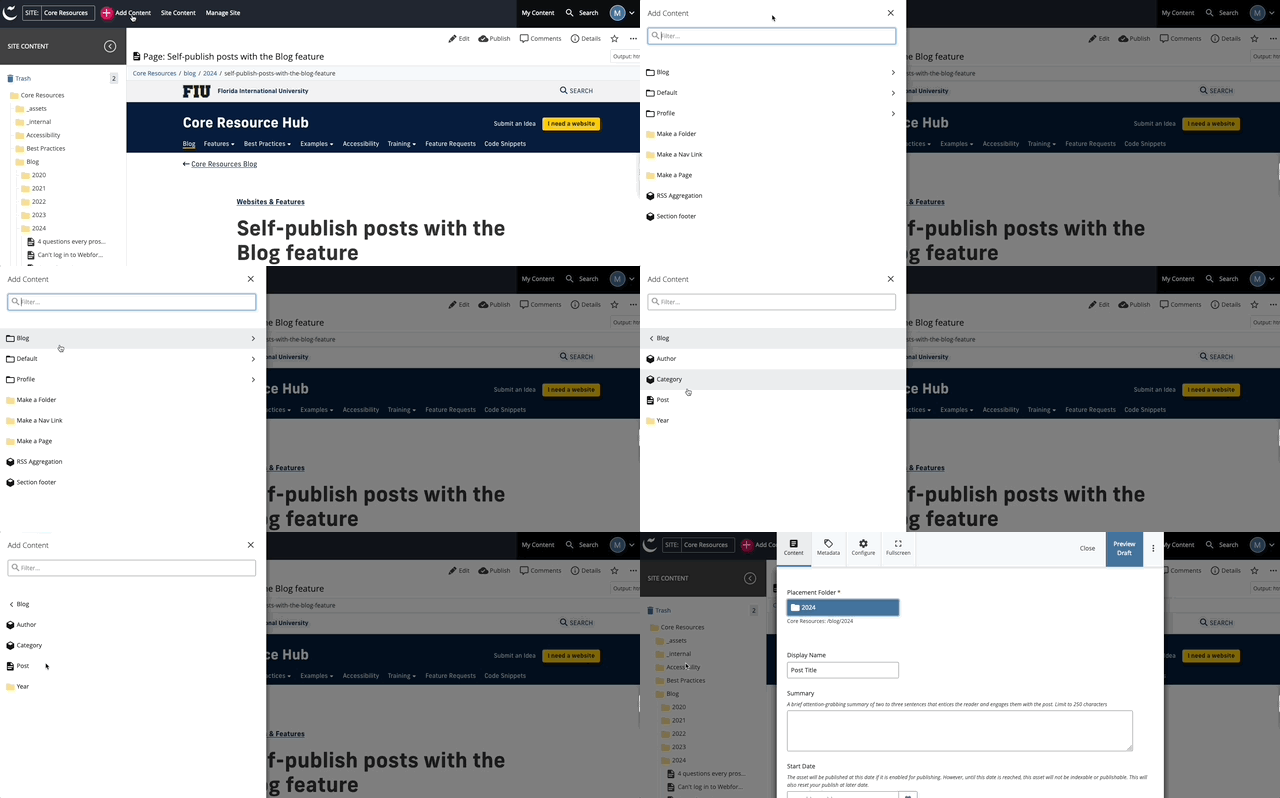
3. In the top left corner of the Cascade interface hit + Add Content and select Blog, then Post

4. Add a title to your post
Keep in mind, the initial post title will generate the post's URL. For example, if you name your post, "My great blog post," the URL will be "my-great-blog-post." That also means if you name your post "I'll think of something later," the URL will be "ill-think-of-something-later."
Just remember to go back and double-check your URL and rename it if necessary before publishing. You can do so by right-clicking the post or selecting the More menu and choosing Rename.
5. Give the post a meta description
Check out our post on writing effective meta descriptions. Strive to make your meta description concise, specific and engaging.
6. Set your post date
The post date will not be auto-filled, and your post won't publish without a post date. You can back-date your post or schedule your post to be published by selecting a date in the future.
7. Select your post's author and category
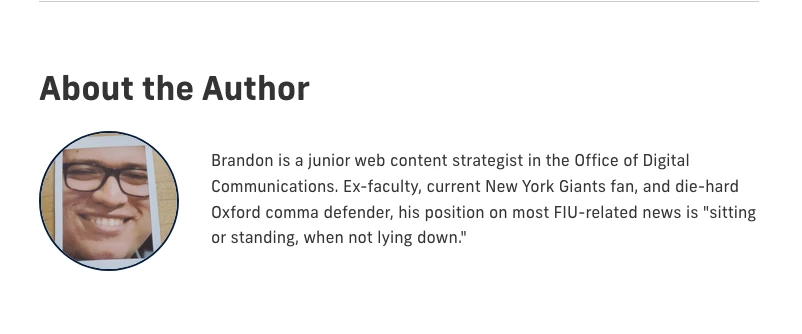
Both the set of authors and categories can be found in blog's _internal folder. Neither are required, but we recommend using categories, and, if it makes sense for your blog, adding photos and bios for your authors.

Posts can have multiple categories. The first category selected will be used to generate a list of related posts when using the auto related posts feature. Categories can also be shown in news feed listings.
8. Add images as needed
The post image is a post's main image and will appear below the headline and subhead. When adding a post image, make sure to add alt text to the image. There is also an option to add a caption below the image.
The thumbnail image is used on the blog listing page and in news modules throughout your website. Proportions for this image should be 3:2.
The social media thumbnail image is used for social sharing. If unset, the post image will be used. The optimal size for this image is 1200x627.
9. Add your post content
Before you begin writing your post content, consider reviewing our tips for writing for the web and the five steps to writing better content.
Within your post, you can add additional images and embed rich content like YouTube videos or maps.
You have the option to add related content in a sidebar that will appear to the right of your post on desktop and below your main content on mobile. There is also an option to fill in a post subhead that will appear before your post content. The subhead area is typically used for either a descriptive subtitle or a bulleted list of major points made in the post.
10. Adjust your widget settings
You can select whether you'd like to hide the share options, author bio link or the post's tags.
You'll also be able to decide between manually selecting your related posts, allowing the posts to be auto-selected based on your category or hiding related posts altogether.
11. Publish your post
Once you've finished, submitted and reviewed your post, you're ready to publish. To publish your post, hit the Publish but button as you would when publishing a page.
Once the post has published, you'll need to republish your feed page and any other related pages. This is where a publish set can come in handy. If you'd prefer to wait for your content to be published automatically, allow the publish set to handle publishing on its schedule. If you'd like to publish your post immediately to your feeds, you can manually publish the publish set or publish your blog listing page and then manually publish the pages with a news or blog feed.
