In Core v1.28, we added a Photo Focus field to the banners. This allows users to select the focus of their photos so the styles can determine how to handle the photo positioning when the screen gets bigger or smaller.
So, why are we writing an entire blog post about this?
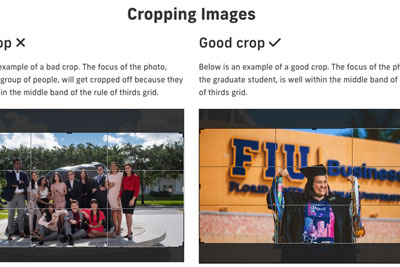
Because it makes information like this a little less relevant:

You can now have the focus of your content in any of the extremes of your photo because this feature will tell the browser to anchor to the area you specify.
If the focus of your photo in the top right corner, as long as you mark the correct photo focus point, your photo will anchor to that position as the browser gets bigger or smaller.
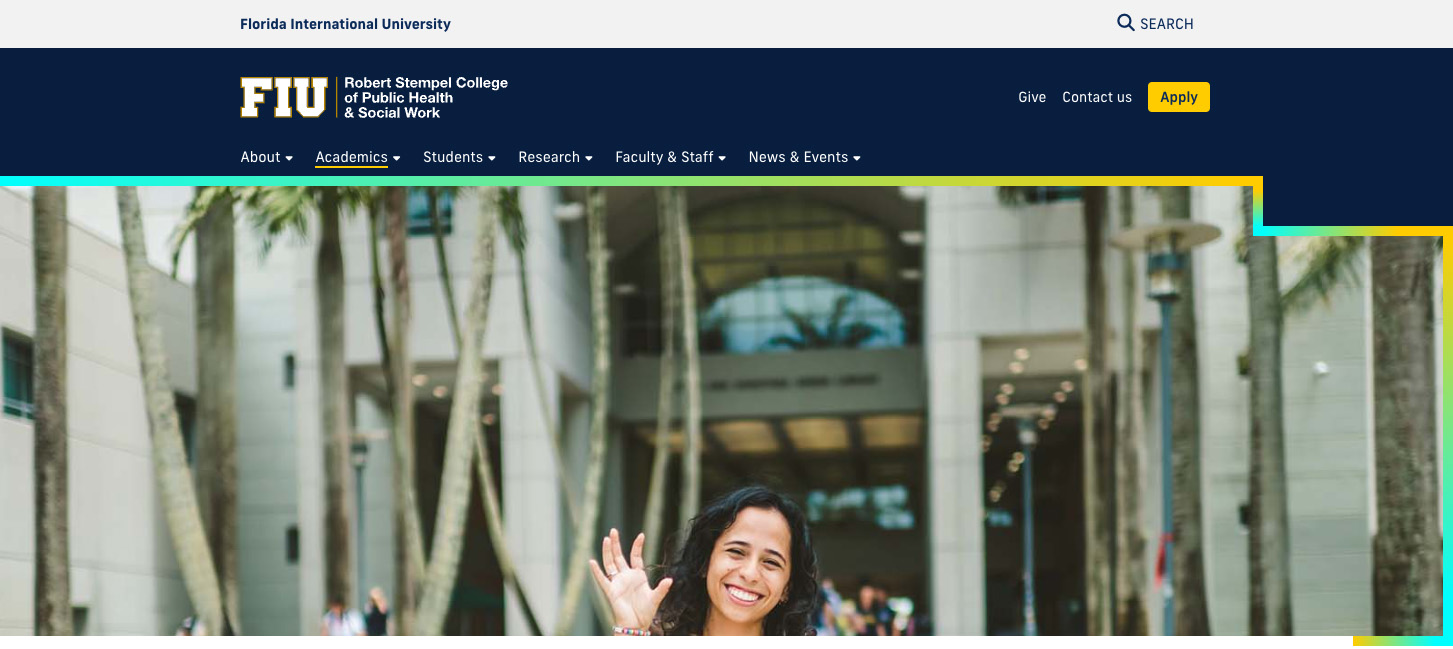
In the past, using a photo like this one on the Office of the Provost website might have cut off the provost depending on the size of the user’s browser.
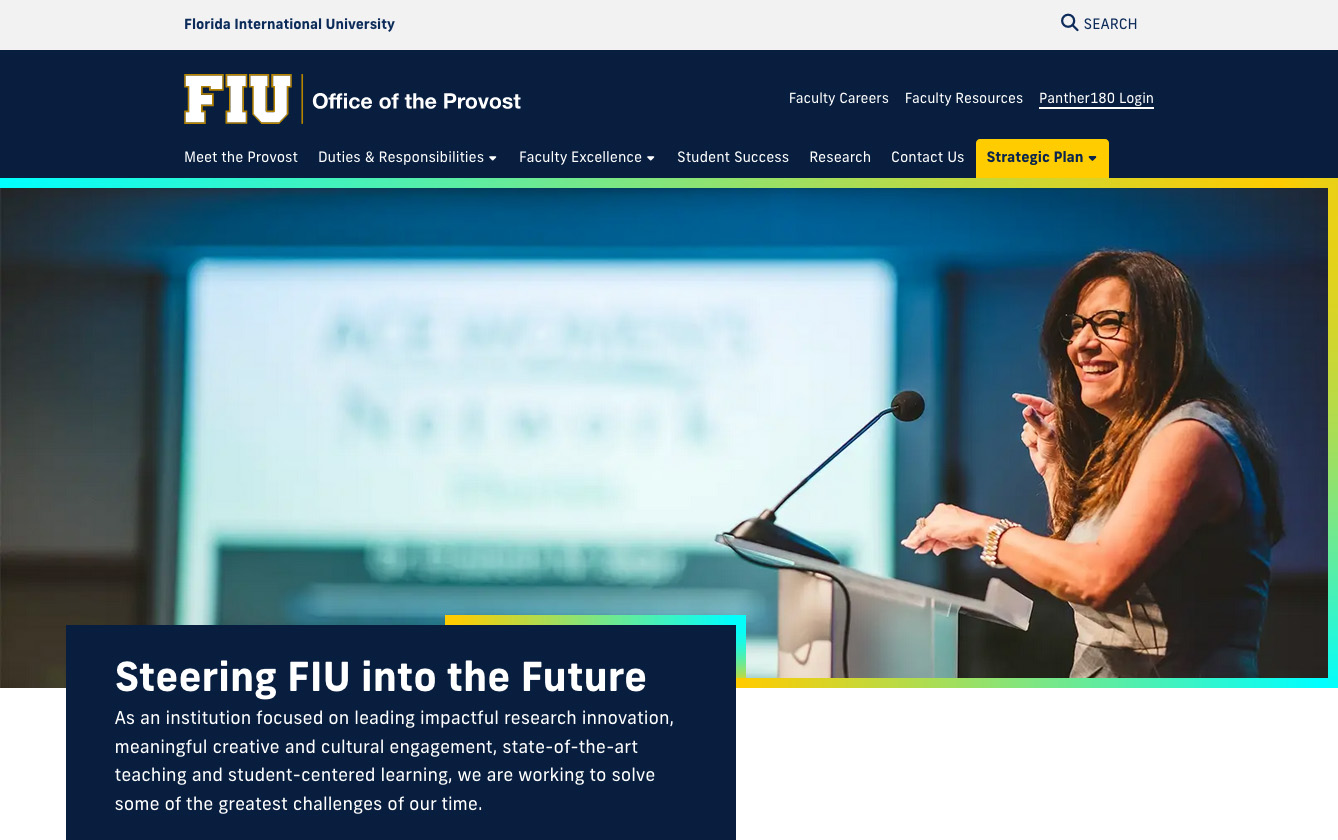
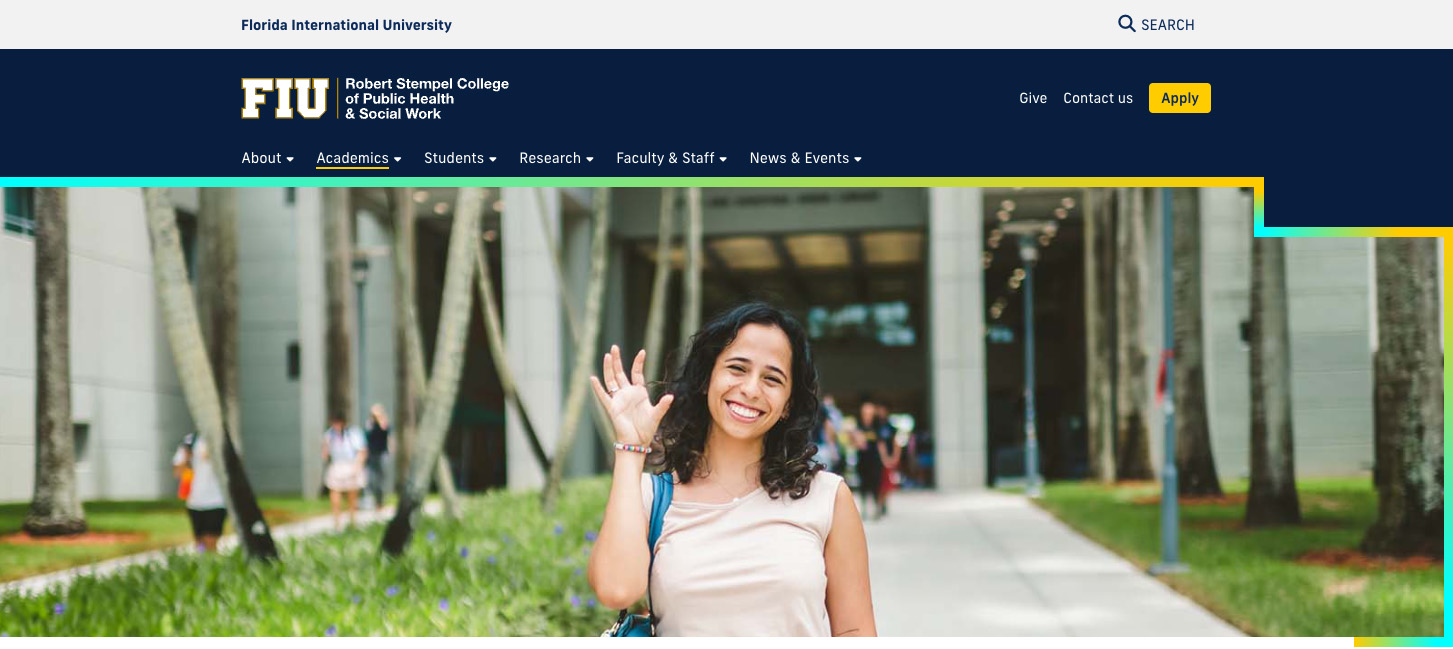
Now, using the Photo Focus field, we can set the focus to the center right, and the styles will ensure the provost remains in view on smaller browsers.

Where can I find this in Cascade?
1. Edit the page with your banner
Log in to Cascade and navigate to the specific page you want to make changes to.
Use the Edit in Cascade bookmark to make editing a page much easier!
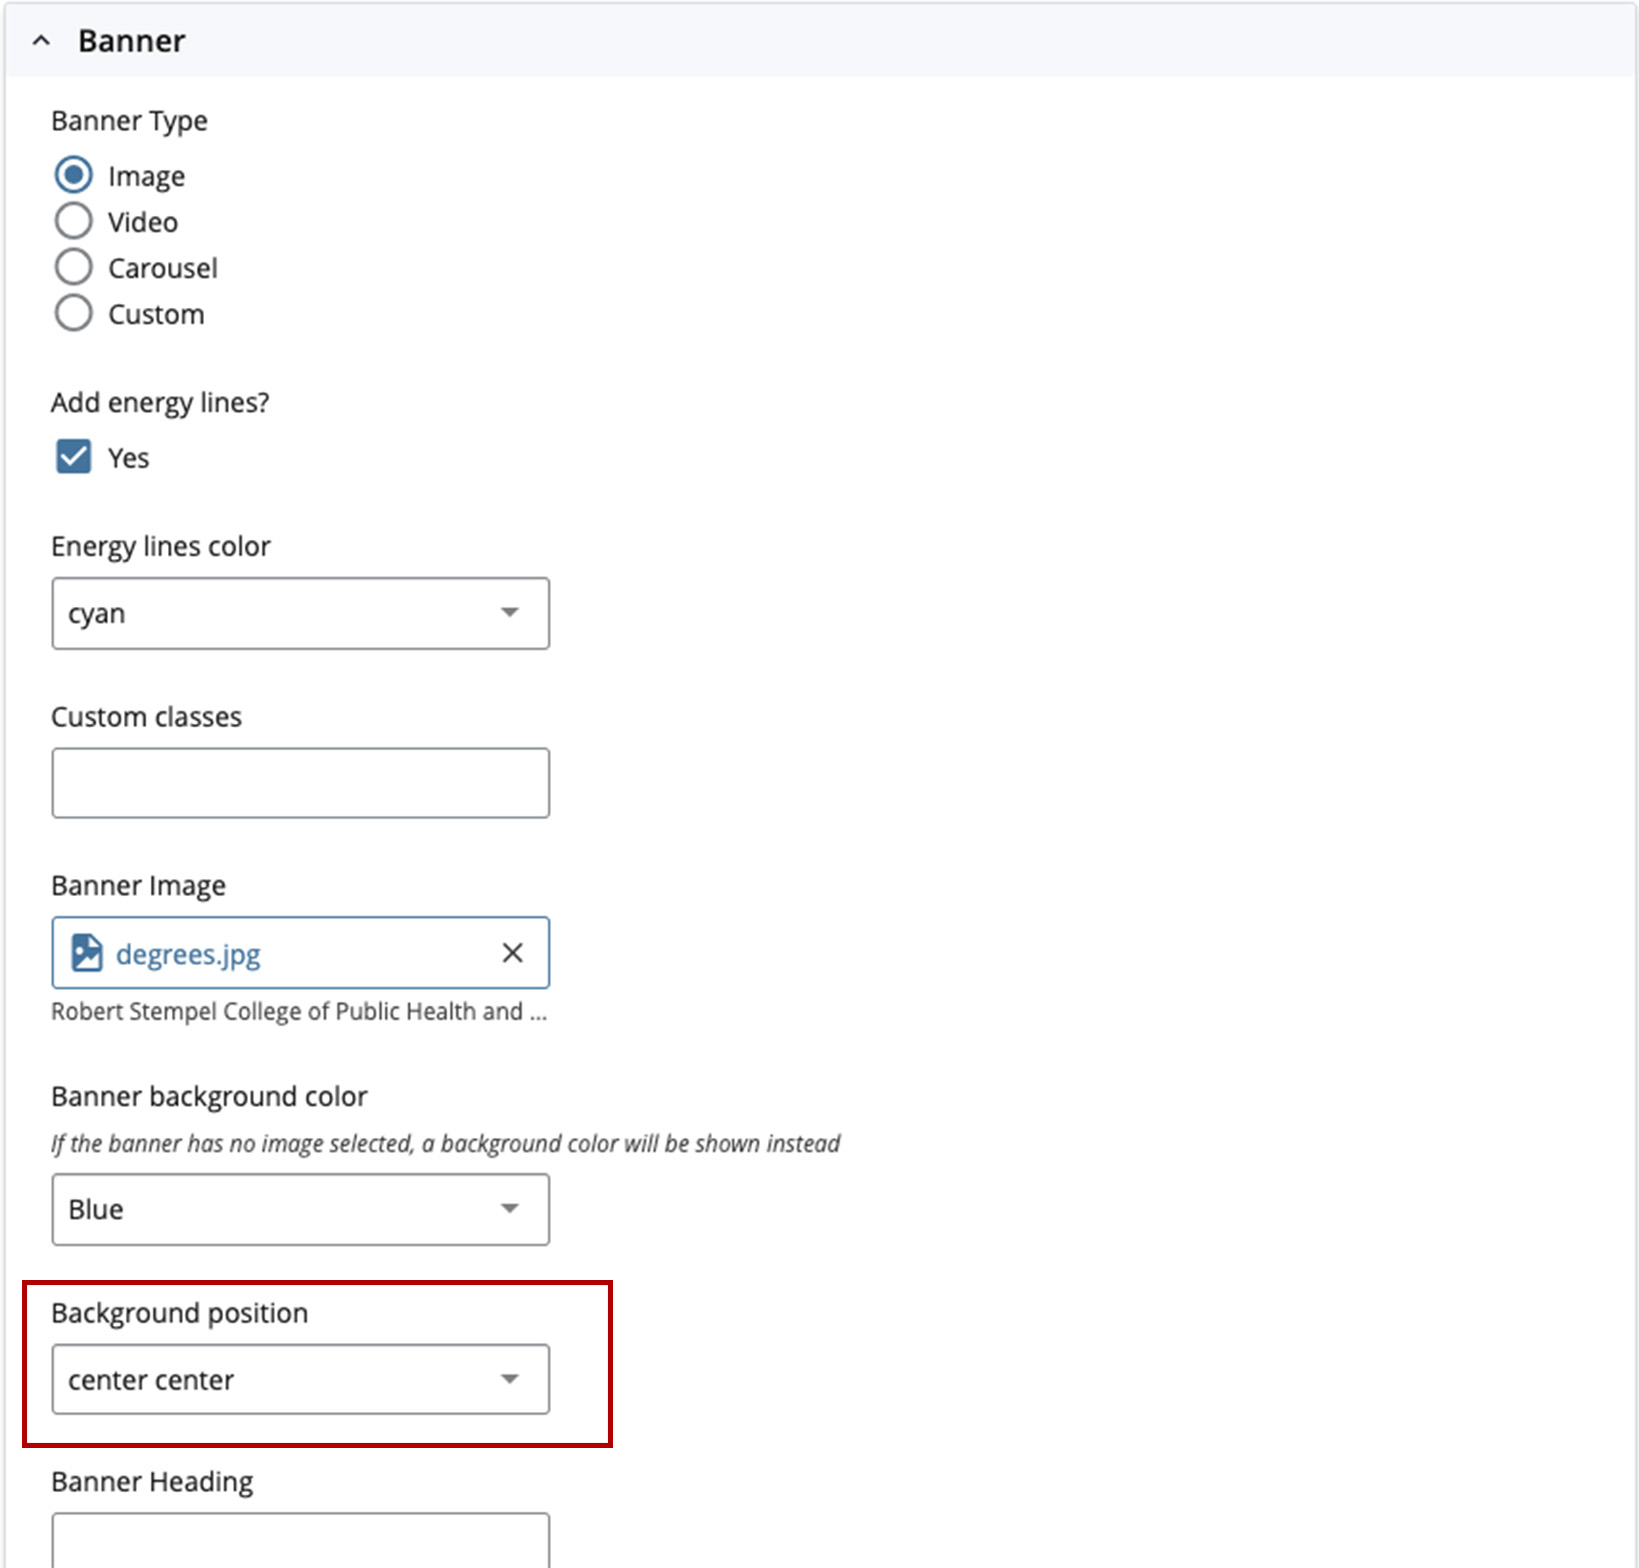
2. Look for the Banner options and expand it

3. Within the Banner options, find the Background Position drop-down menu to modify the background positioning as desired
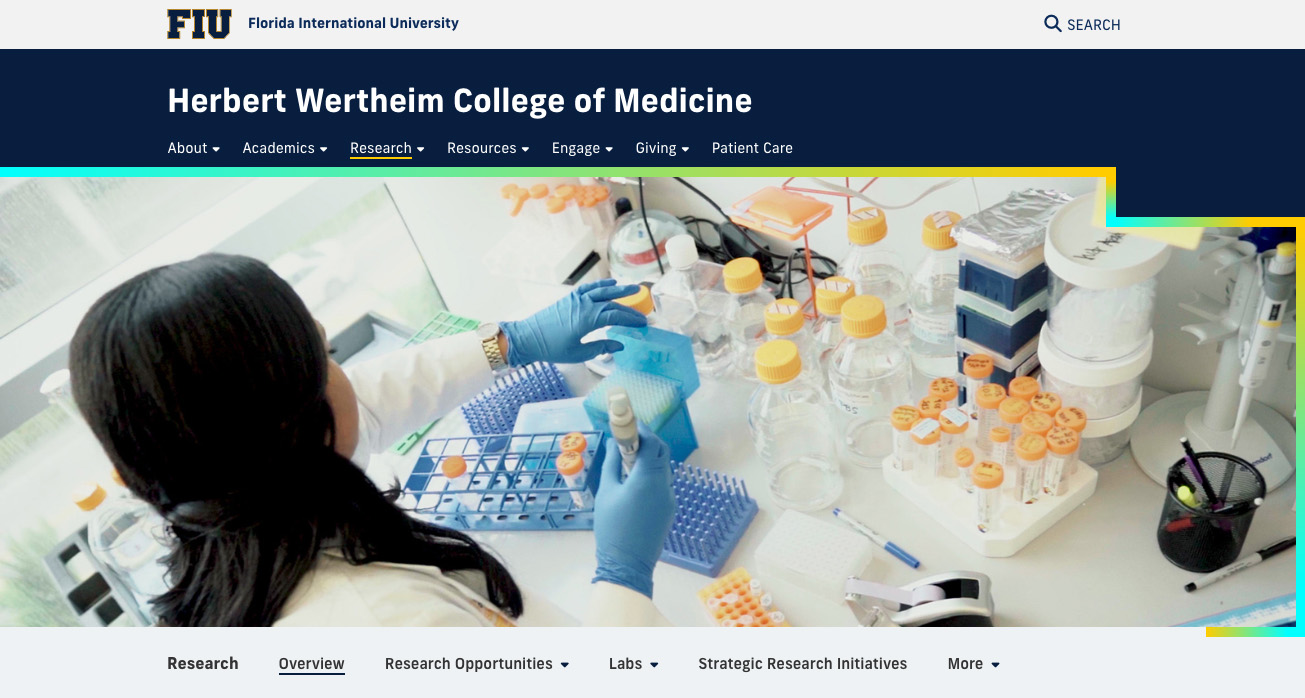
Before and After
Before implementing this new option, you might have experienced this with your page banners:

This new field is also available in the Full-width content + media module.


Preferred image sizes
If you are unsure what size your banner should be, refer to Best Practices for Images.
For guidance on image sizes for other modules check out our preferred image sizes by module table.
Remember, regardless of the size of the photos, it’s always important to optimize your images for the web.