
Error 404 - Page Not Found is a term even non-tech-savvy users understand today. We see these errors all the time, and it can be frustrating to encounter when looking up information on a website. This error mostly occurs when a page gets changed, either by being moved to another location or after being deleted. How can we avoid them and save our users the frustration of navigating our websites after pages have been deleted or moved? Creating redirects.
What Are Redirects?
Redirects are a way in which we can help our users find the information they are looking for by telling the browser (or search engines) where the new information is located. This is usually done in the server configuration and requires some knowledge of the backend server language. However, with Cascade, we can simplify the logic making it easy for everyone to use.
Configuration File
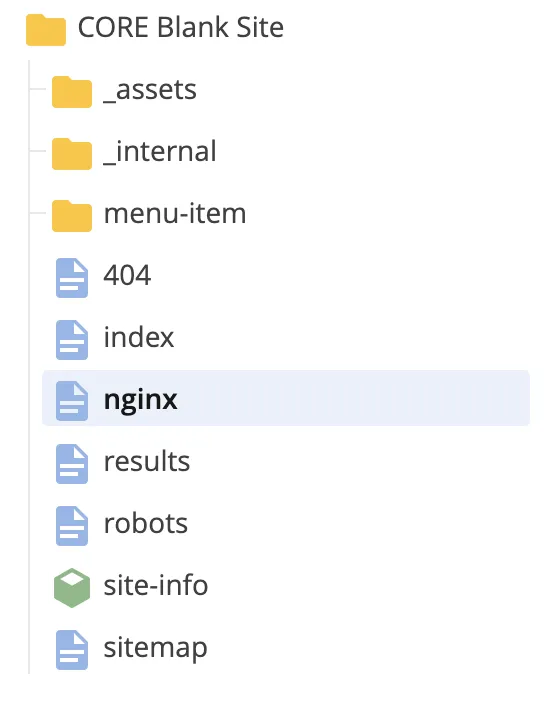
Depending on your Cascade user profile settings, you will find the server configuration file in the root of your site named Server Configuration or “nginx.” When previewing this file, you will see a note letting you know not to change anything on the file unless you know what you’re doing, as well as a list of redirects on your site if they have been added previously.
For this blog post, I’ll go over the easy mode, which covers most of the redirect scenarios. Once you understand how redirects work, it will be safe to edit and publish the file.
Example 1: Single page to single page
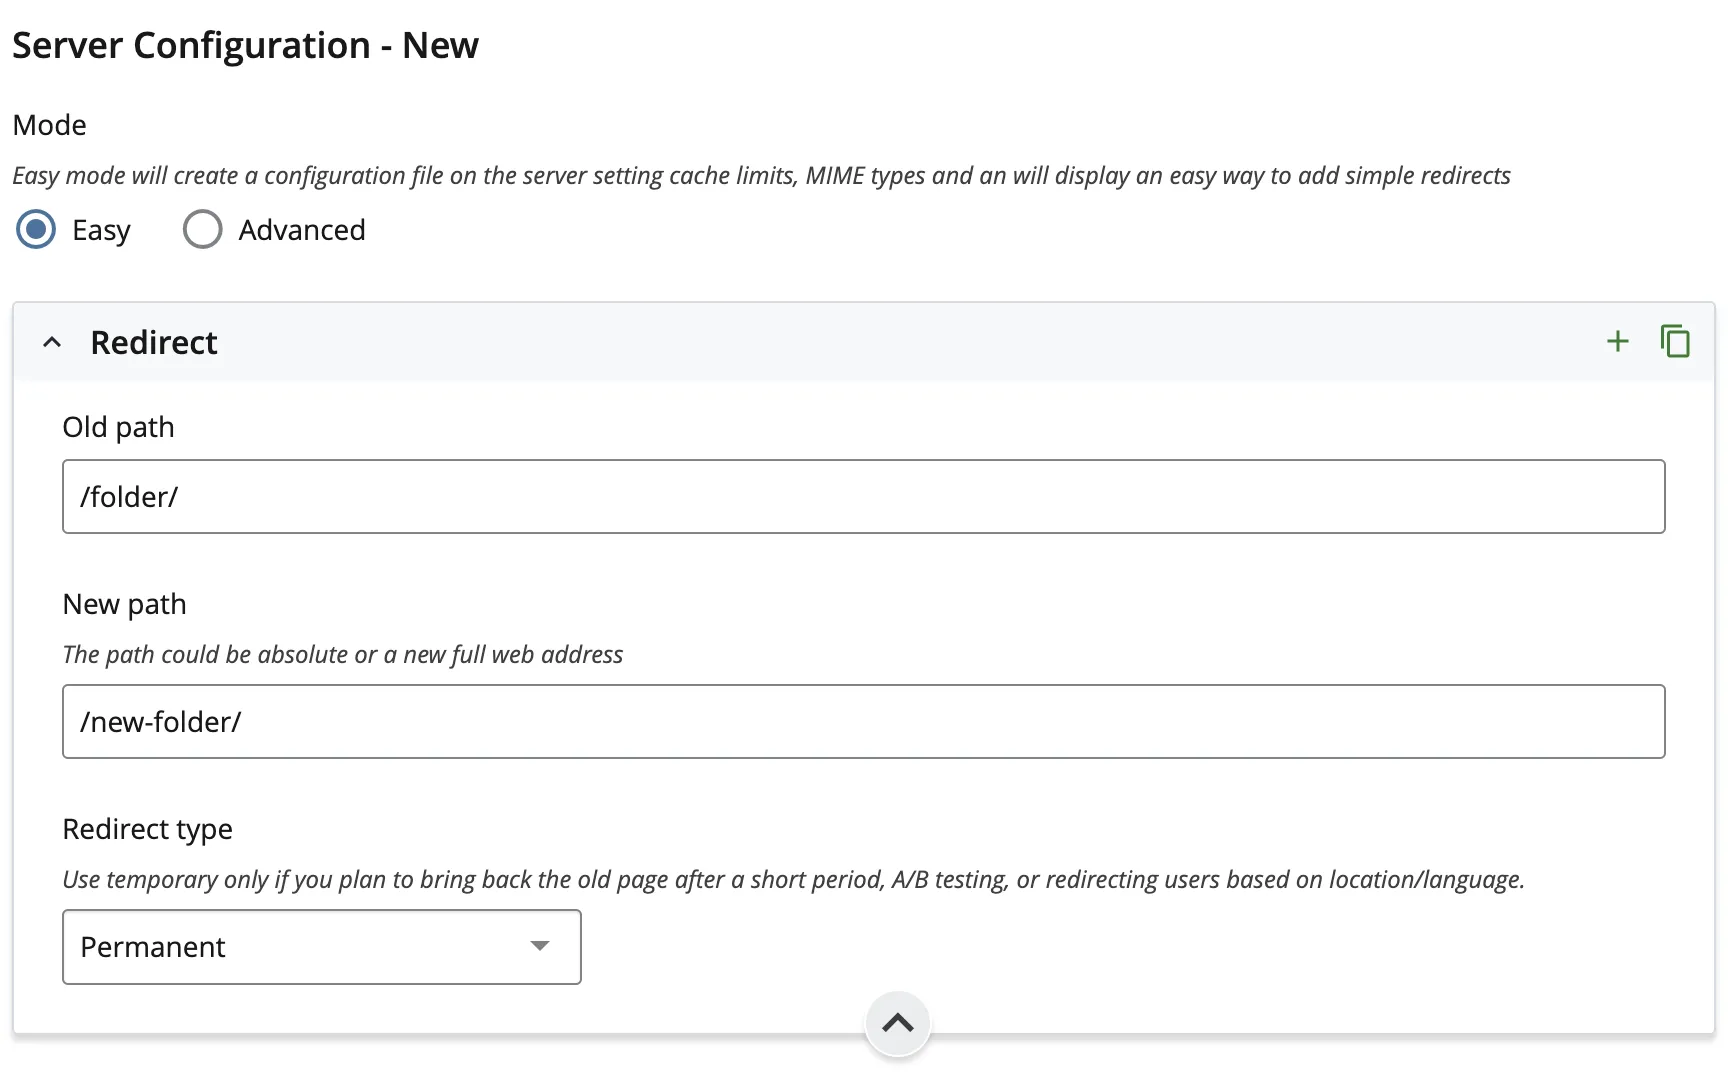
The first thing you’ll notice when you edit the file is a repeatable field called redirect, in which you can add an old path and a new path.
For this first example, let’s say we had a page on our website that was deleted with this path: https://fiu.edu/folder/index.html. However, some of the information on that page is now located under: https://fiu.edu/new-folder/index.html. To create this redirect, type in /folder/ in the first field and /new-folder/ in the second field.
That’s it. You learned to create your first redirect. When users visit the old path, they will be automatically redirected to the new path.
Keep in mind that due to the nature of the server, for the redirects to take effect, you'll have to let us know when changes to this file have been published so we can reload the server for you.
Example 2: Multiple pages to a single page
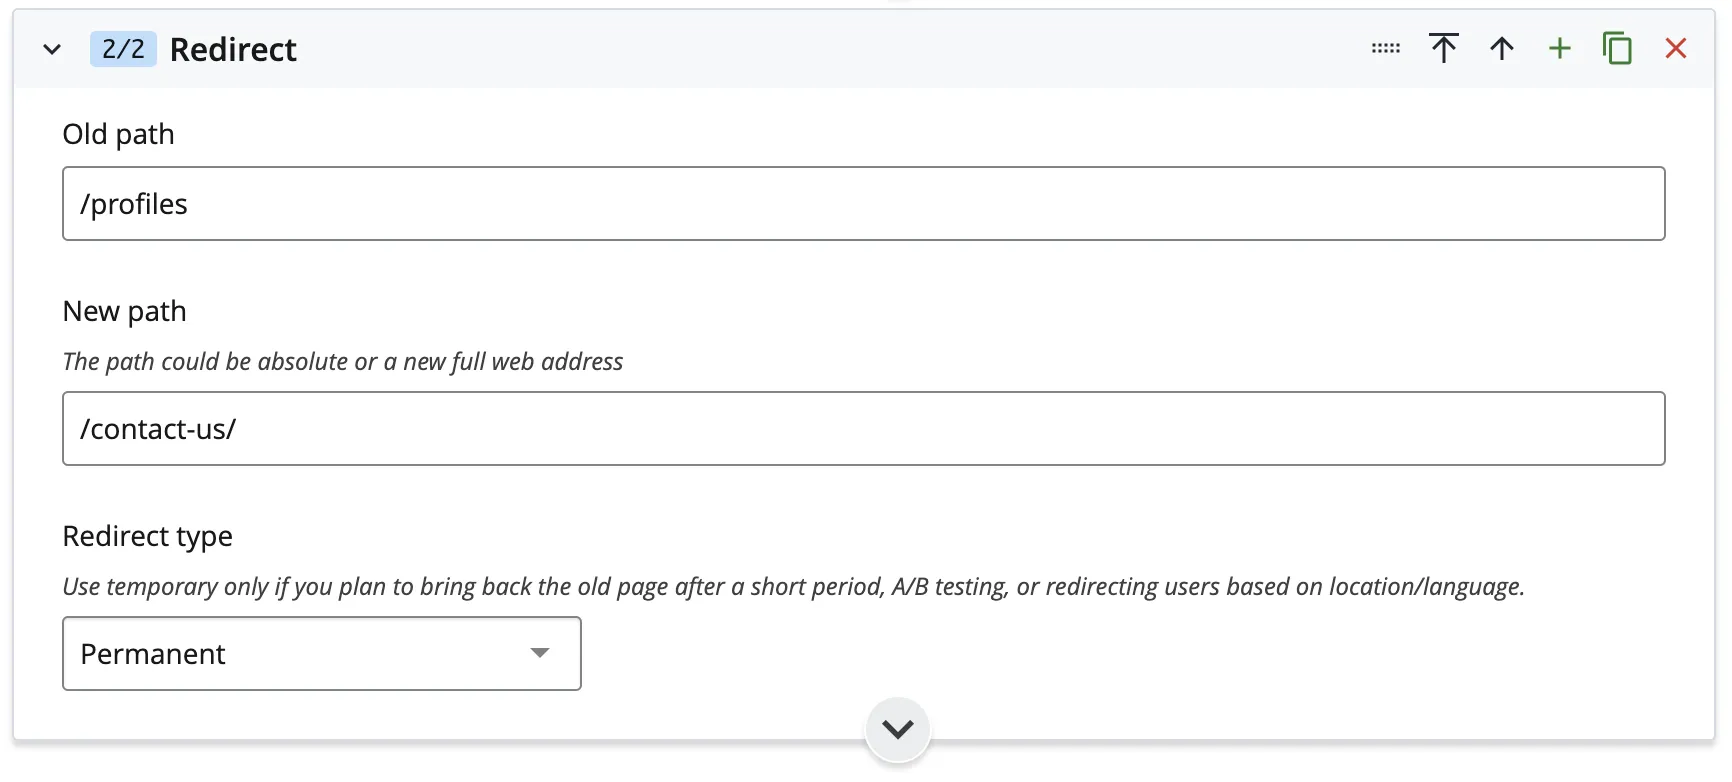
Another common redirect scenario is when we have multiple pages starting with a path that we want to redirect to one single path, for example, multiple profiles that are now contained in a single page:
| https://fiu.edu/profiles/a.html | ➜ | https://fiu.edu /contact-us/ |
| https://fiu.edu/profiles/b.html | ➜ | https://fiu.edu /contact-us/ |
| https://fiu.edu/profiles/c.html | ➜ | https://fiu.edu /contact-us/ |
Similarly to how single redirects work, you would type in the old path (/profiles). However, in this scenario, we don’t want to end the old path with a slash, simply /profiles will do. This tells the server to match any link that starts with /profiles and redirect to the new path /contact-us/.
Example 3: Multiple pages while keeping structure
In this last example, we’ll go over when we have multiple files to redirect that keep the same structure. A very common scenario is when a department name changes, but the structure inside the department stays the same. Let’s say we have Department A renamed to Department B:
| https://fiu.edu/department-a/index.html | ➜ | https://fiu.edu/department-b/index.html |
| https://fiu.edu/department-a/about.html | ➜ | https://fiu.edu/department-b/about.html |
| https://fiu.edu/department-a/contact-us.html | ➜ | https://fiu.edu/department-b/contact-us.html |
To make this work, we would type in the old department name path /department-a/ followed by (.*), and in the new path /department-b/ followed by $1. It may look confusing, but all you have to understand is that “(.*)” means it will capture everything after the path, and $1 will paste the captured text on the new path.

Recap and Tips
Redirects are simple ways to help your users find the content they need, help with SEO, and a great way to keep your site organized. Here’s a few things to keep in mind when creating redirects:
- Not every page needs a redirect. If the page was deleted and the content is not anywhere else, you can let the page return a 404 error.
- Less is more. Having too many redirects can get messy and slow down the server. Use patterns like (.*) → $1 only when possible to avoid adding unnecessary entries.
- Double check your redirects. After saving your changes make sure they appear correctly on the list.
- Let us know! After you have added new redirects, reach out so we can reload the server, and also let us know if you need help with advanced redirects.