Have you ever noticed when filling out a web form some of the fields were prepopulated for you? It’s a simple touch that can improve the user experience and can help create advanced automations. The secret behind it? URL parameters. In this blog post I’ll go over URL parameters, how they can be useful to prepopulate FIU Webforms fields, and explore some use cases.
Understanding URL parameters
Before I explain how to prepopulate forms on FIU Webforms, let me go over what exactly a URL parameter is. In simple terms, URL parameters are extra nuggets of information that are added at the end of a website address, and they look something like this:

In the example above, everything after the question mark character ("?") are the URL parameters. Each piece of data such as “element_1=Roary” and “element_2=Panther” is a parameter that the website can read and use.
Let’s break it down. The question mark tells the website it is about to receive URL parameters. These are separated by ampersand ("&") characters. Each parameter consists of a name and a value. For instance, in the example above, the first parameter name is element_1, and its value, assigned by the equal sign (“=”), is Roary.
Use cases
Now that we understand what URL parameters are you must be wondering: how are they useful? Let’s say you manage a form for multiple departments, and you need to send out an email to all your users. Normally, you would send out the same link to all of them, hoping they will select the department they belong to. However, sometimes a user may pick the wrong department leaving you with incorrect data. URL parameters would be useful in this case because you could target specific users with different URL parameter values.
Once you have mastered how to prepopulate fields, these are some general use cases that can be beneficial:
- Returning users: You can create personalized links on your CRM or Email Marketing Platform to prepopulate your users’ information.
- Custom notifications: You can send custom email notifications to users depending on the field being prepopulated.
- Conditional redirects: Users can be redirected to different pages or shown different messages based on the URL parameter.
- Conditional Logic to Show/Hide Fields: You could hide sections or specific fields if a URL parameter is added to the form address.
Keep in mind you can change the field visibility to hidden in Webforms, so you can prepopulate information without the users seeing it on the form.
Prepopulating the form
Now that you’ve seen some examples of how prepopulating fields can enhance your forms, the final question is: how do you implement it? Let’s go through the steps of inspecting a form and applying URL parameters to make this process work seamlessly in Webforms.
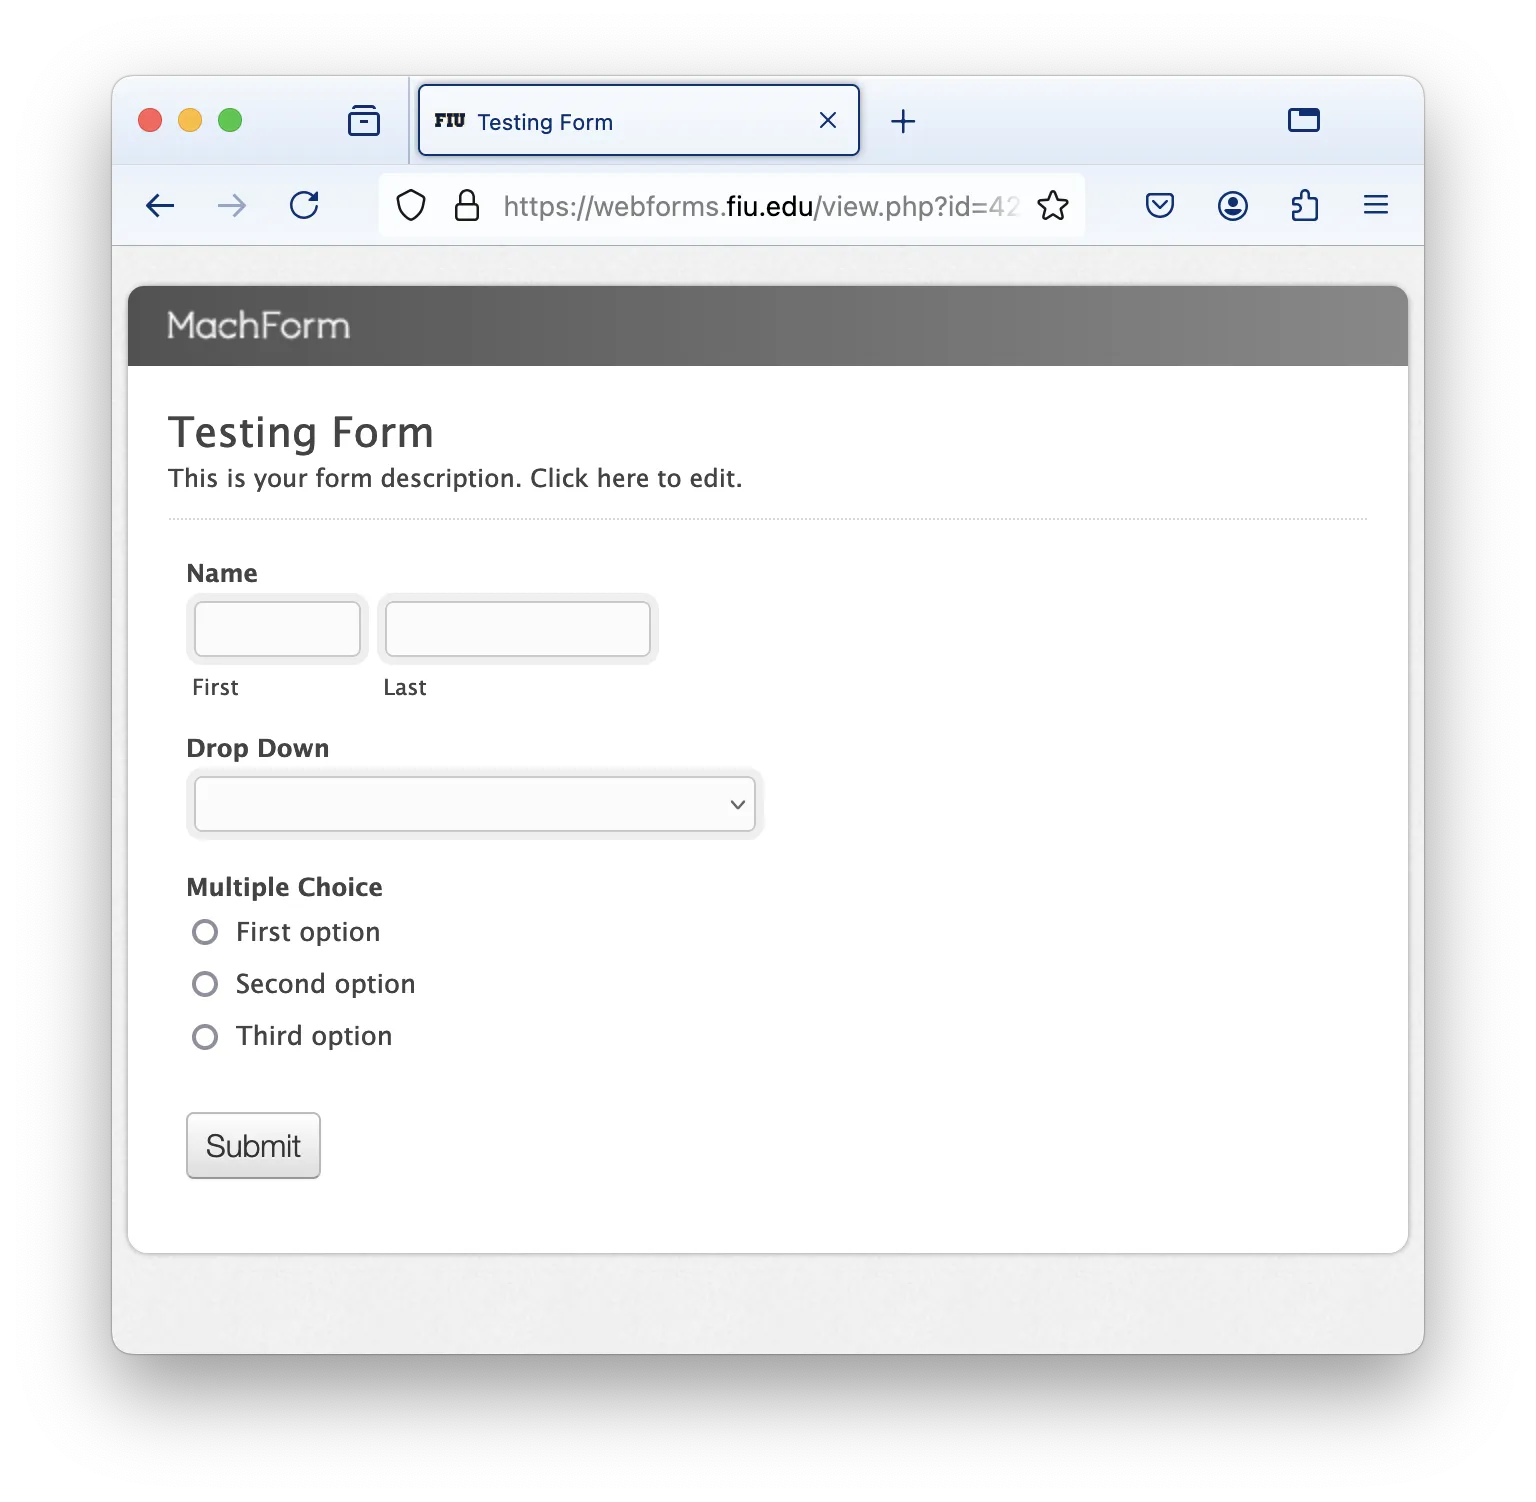
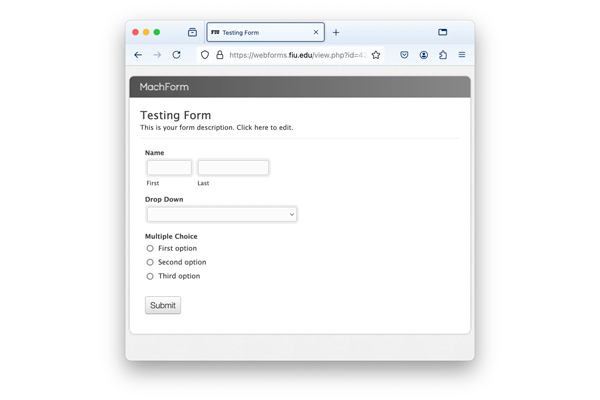
In this walkthrough, I will be using Firefox; however, it is very similar on most web browsers. For simplicity, the testing form I will be using for the walkthrough contains text fields, a dropdown field and a multiple selection option, as these examples cover a wide range of field types commonly used within Webforms.
Prepopulating a text field
- Let’s say we want the First name field on the testing form to be prepopulated with the text Roary . The first step would be to right-click on the First name field and select inspect from the menu.
- In the Developer Tools window that opens, the field should be highlighted in the source code. The section we will be looking at will be in the format of name="element_##". In this case it will be name="element_6_1".

- Now that we have the name of the field, let’s create the first URL parameter. We do this by appending an ampersand character ("&") to the URL, followed by the field name, element_6_1, the equals sign (“=”), then the text Roary. The final URL should look like this:
https://webforms.fiu.edu/view.php?id=4212190&element_6_1=Roary - Let’s make sure to add Roary’s last name as well: Panther. Follow the previous steps, but right-click and inspect the Last name field instead.
- In this case, the field name is element_6_2. To prepopulate the Last name as well as the First name, we would add "&element_6_2=Panther" to the URL, so the final URL should look like this:
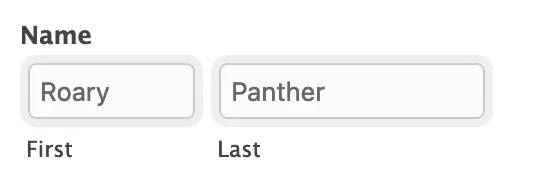
https://webforms.fiu.edu/view.php?id=4212190&element_6_1=Roary&element_6_2=Panther - Now, both the first name and last name fields should be prepopulated!
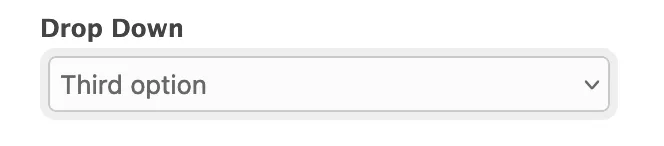
Prepopulating a Drop-Down field
Text fields are straightforward, but how about drop-downs? Let’s say we want the third option on the drop-down field of our sample form to be selected when the form is shown.
- Similarly to how it works with text fields, right-click on the drop-down option and select Inspect from the menu. You will notice that the field name is element_7; however, there are other options within this field that we need to look at.
- Because we want to select the third option, go through each of the options within this element and find the Third Option. You will notice this option has a value of 3 (value="3").
- With this information, we want to create a URL parameter with the field name element_7,the equals sign (“=”) and option value 3. Putting it all together, the URL should look like this:
https://webforms.fiu.edu/view.php?id=4212190&element_7=3 - Now, when you load the form, the third option will be selected automatically!
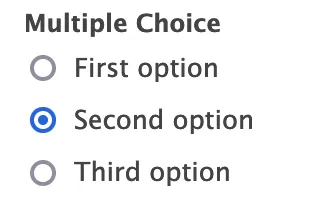
Prepopulating a Multiple Option field
While it is a similar approach to find the field name and value for Multiple Options, there are some differences. For instance, let’s prepopulate the second option in the testing form.
- Right-click on the second option of the Multiple Option field and select Inspect.
- In the Developer's Tools window, make sure you are looking at the input field, instead of the label field. They should be stacked on top of each other in the source code, with the input field being on top.
- Find the part that says name="element…" in this case, it is element_5. Which means we found the URL parameter name.
- Now look at the part that says value="2". If we put it all together, the URL parameter name should be element_5 with the value set equals (“=”) to 2. At the end, the URL should look like this:
https://webforms.fiu.edu/view.php?id=4212190&element_5=2 - When you visit the page, the second option within the Multiple Option field should be checked automatically.
Wrapping Up
Prepopulating FIU Webform fields not only enhances your data entry collection but also helps avoid duplication and reduces errors while collecting data. Now that you have learned how to do it, you should be able to create advanced logic within Webforms, or create custom personalized links on your CRM or Email marketing platform to make your forms smarter and more efficient.
Take some time to experiment with different forms and fields. Every tweak you make can lead to a more personalized and seamless experience for your users.