Floating images: media-left and media-right
Want your images to sit to the side of your content? These classes let you float images left or right while keeping your layout looking polished.
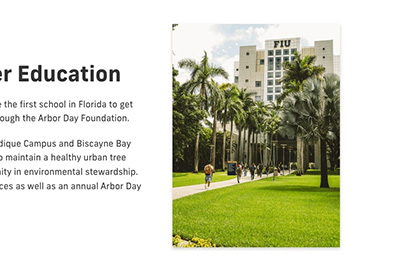
media-right
Floats the image to the right side of your text. Perfect when you want the content to wrap around to the left.
Example HTML:
<img class="media-right" alt="Pitbull pointing with his left hand in the air" height="450" src="../_assets/blog-images/pitbull-stadium-si-policy-post-image-pitbull.jpg" width="300" loading="lazy">
Preview:
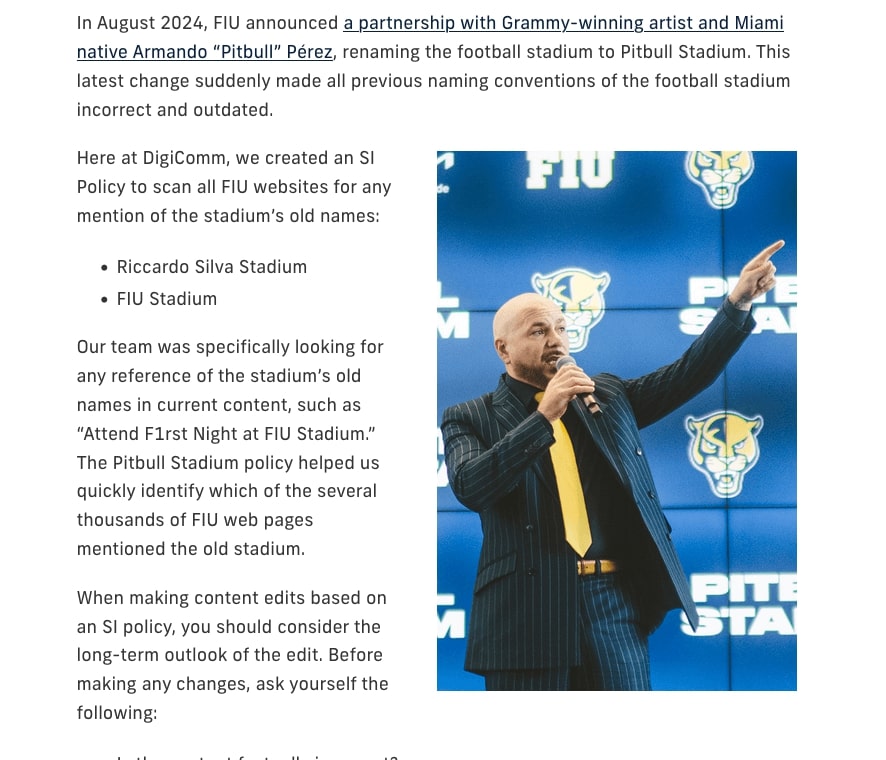
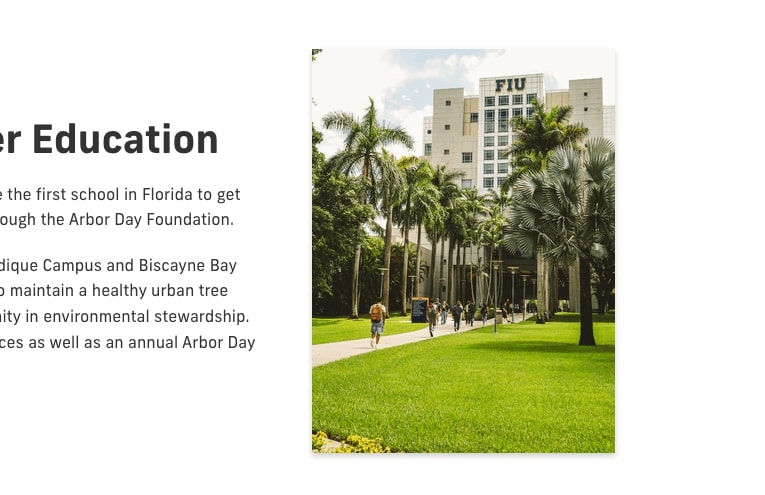
media-left
Floats the image to the left side of your text. Perfect when you want the content to wrap around to the right.
Example HTML:
<img class="media-left" alt="Screenshot of FIU Preeminence landing page" height="889" src="../../examples/_assets/example-images/preeminence-landing-page-vertical.webp" width="500" loading="lazy">
Preview:
Adding style: box-shadow and border
If you want your images to stand out, you can easily add a shadow or border using these two classes.
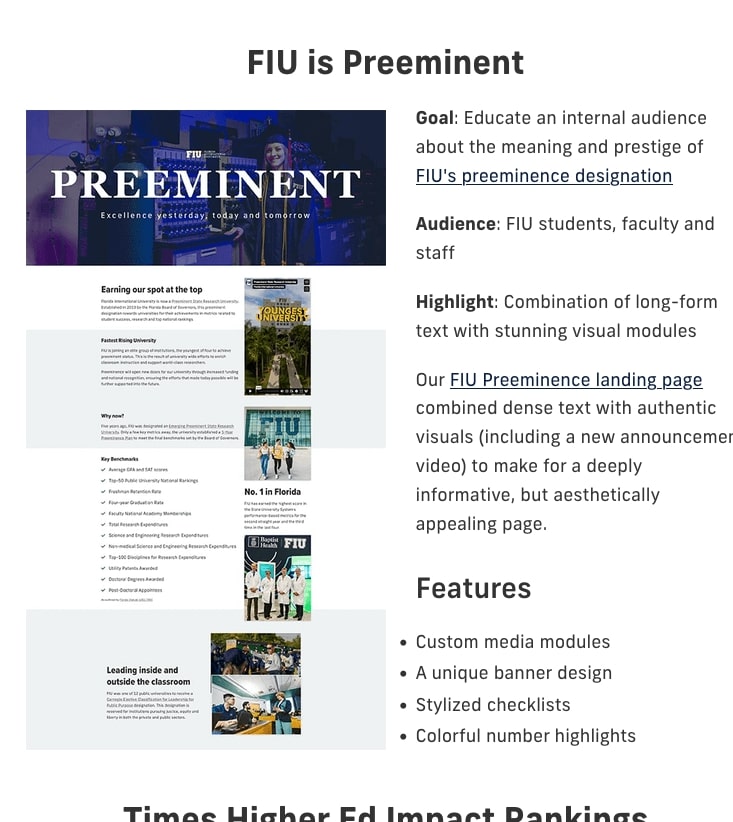
box-shadow
Adds a soft drop shadow around the image. It’s subtle, but it creates depth and draws attention without going over the top.
Example HTML:
<img class="box-shadow" alt="FIU Green Library palm tree walking path" height="1600" src="../../_assets/images/green-library-tree-path.webp" width="1200" loading="lazy">
Preview:
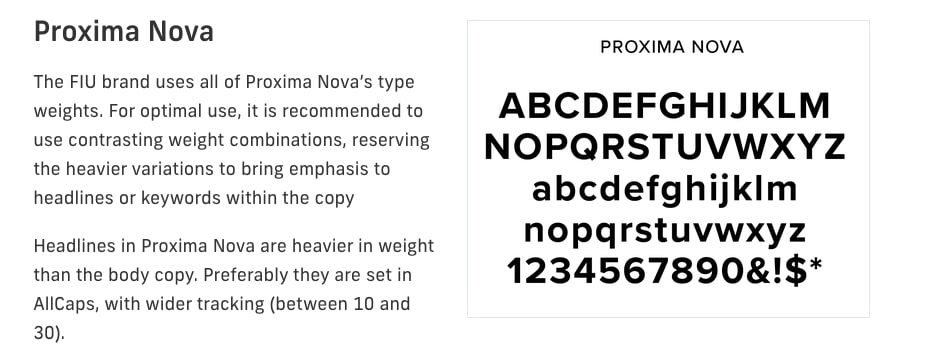
border
Adds a simple border around the image. It’s perfect for images on white background or when your image blends into the background.
Example HTML:
<img class="border" alt="Screenshot of the alphabet using the Proxima Nova font" height="1017" src="../../_assets/images/fonts-proxima-nova.png" width="1377" loading="lazy">
Preview:
Combining Classes
You can also combine these classes to float and style and image at the same time.
Example HTML:
<img class="media-right box-shadow" alt="Dean Juan Cendan, M.D." height="510" src="../../_assets/images/headshots/juan-cendan.jpg" width="400" loading="lazy" />
Preview:

How to apply CSS classes to an image in Cascade
1. Access and edit your page in Cascade.
- Log in to Cascade and navigate to the specific page you want to update.
- 💡Tip: Use the Edit in Cascade bookmark to make editing a page much easier.
2. Look for the module you want to edit and expand it by clicking the Content Area.

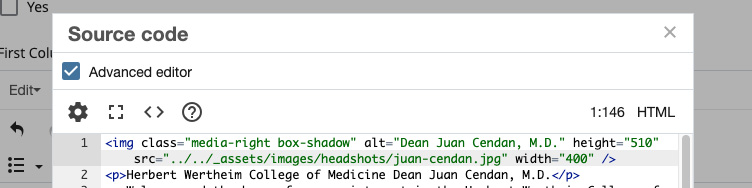
3. Within the module, find the WYSIWYG and select the Source Code icon in the toolbar to switch to HTML view.
- Add your image in this step if you haven’t already done so. Remember to include alt text.
![]()
4. Find the <img> tag for the image you want to add the class to. Type in the classes inside the class="" attribute.
- If the class="" attribute is not there you will need to add it.
- Note: when adding multiple CSS classes, separate them with a space (not commas or semicolons).
5. Click Ok to exit the Source code view and return to the normal editor. Preview your page to see your styled image.
Final Tips
- Always include alt text for accessibility
- Use image styling intentionally. Don’t overload your page. Choose styles that support your message and layout.
- Combine styles when it makes sense.