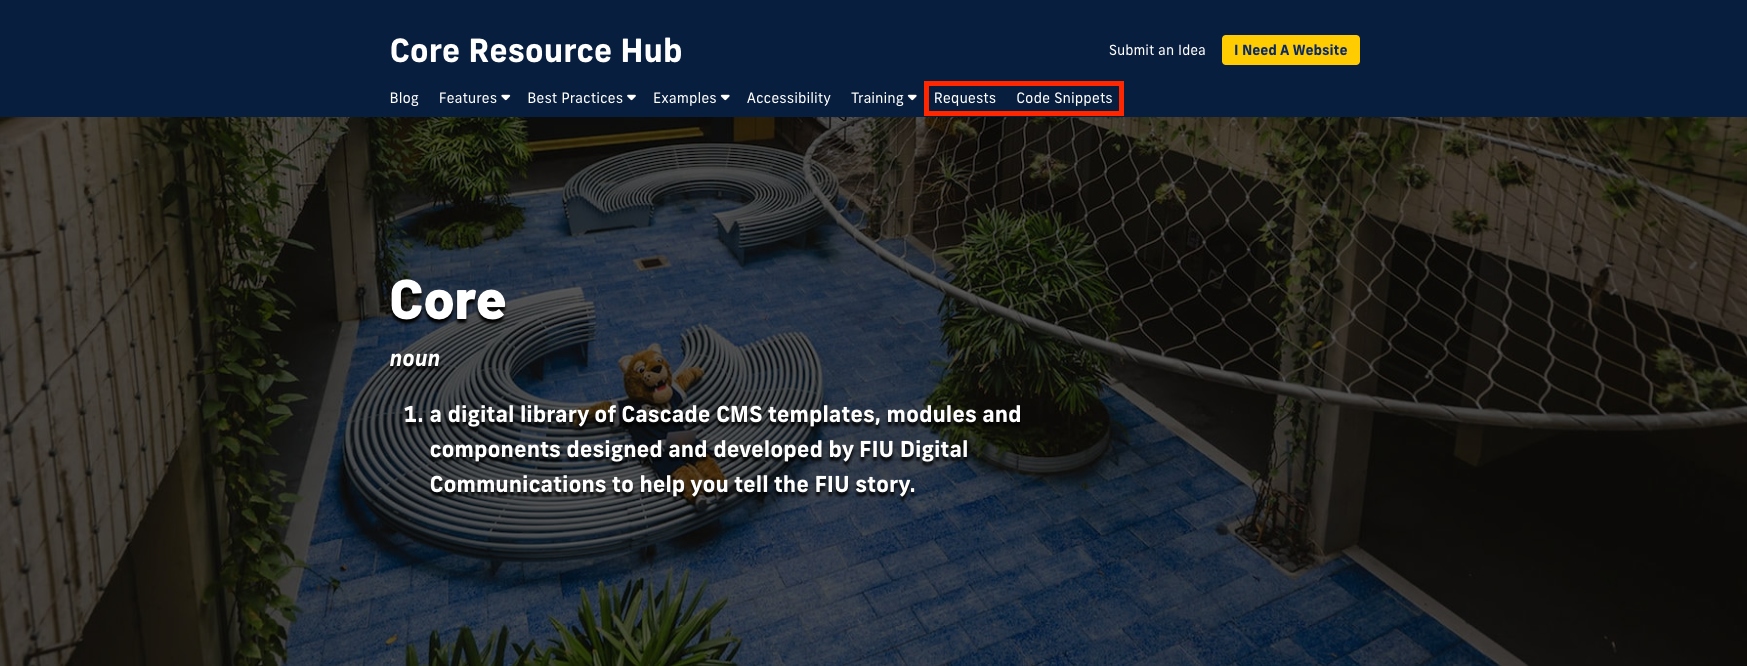
A navigation menu that is well-structured and easy to understand is a crucial component of an attractive website. You could improve the user experience and make it simpler for visitors to get the information they require by organizing the navigation tabs.
Open the root folder
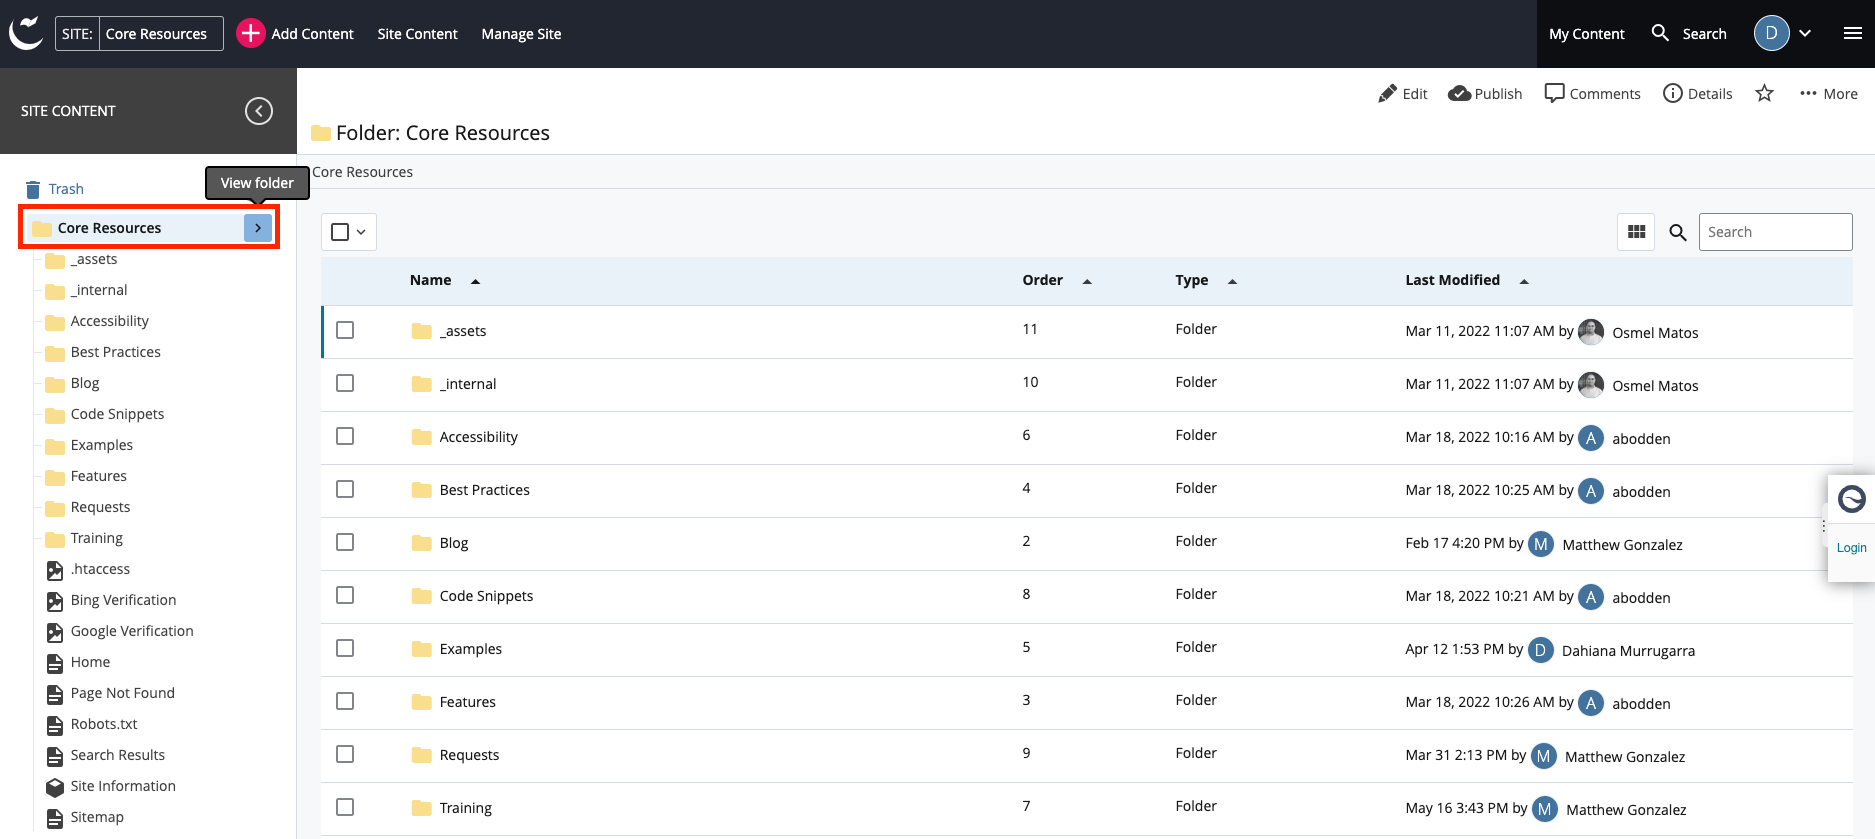
After logging in to Cascade and selecting the site you want to edit, head to the root folder of the site and open it by clicking in the arrow icon.
If you still don't have access to Cascade or need to create an account, please visit How do I get access to edit my website in Cascade? for more information.
Organize folders and files
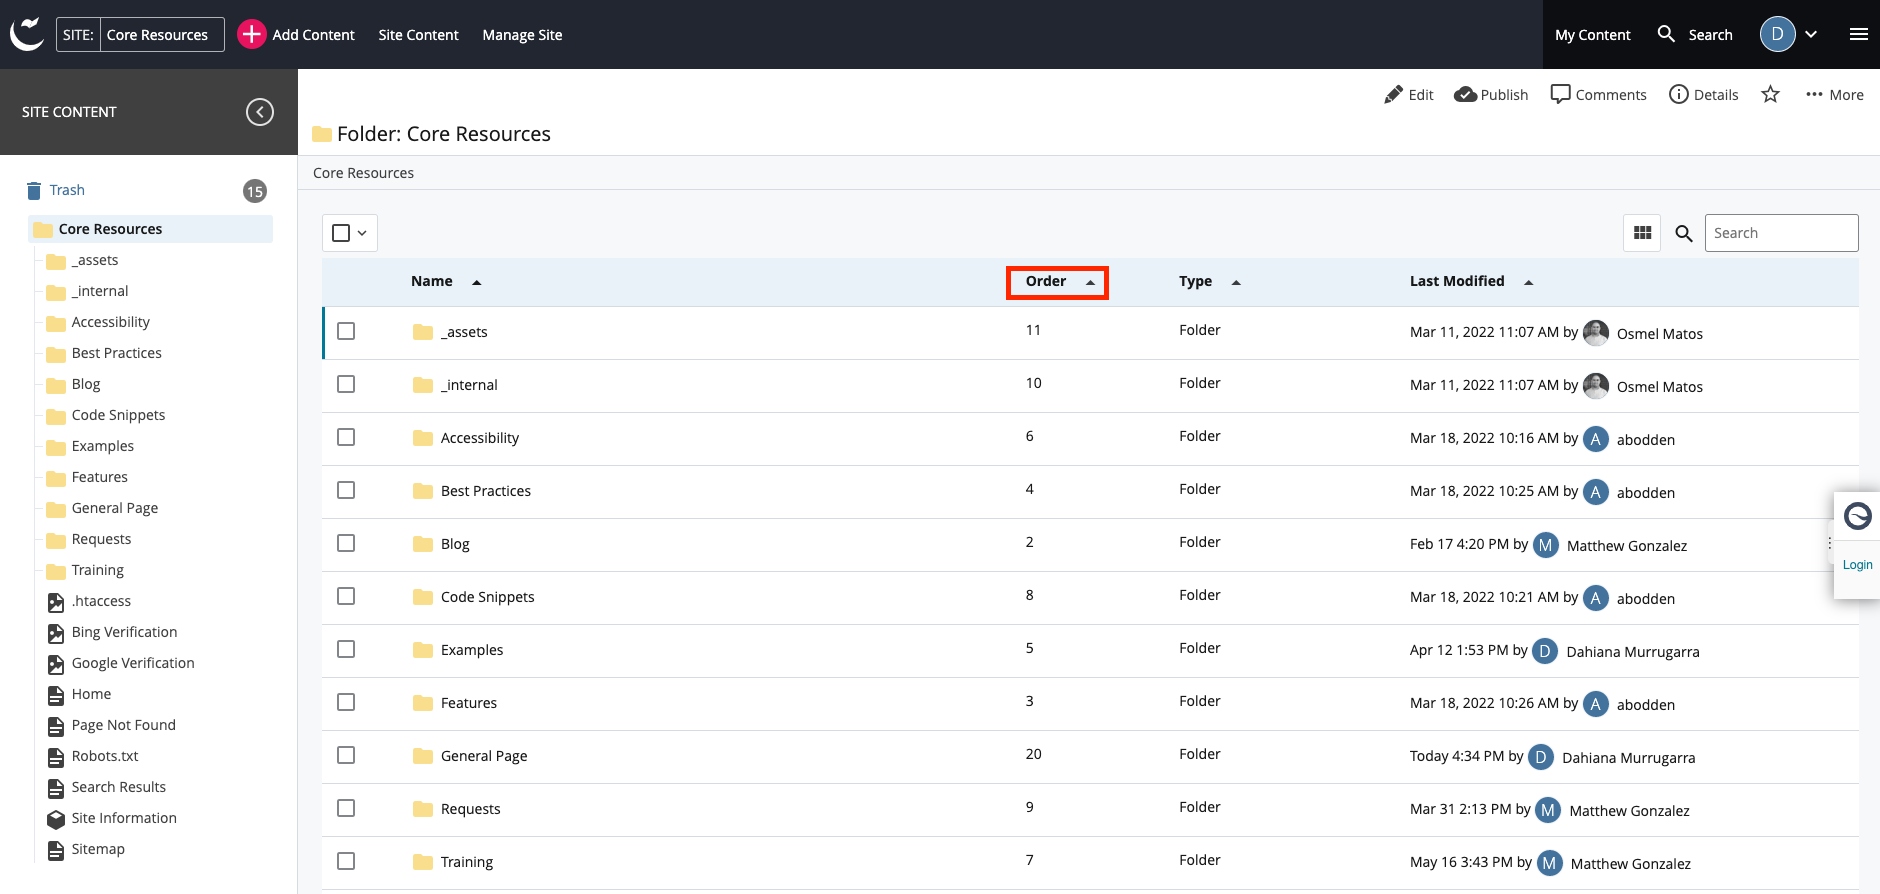
Once you have opened the folder, head to the “Order” column in the table. You will see that the folders and files are not organized. Click on the "Order" heading to organize these items in ascending order.
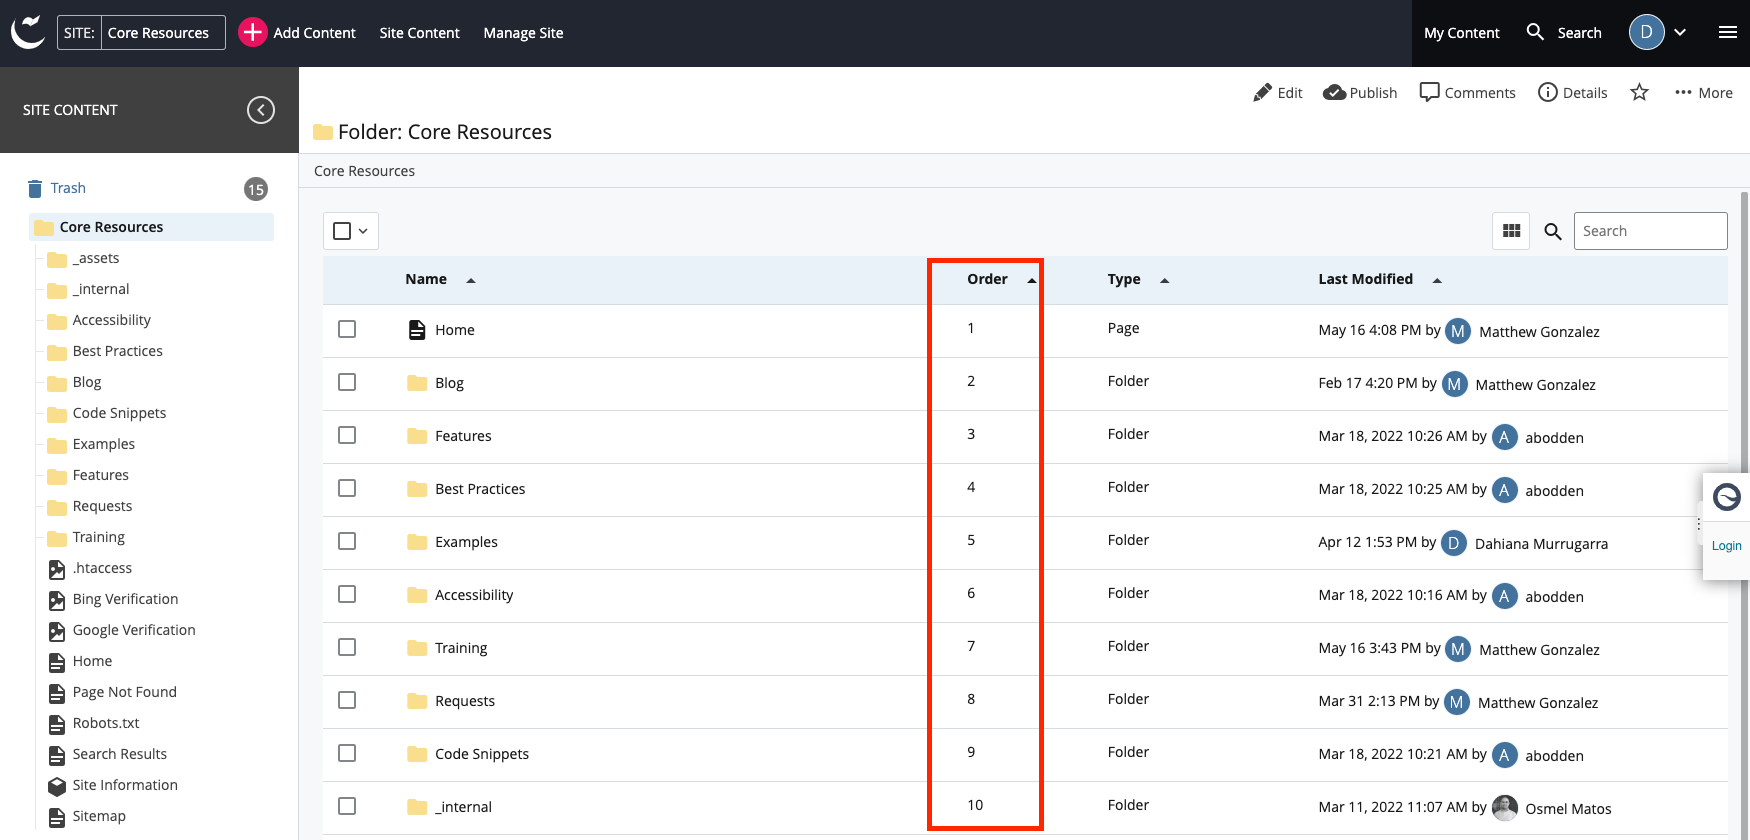
Drag and drop
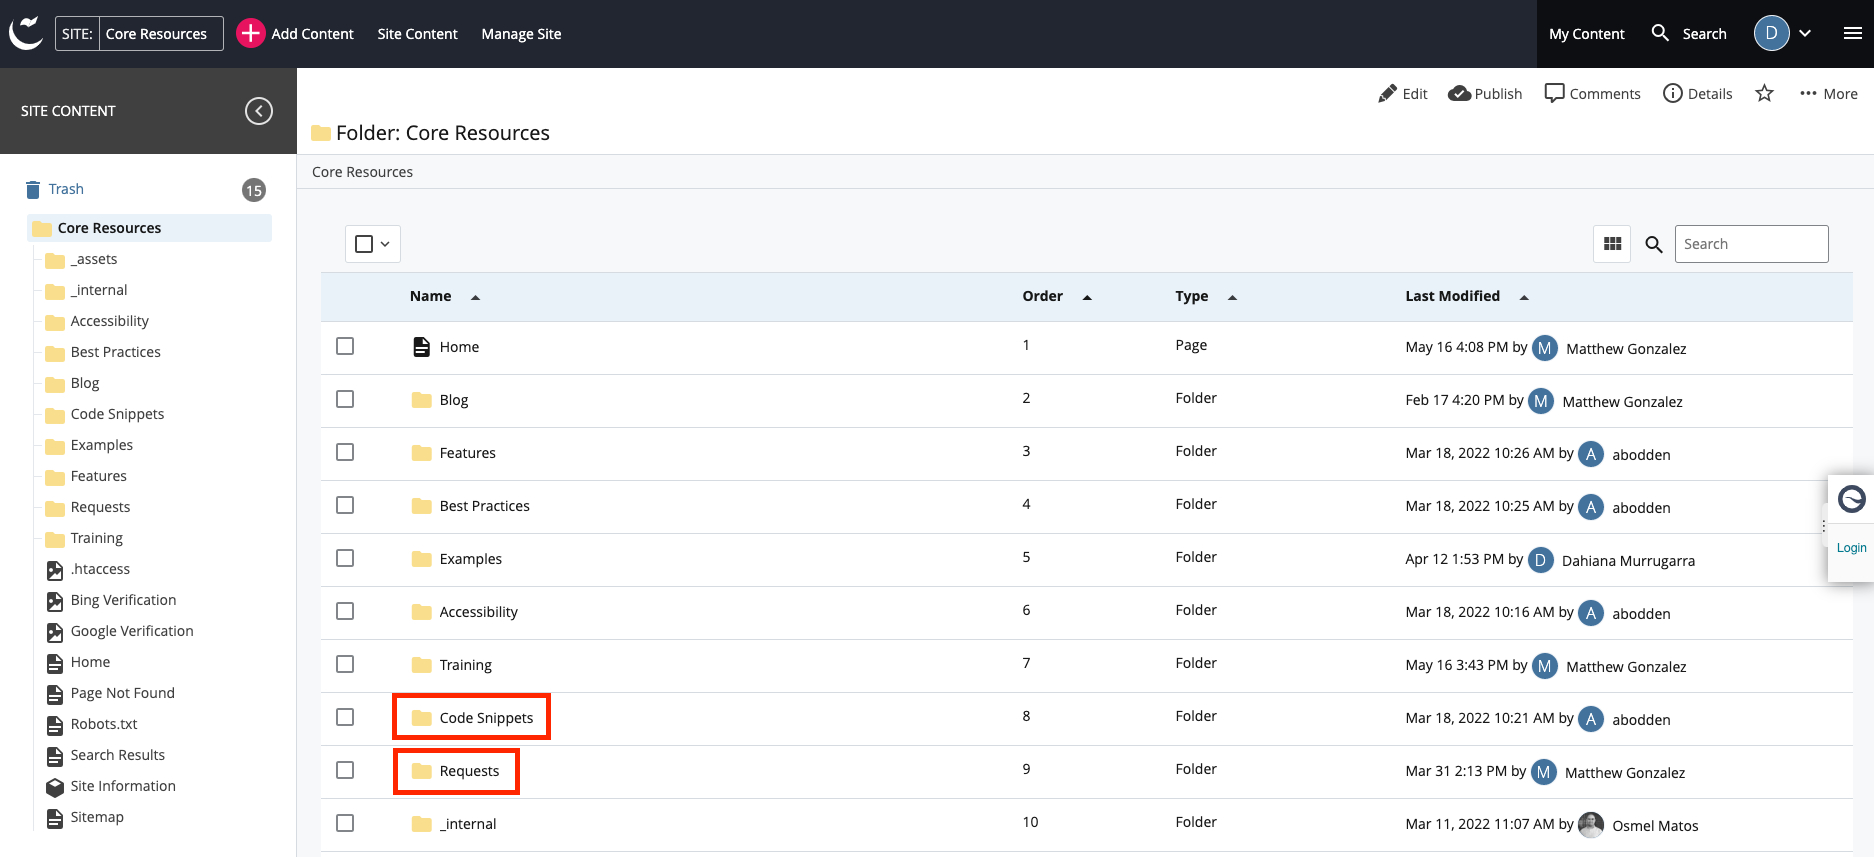
You will need to drag and drop the folder you want to edit and place it in the desired order to change the navigation tabs. The way that it works is that the tabs in your website’s navigation are ordered from left to right by the order that these appear in Cascade. In this example, if we want “Requests” to appear before “Code Snippets”, all we have to do is drag this folder and place it as the 8th item.
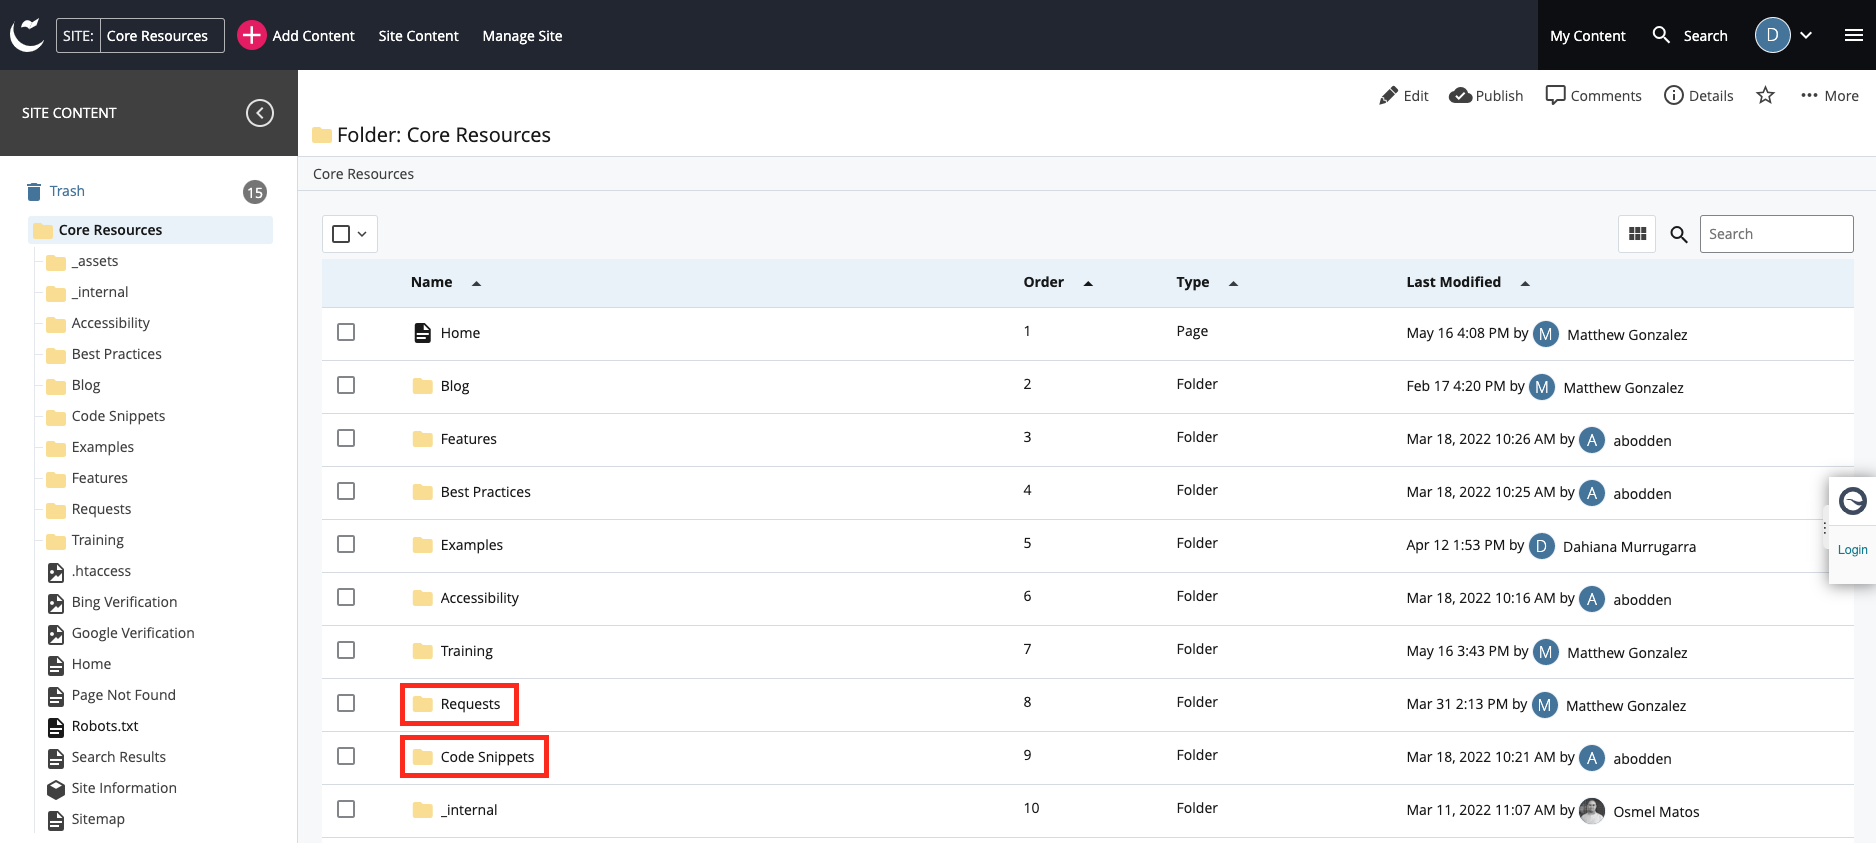
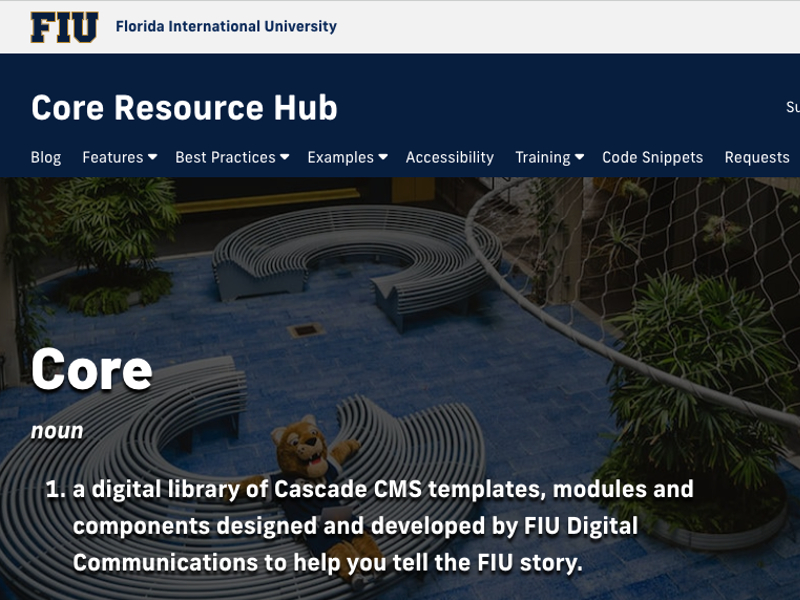
Now, go to the actual website, refresh the page and you will see “Code Snippets” as the last tab in the navigation bar.
