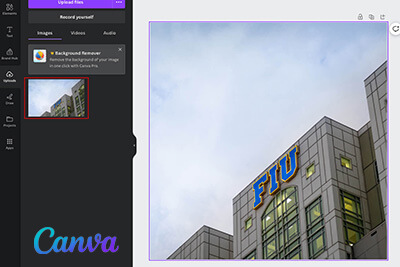
This how-to assumes you are using Digital Communications’ Core template in Cascade.
Before we get started, it's best to know which image you want to resize. Remember, you can download free-use FIU photos from FIU's Flickr account.
Getting Started: Creating a new design in Canva
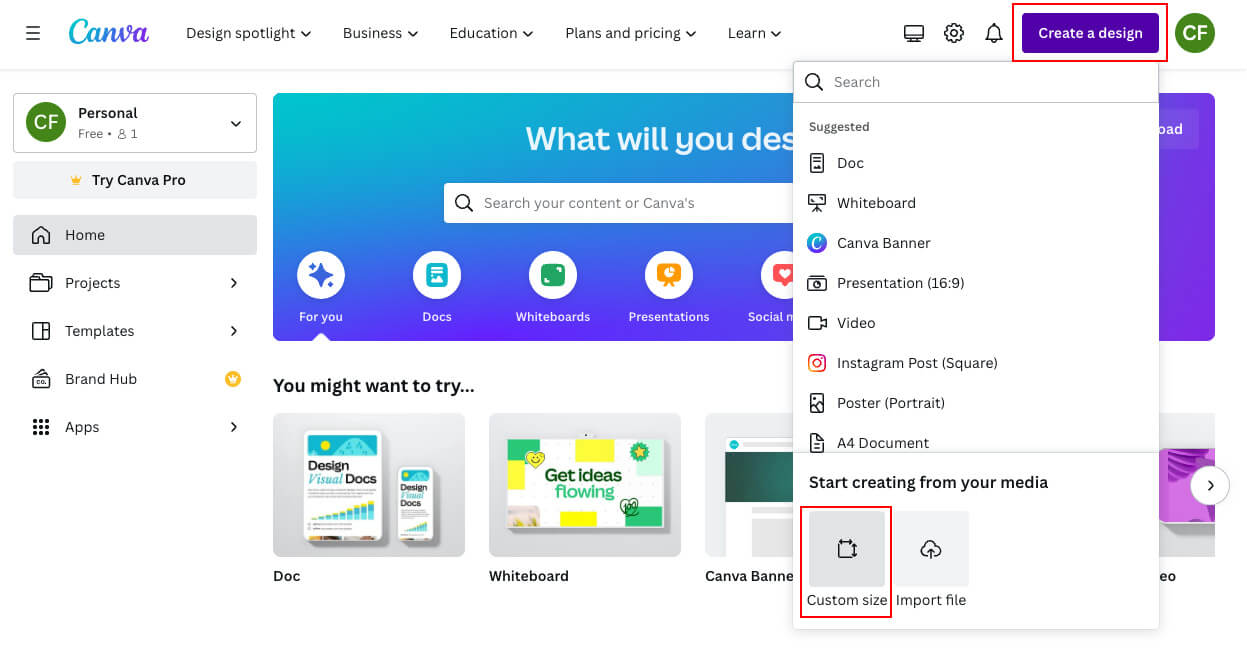
Once you are logged in to Canva, open a new design file. Select “Create a design” in the top-right corner of the screen. Then select “Custom size.”
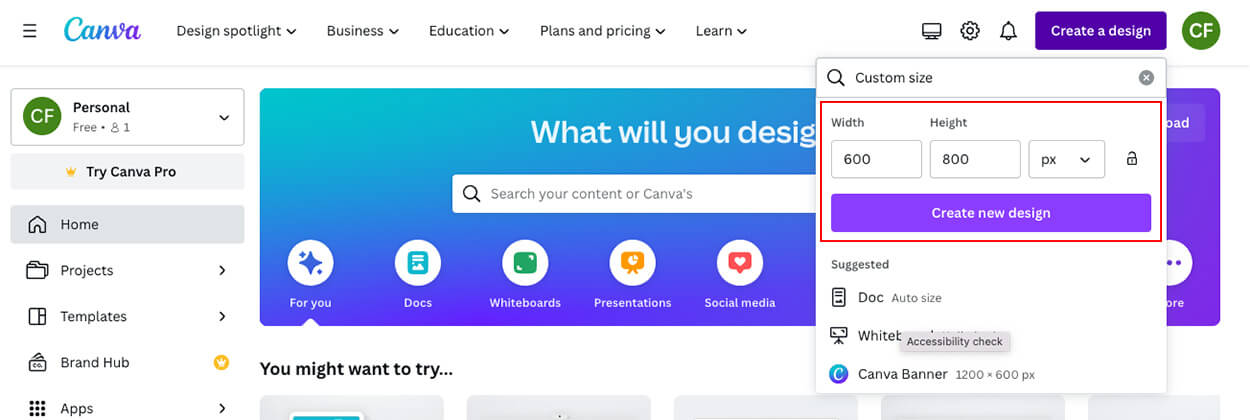
Once you have determined the appropriate canvas size, type in the dimensions into their corresponding boxes for Width and Height. Then select “Create new design.”
For this example, we’ll be resizing an image to 600x800 (vertical orientation).
Preferred image sizes
If you are unsure which image best fits the module you’ve chosen in the Core template, take a look at the preferred image sizes by module table on the Core Resources Hub.
Uploading to Canva
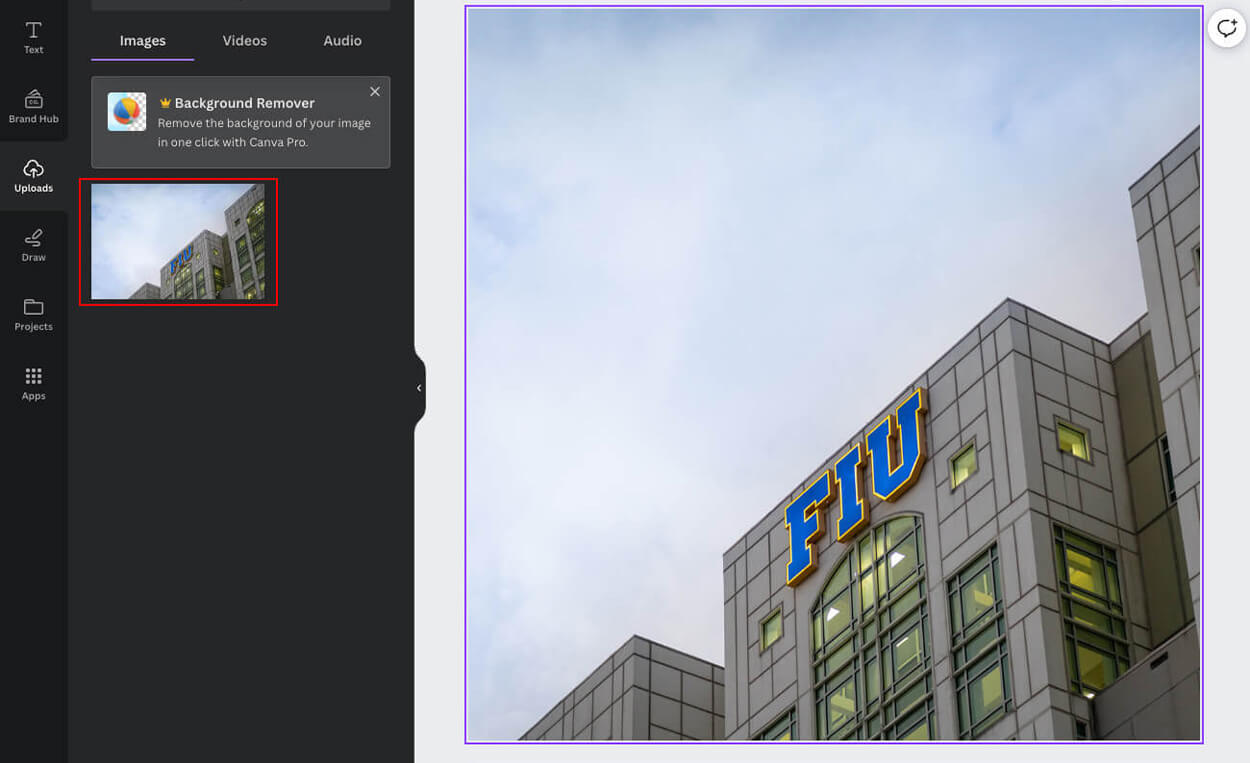
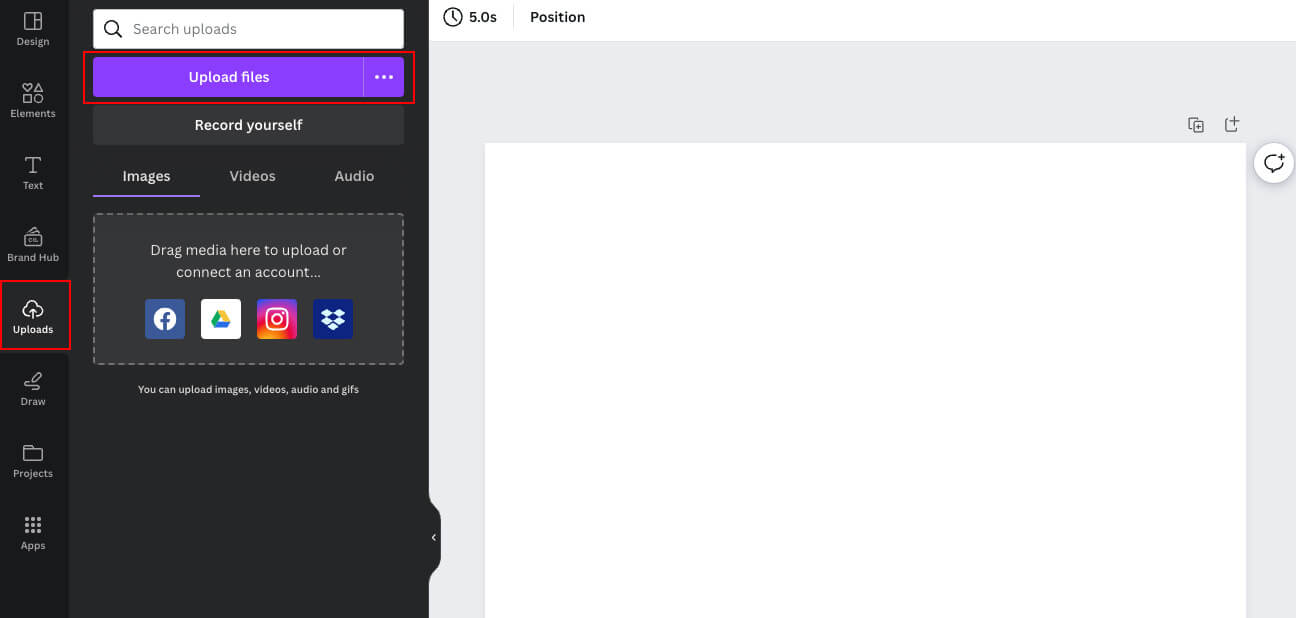
Select the “Uploads” tab on the left side of the screen. Then, select the button, “Upload files.” Choose the photo you want to upload.
Adding a photo to your artboard
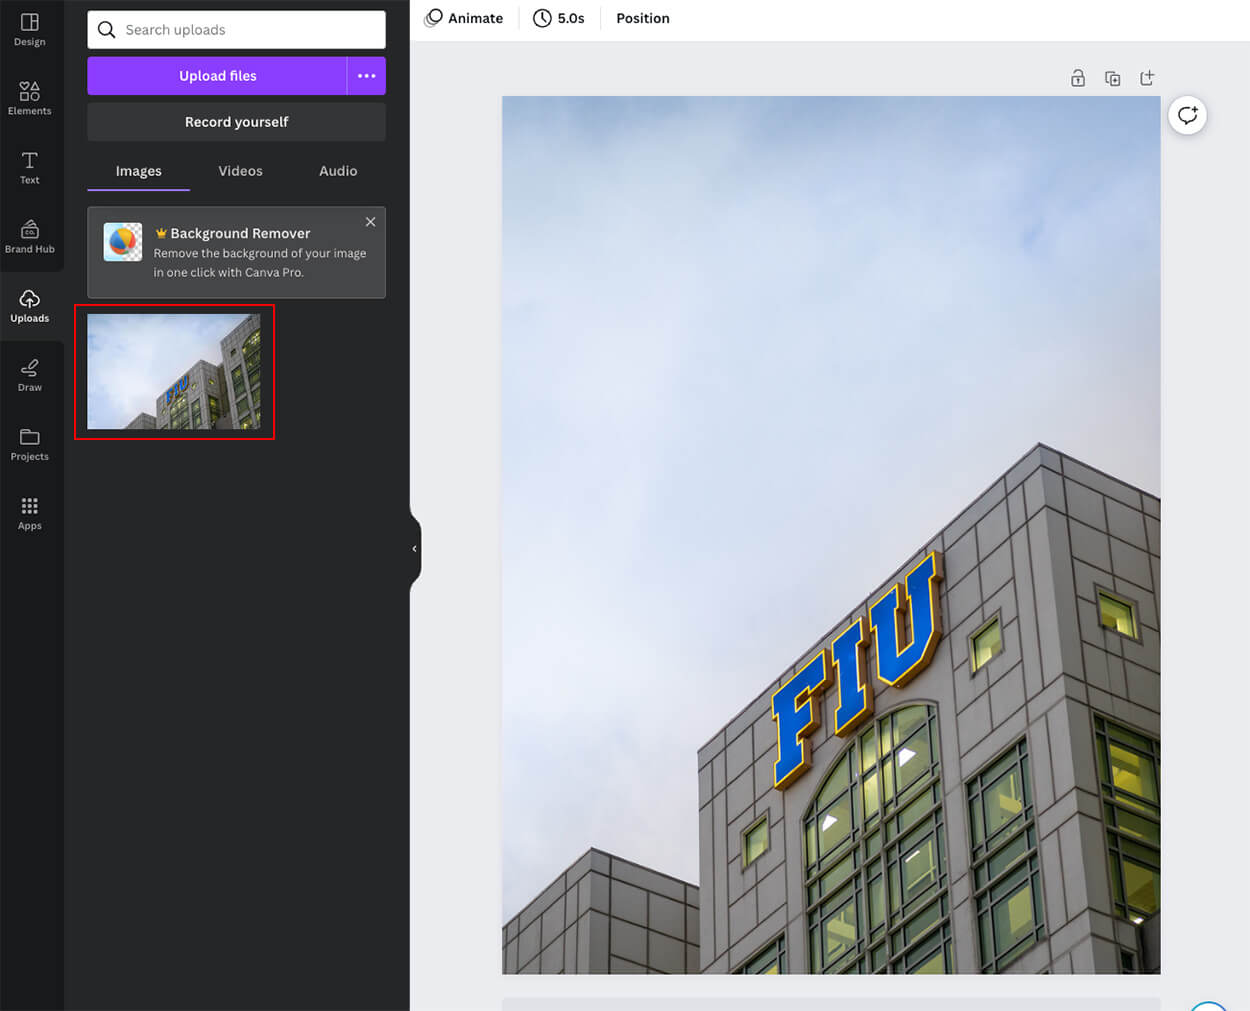
Select your photo from the media gallery and drag it onto the artboard on the right side of the screen. Adjust your photo to fit in the artboard.
It’s recommended to have the focus of your photo fall within the middle of the artboard to ensure it doesn’t get cut off when it’s uploaded into Cascade.
Exporting your new web asset
Now that you’ve adjusted your image into the template, we are ready to export.
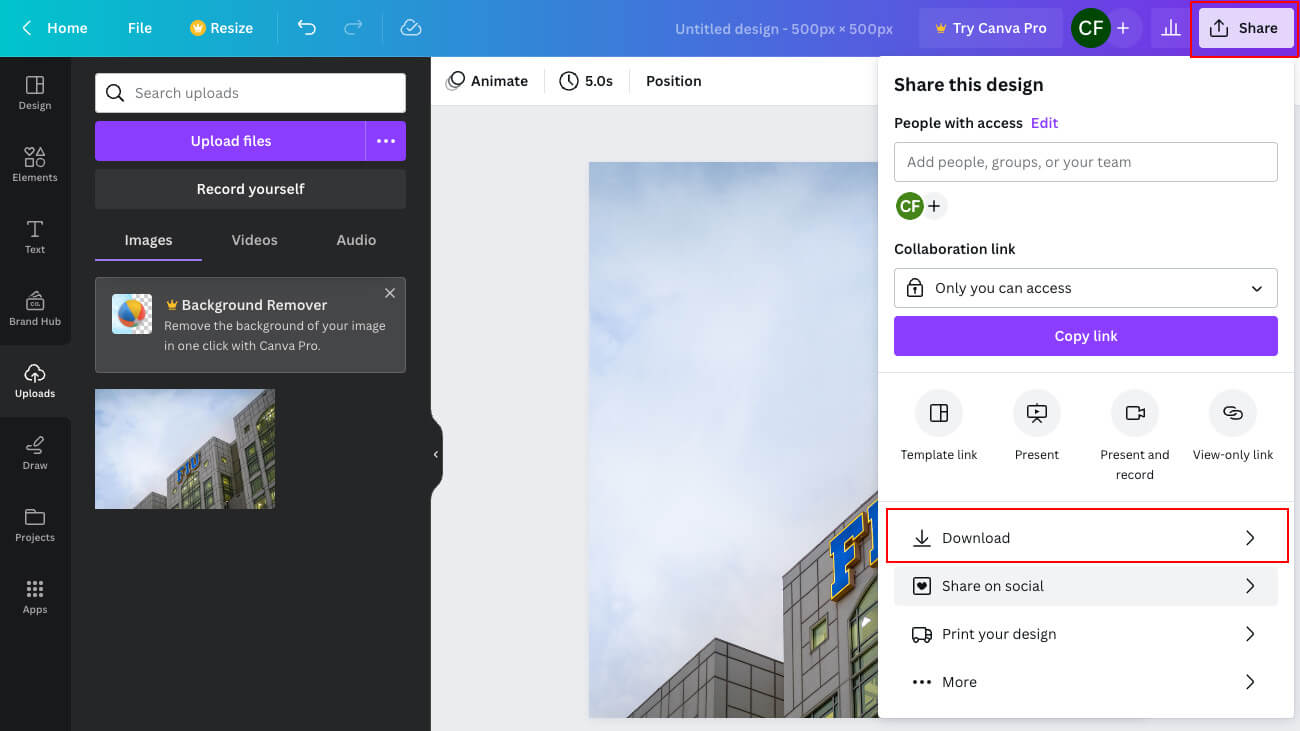
- Select “Share” in the top-right corner of the webpage and then select “Download.”
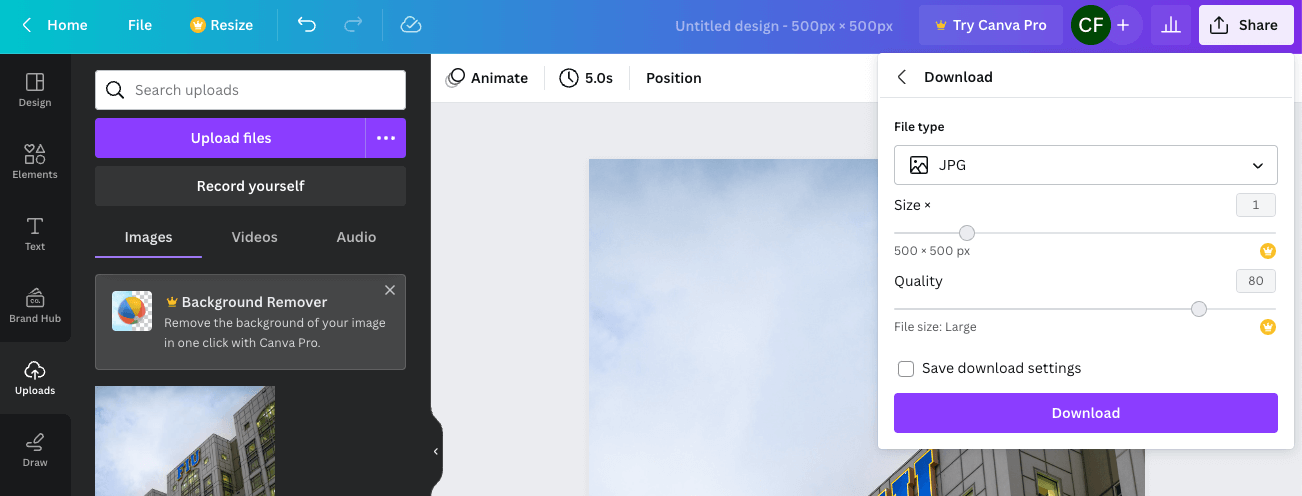
- Select “JPG” in the File Type dropdown menu. Leave the size and quality as is, these settings can only be adjusted if you have Canva Pro account.
- Select “Download” when you are ready to export your image.
Your image is ready to be uploaded to Cascade.

Don’t know how to upload your image to Cascade? Check out our quick Cascade Guide – Uploading Page Assets (Images, Document, Etc.).
